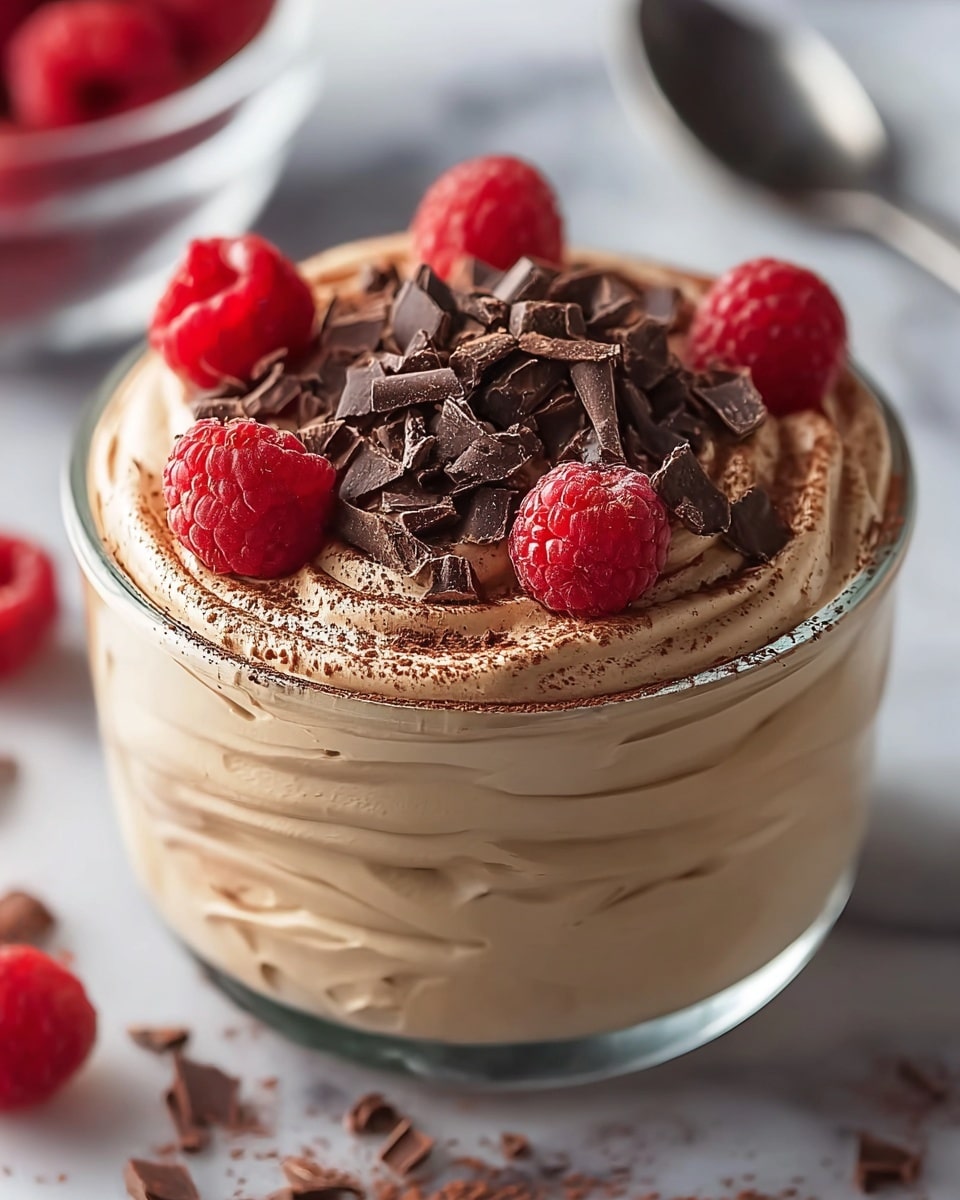
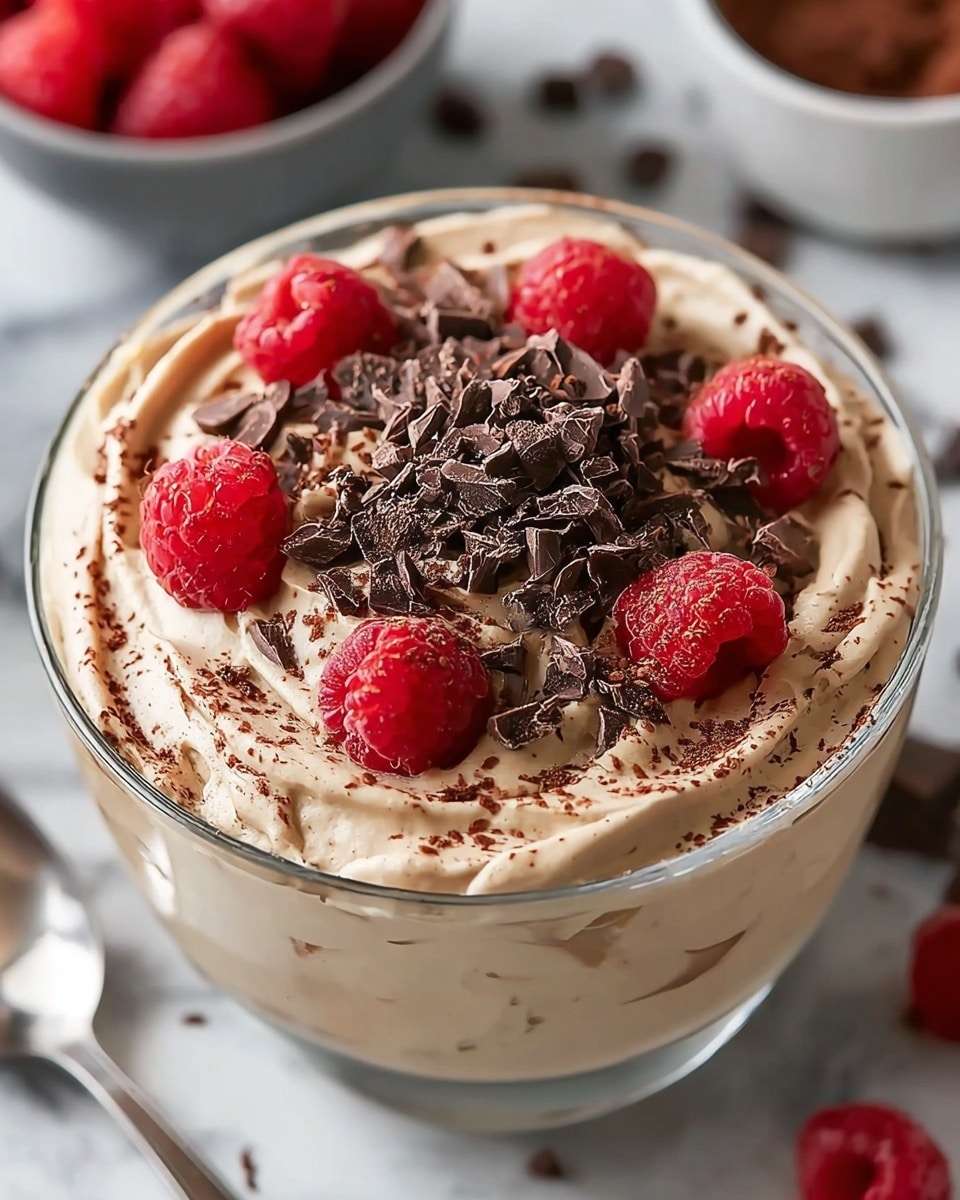
If you are searching for a delicious and nutritious treat that is easy to whip up anytime, you’ll absolutely love this Protein Pudding: High Protein, Low Effort Recipe. It perfectly balances creamy Greek yogurt with the power of protein powder and the richness of nut butter, delivering a satisfying snack or post-workout bite with minimal hassle. Whether you want a quick breakfast, a guilt-free dessert, or an energizing snack, this pudding is creamy, customizable, and packed with muscle-friendly protein to fuel your day.
Ingredients You’ll Need
Every ingredient in this recipe is thoughtfully selected to build the perfect flavor and texture while keeping things incredibly simple. Each adds its own dimension—whether it’s the thick creaminess of Greek yogurt, the muscle-building power of protein powder, or the sweet balance from natural sweeteners.
- Greek yogurt (1 cup / 250 g): Provides a rich, creamy base and an impressive amount of protein for thickness and tang.
- Protein powder (½ cup / 40 g): Adds that extra protein punch while infusing flavor, with options like vanilla, chocolate, or unflavored for versatility.
- Nut butter (1-2 tbsp): Almond or peanut butter boosts creaminess and healthy fats, making the pudding irresistibly smooth.
- Cocoa powder (1 tbsp, optional): Elevates the pudding with a deeper chocolate flavor without added calories.
- Maple syrup or honey (1-2 tbsp): Natural sweeteners that let you tailor the pudding’s sweetness to your liking.
- Milk of choice (optional): Almond, oat, or dairy milk can be added in small amounts to adjust the consistency exactly how you like it.
How to Make Protein Pudding: High Protein, Low Effort Recipe
Step 1: Mix Ingredients
Start by combining your Greek yogurt and protein powder in a mixing bowl. If you want your pudding richer and thicker, add cocoa powder or your chosen nut butter at this stage. Make sure all dry powders are evenly blended without lumps.
Step 2: Adjust Texture
Give the mixture a good stir until it turns smooth and homogenous. If it’s a bit too dense for your taste, gently stir in a splash of your preferred milk until you reach your perfect pudding consistency.
Step 3: Sweeten as Desired
Now is the fun part—taste your pudding and add honey, maple syrup, or a dash of vanilla extract if you want a sweeter, more nuanced flavor. Adjust gradually to avoid over-sweetening, keeping that healthy balance intact.
Step 4: Serve or Store
Enjoy your protein-packed pudding right away for that fresh creamy texture, or refrigerate it in a sealed container to let the flavors meld. It keeps beautifully for up to three days, making it a fantastic grab-and-go option.
How to Serve Protein Pudding: High Protein, Low Effort Recipe
Garnishes
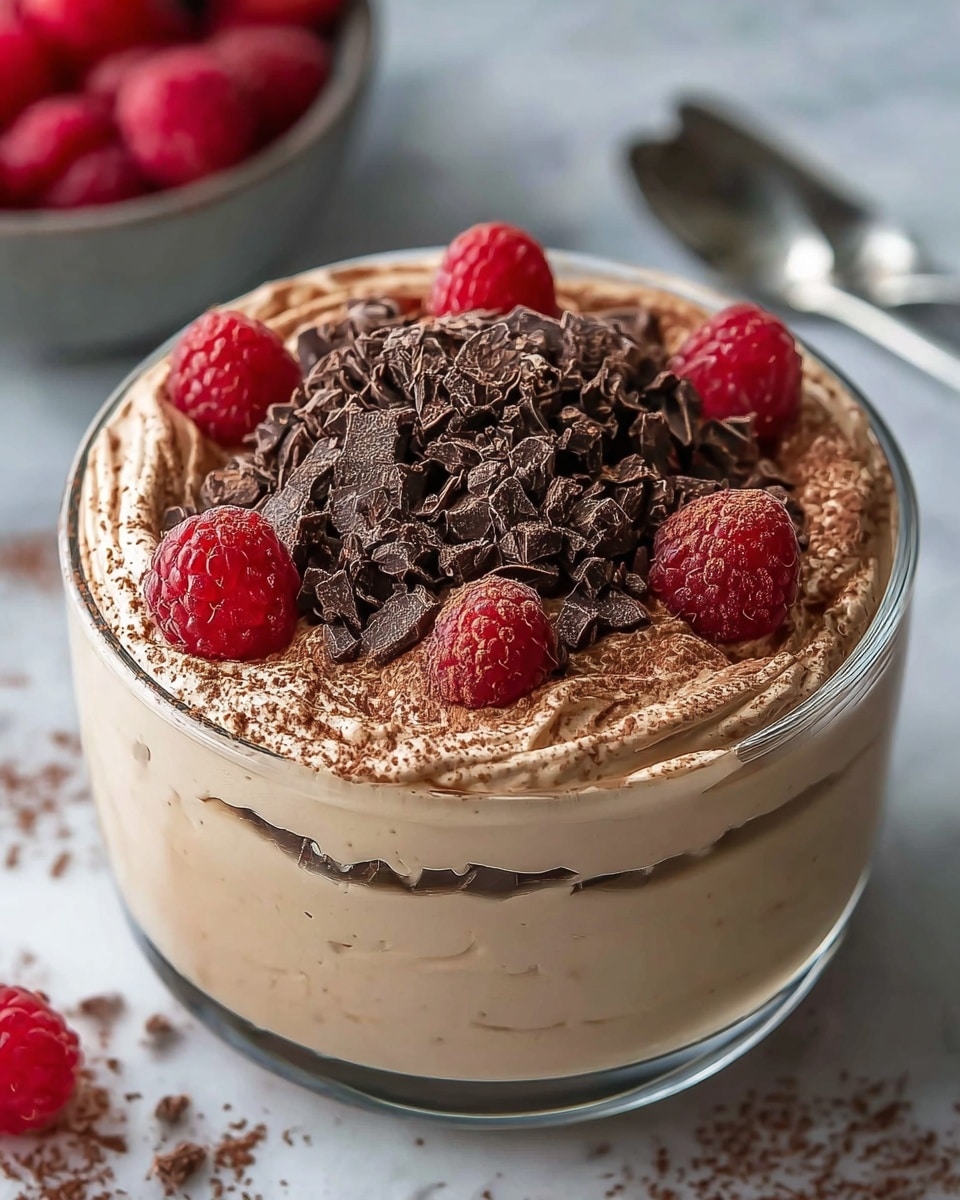
Adding toppings elevates the texture and flavor profile in exciting ways. Consider fresh berries, sliced bananas, crunchy granola, or even a sprinkle of chopped nuts to add delightful contrast and additional nutrients.
Side Dishes
Pairing your protein pudding with a side isn’t necessary but can turn your snack into a mini meal. Fresh fruit, a handful of mixed seeds, or whole-grain crackers add complexity and make your eating experience more satisfying.
Creative Ways to Present
For a little flair, serve your pudding in mason jars or clear glasses layered with fruits or granola, resembling a parfait. You can also pipe it into small dessert cups for a fancy touch that impresses guests or motivates your workout buddies.
Make Ahead and Storage
Storing Leftovers
Protein pudding stores wonderfully when covered in an airtight container kept in the refrigerator. It will stay fresh and flavorful for up to three days, making it an excellent make-ahead snack or quick breakfast fix.
Freezing
While freezing protein pudding isn’t generally recommended as it may alter the creamy texture upon thawing, you can freeze it if needed. Thaw overnight in the fridge and give it a good stir before serving, though the texture may be slightly grainy.
Reheating
This pudding is best enjoyed cold or at room temperature, so reheating is typically unnecessary. If you prefer it warm, do so gently at very low heat on the stove or in short bursts in the microwave, stirring frequently to prevent curdling.
FAQs
Can I use any protein powder for this recipe?
Absolutely! Whey, plant-based, or collagen protein powders all work well. Just keep in mind the flavor and sweetness level of your powder as it will impact the final taste.
Is this pudding suitable for vegans?
It can be, if you use dairy-free Greek-style yogurt and a plant-based protein powder, plus plant milk. Make sure your nut butter and sweetener also fit your dietary preferences.
How many calories does one serving have?
Calories vary depending on the yogurt, protein powder, and sweeteners you choose, but on average, a serving ranges between 250-350 calories, making it a nutritious and satisfying snack.
Can I make this pudding without nut butter?
Yes! Nut butter adds creaminess and healthy fats, but if you’re avoiding it, you can simply omit it. You might want to add a bit more yogurt or milk to maintain a smooth texture.
What’s the best way to customize the flavor?
Swap vanilla protein powder for chocolate, try different nut butter varieties, or add spices like cinnamon or a hint of espresso powder. The Protein Pudding: High Protein, Low Effort Recipe is very forgiving and versatile.
Final Thoughts
You really can’t go wrong with this Protein Pudding: High Protein, Low Effort Recipe. It’s a wonderfully simple yet deeply satisfying way to nourish your body without spending hours in the kitchen. I encourage you to try it out, experiment with flavors, and discover how this little pudding can become your go-to anytime snack or meal booster. It’s comfort, convenience, and nutrition all wrapped up in one creamy bowl of goodness.
Print
Protein Pudding: High Protein, Low Effort Recipe
- Total Time: 5 minutes
- Yield: 2 servings 1x
- Diet: Low Fat
Description
A quick and easy high-protein pudding made with Greek yogurt, protein powder, and optional nut butter and cocoa for added flavor and creaminess. Perfect as a nutritious snack or dessert with minimal effort.
Ingredients
Main Ingredients
- 1 cup (250 g) Greek yogurt – full fat or low-fat
- ½ cup (40 g) protein powder – chocolate, vanilla, or unflavored
- 1–2 tbsp nut butter (almond or peanut butter)
- 1 tbsp cocoa powder (optional)
- 1–2 tbsp maple syrup or honey
- Milk of choice (almond, oat, or dairy milk) – as needed for consistency
Instructions
- Mix Ingredients: In a bowl, combine Greek yogurt and protein powder. For a thicker consistency, add cocoa powder or nut butter. Mix well to incorporate all ingredients.
- Adjust Texture: Stir thoroughly until the mixture is smooth. If the pudding is too thick, add a splash of your preferred milk to achieve the desired consistency.
- Sweeten as Desired: Taste the pudding and add honey, maple syrup, or vanilla extract to enhance the sweetness according to your preference. Stir well to blend.
- Serve or Store: Serve the pudding immediately for the freshest texture or refrigerate in a sealed container for up to 3 days to enjoy later.
Notes
- Use full-fat Greek yogurt for a creamier pudding or low-fat for a lighter option.
- Choose chocolate or vanilla protein powder to add flavor or unflavored for versatility.
- Nut butter adds healthy fats and increases creaminess, but can be omitted if desired.
- Cocoa powder is optional but enhances the chocolate flavor.
- Adjust sweetness to taste with maple syrup, honey, or vanilla extract.
- Refrigerate leftovers in an airtight container for up to 3 days.
