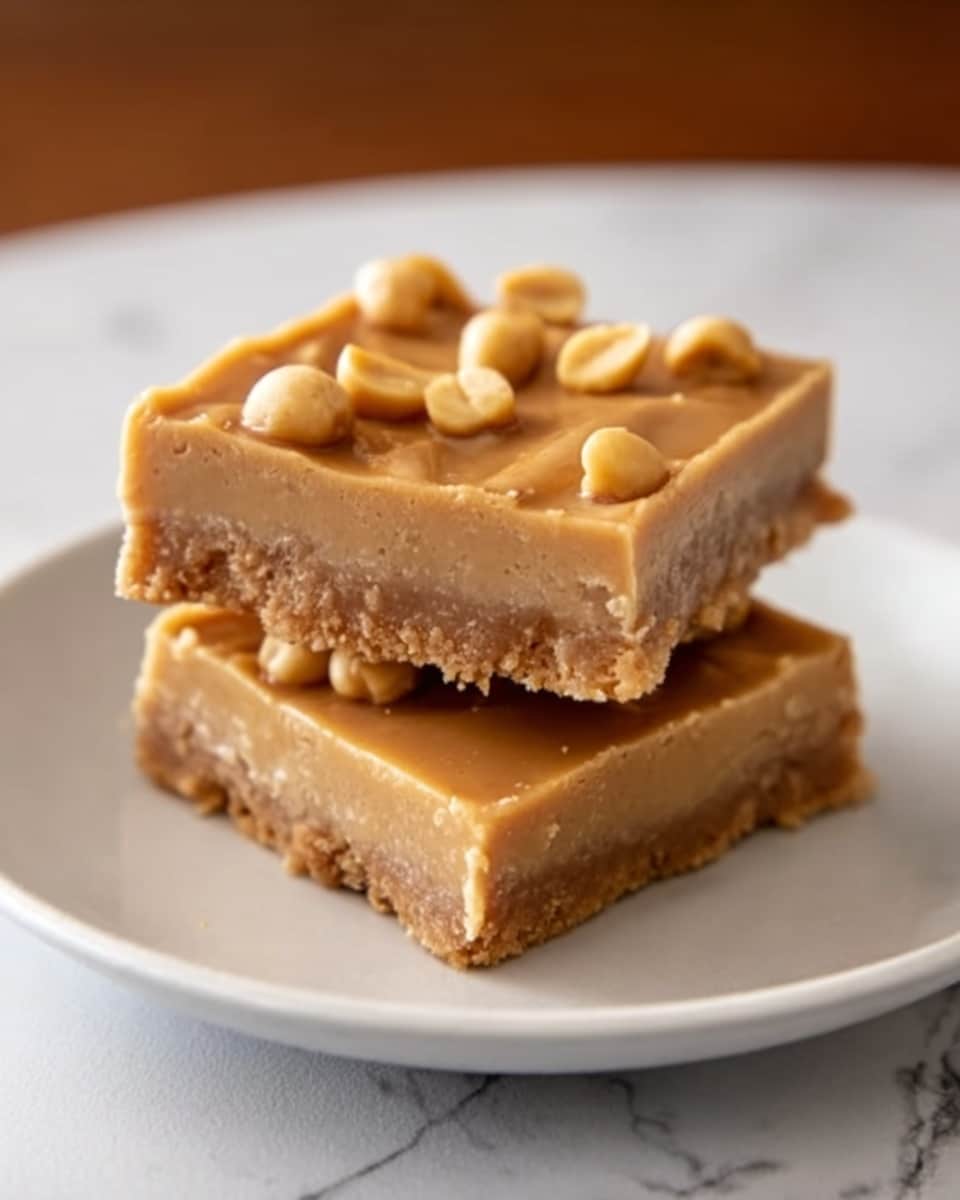
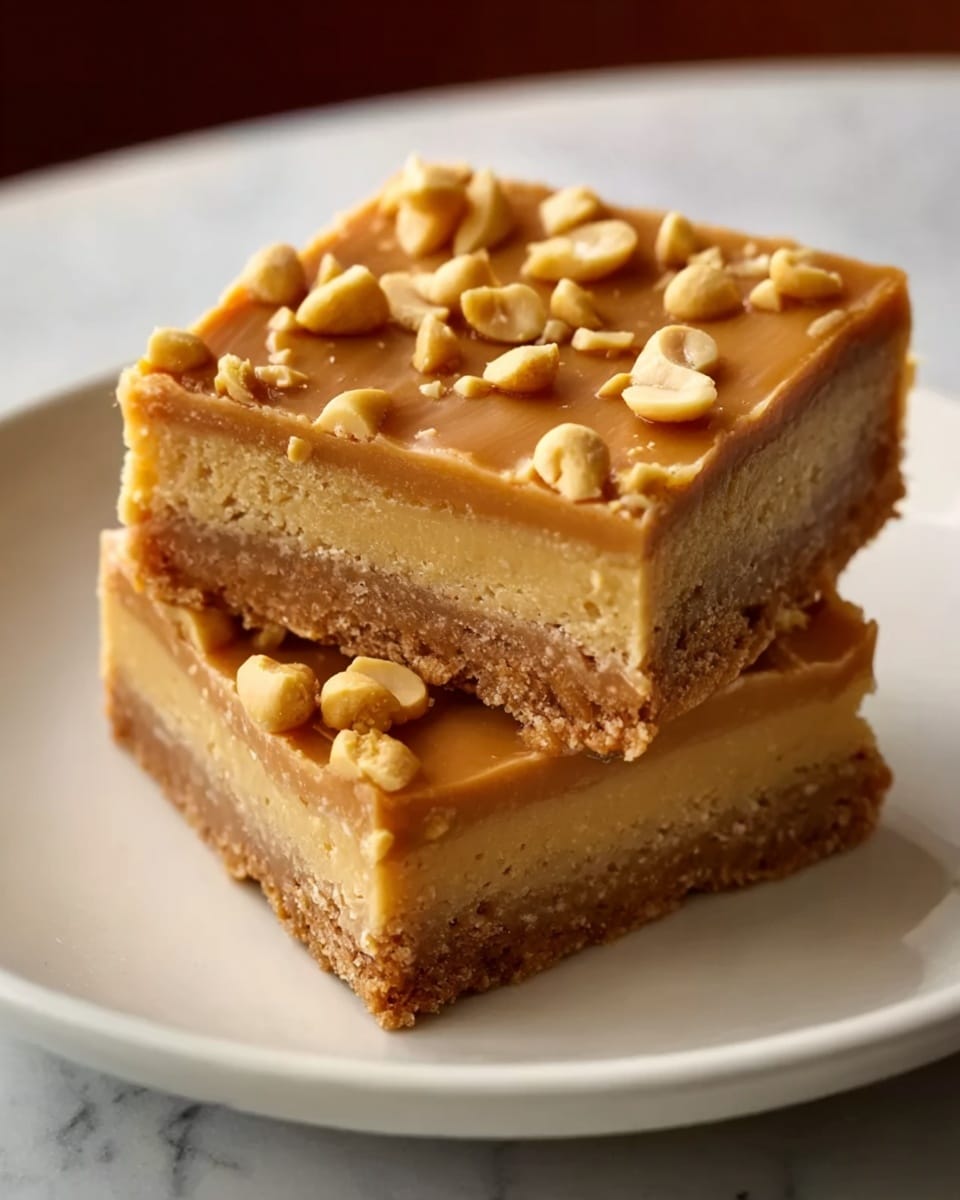
If you’re craving a treat that combines nostalgia and pure comfort, the Peanut Butter Lunch Lady Cookie Bars Recipe is exactly what you need. These bars capture the iconic flavors of the classic school lunch peanut butter cookies, transformed into a delightful, fudgy bar that’s perfect for sharing or savoring on your own. With a perfectly balanced peanut butter richness, a tender crumb, and a luscious frosting that melts in your mouth, these bars are guaranteed to become a beloved favorite in your dessert rotation. Plus, making them is a breeze with straightforward ingredients that come together in under an hour.
Ingredients You’ll Need
The beauty of the Peanut Butter Lunch Lady Cookie Bars Recipe lies in its simple, pantry-friendly ingredients. Each component plays a vital role in creating that classic creamy, chewy texture and rich peanut butter flavor that make these bars so irresistible.
- 2 cups flour: Provides the structure and the perfect chewy base for the bars.
- 2 cups sugar: Sweetens the bars just right, balancing the peanut butter’s savory notes.
- 2 large eggs, beaten: Acts as a binder, helping all ingredients meld together beautifully.
- 1 ½ cup peanut butter, divided: The star ingredient delivering that unmistakable nutty flavor.
- 1 ½ cups (3 sticks) unsalted butter, softened: Adds richness and moistness for a luscious texture.
- ½ cup milk + 2 tablespoons, divided: Keeps the batter tender and helps create a smooth frosting.
- 1 teaspoon baking soda: Gives a slight lift to the bars for lightness without being cakey.
- 1 teaspoon vanilla extract: Enhances all the flavors with a warm, inviting aroma.
- 1 teaspoon salt: Balances the sweetness and boosts the peanut butter flavor.
- 4 cups powdered sugar: Whisked into the frosting for a silky, sweet finish.
How to Make Peanut Butter Lunch Lady Cookie Bars Recipe
Step 1: Preheat and Prepare
Start by heating your oven to 400°F so it’s ready when your batter is mixed. Grab a large cookie sheet and either grease or line it with parchment paper—this will make sure your bars come out cleanly and look pretty.
Step 2: Mix the Dry Ingredients
In a bowl, combine the flour, sugar, baking soda, and salt. Mixing these first helps distribute all the components evenly, setting a solid foundation for your bars.
Step 3: Whisk Together Milk, Vanilla, and Eggs
In a separate bowl, beat together ½ cup of milk, the vanilla extract, and the two eggs. This mixture adds moisture and flavor while ensuring the bars will be soft and tender.
Step 4: Melt Butter and Peanut Butter
In a saucepan, melt 1 cup of your butter together with 1 cup of peanut butter over medium heat. Once melted and combined, bring it to a brief boil. This step intensifies the peanut butter flavor and creates a silky base.
Step 5: Combine and Mix Batter
Slowly add the dry flour mixture into the hot peanut butter mixture, stirring continuously. Then pour in the milk and egg mixture, mixing until everything is fully incorporated into a thick batter.
Step 6: Bake the Bars
Pour the batter onto your prepared cookie sheet, spreading it evenly with a spatula. Pop it into the oven and bake for 20 minutes. It will firm up nicely while keeping that tender chew that makes these bars so special.
Step 7: Cool Completely before Frosting
Once out of the oven, it’s crucial to let the bars cool down entirely on a wire rack. Cooling keeps the bars firm so the frosting doesn’t melt away when you add it.
Step 8: Prepare the Frosting
Bring 1 stick of butter and ½ cup peanut butter to a gentle boil in the saucepan. Add the remaining 2 tablespoons of milk, then gradually whisk in the powdered sugar until the frosting is smooth, glossy, and spreadable. Pour this luscious layer generously over the cooled bars.
How to Serve Peanut Butter Lunch Lady Cookie Bars Recipe
Garnishes
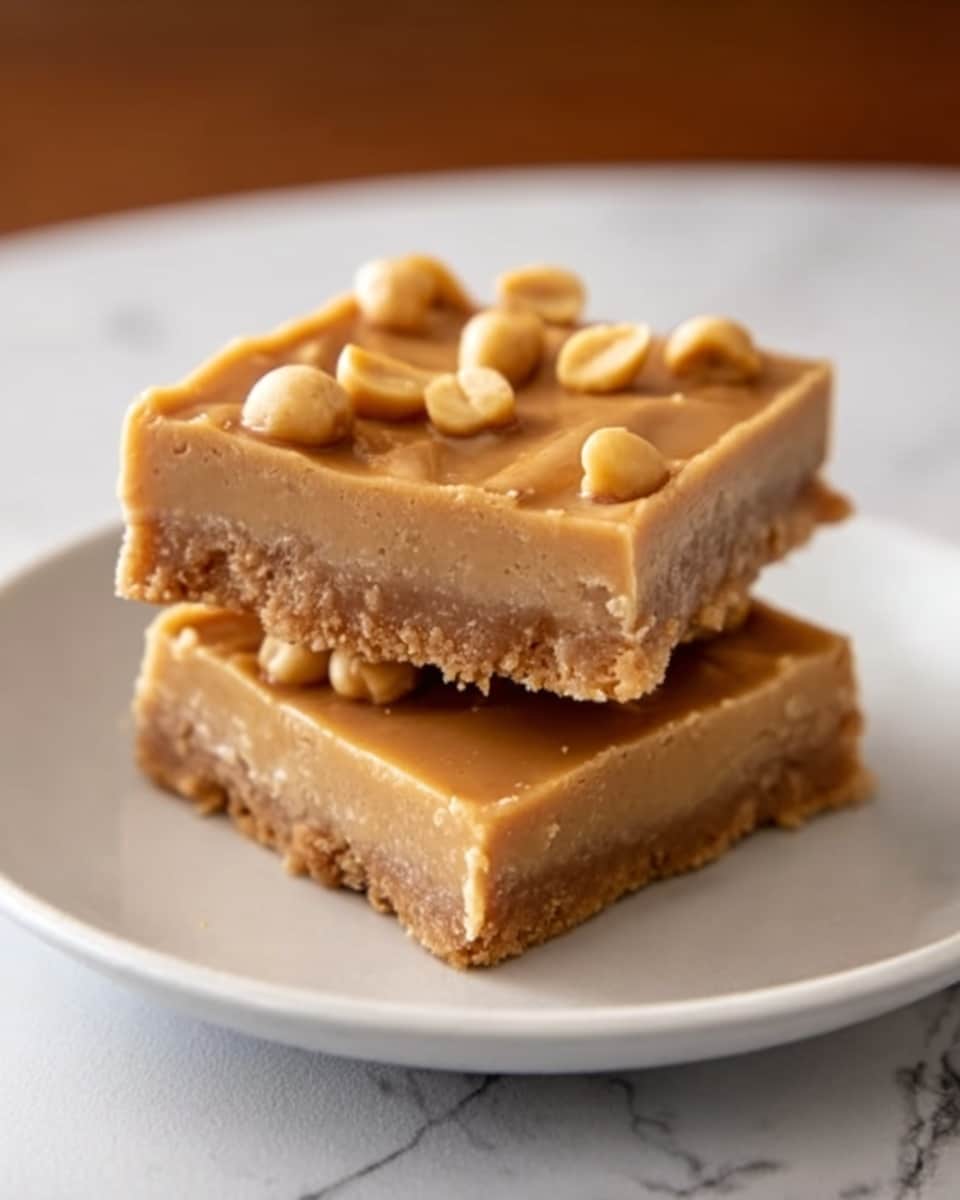
Feel free to sprinkle a pinch of crushed peanuts on top for a delightful crunch or a drizzle of melted chocolate for an extra indulgent touch. A light sprinkle of sea salt also works wonders to enhance the peanut butter notes.
Side Dishes
These bars pair beautifully with simple accompaniments like a cold glass of milk or a scoop of vanilla ice cream. For an afternoon snack vibe, try serving with fresh fruit, such as sliced apples, which add a refreshing contrast.
Creative Ways to Present
For parties, cut the bars into bite-sized squares and arrange them on a pretty platter with colorful napkins. You can also layer them in a dessert trifle, alternating with whipped cream and chocolate chips to elevate this lunch lady classic into a classy crowd-pleaser.
Make Ahead and Storage
Storing Leftovers
Store any leftover Peanut Butter Lunch Lady Cookie Bars Recipe in an airtight container at room temperature for up to 4 days. The bars maintain their moist texture and the frosting stays decadent, making every bite as delicious as the first.
Freezing
If you want to save them for longer, these bars freeze wonderfully. Wrap individual pieces tightly in plastic wrap and place them in a freezer bag. They can be frozen for up to 3 months. Just thaw overnight in the fridge before enjoying.
Reheating
To warm these bars, pop them in the microwave for about 15 seconds or in a low oven for 5-7 minutes. This softens the peanut butter and frosting, making each bite irresistibly gooey and fresh-tasting.
FAQs
Can I use crunchy peanut butter instead of smooth?
Absolutely! Crunchy peanut butter will add a lovely texture variation to the bars, giving each bite some extra nutty surprise. Just keep in mind that the frosting may be a bit chunkier if you use crunchy in the topping.
Is it possible to make this recipe gluten-free?
Yes, you can substitute the all-purpose flour with a gluten-free flour blend suitable for baking. Make sure it includes xanthan gum or another binder so the bars hold together well.
Can I reduce the sugar in this recipe?
You can reduce the sugar slightly, but keep in mind that it plays a role in both taste and texture. Cutting it by about ¼ cup won’t harm much, but going lower might change the consistency and make the bars less tender and sweet.
How do I know when the bars are done baking?
The bars are ready when the edges are set and slightly pulling away from the pan, and the center feels firm but still soft when touched gently. They should not look wet or gooey on top.
What’s the best way to cut the bars neatly?
Use a sharp knife and cut the bars once they have fully cooled and the frosting has set. For clean slices, you can gently warm the knife under hot water, wipe it dry, and then cut to prevent crumbling.
Final Thoughts
The Peanut Butter Lunch Lady Cookie Bars Recipe is a real keeper—combining comforting flavors with a simple process that’s sure to bring smiles at any gathering or cozy night in. Once you try these bars, you’ll wonder how you ever lived without this peanut butter treasure in your dessert collection. So why wait? Whip up a batch today and get ready for some serious peanut butter happiness!
Print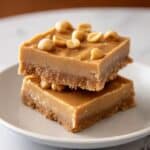
Peanut Butter Lunch Lady Cookie Bars Recipe
- Total Time: 40 minutes
- Yield: 24 servings 1x
Description
These Peanut Butter Lunch Lady Cookie Bars combine a rich, chewy peanut butter cookie base with a luscious, creamy peanut butter frosting. Perfect for a sweet treat or dessert, this recipe yields large, flavorful bars reminiscent of classic lunch lady cookies, baked to golden perfection and topped with a smooth peanut butter glaze.
Ingredients
Dry Ingredients
- 2 cups flour
- 2 cups sugar
- 1 teaspoon baking soda
- 1 teaspoon salt
Wet Ingredients
- 2 large eggs, beaten
- ½ cup milk
- 1 teaspoon vanilla extract
- 1 ½ cups (3 sticks) unsalted butter, softened, divided
- 1 ½ cup peanut butter, divided
- 2 tablespoons milk (for frosting)
Frosting Ingredients
- 4 cups powdered sugar
Instructions
- Preheat Oven: Preheat your oven to 400°F and prepare a large cookie sheet by greasing it or lining it with parchment paper to prevent sticking.
- Combine Dry Ingredients: In a large bowl, mix together the flour, sugar, baking soda, and salt. Set this mixture aside for later use.
- Mix Wet Ingredients: In another bowl, whisk together ½ cup milk, vanilla extract, and the beaten eggs until fully combined. Set aside.
- Melt Butter and Peanut Butter: In a saucepan over medium heat, melt 1 cup of the unsalted butter along with 1 cup of the peanut butter. Bring the mixture to a gentle boil, stirring frequently to prevent burning.
- Combine All Mixtures: Remove the saucepan from heat. Slowly add the dry flour mixture into the melted peanut butter and butter mixture, stirring continuously. Then, add the milk and egg mixture and mix everything until well combined into a batter.
- Bake the Bars: Pour the batter onto the prepared cookie sheet and spread it evenly. Bake in the preheated oven for 20 minutes or until golden brown and a toothpick inserted near the center comes out clean.
- Cool Completely: Remove the bars from the oven and allow them to cool completely on a wire rack before frosting to ensure the frosting sets properly.
- Prepare Frosting: In a saucepan, bring the remaining 1 stick of butter and ½ cup peanut butter to a boil. Once boiling, add 2 tablespoons of milk. Gradually mix in the powdered sugar and stir until the frosting is smooth and spreadable.
- Apply Frosting: Pour the prepared peanut butter frosting evenly over the cooled cookie bars. Spread it out smoothly to cover the entire surface.
- Set and Serve: Allow the frosting to set at room temperature or place the bars in the refrigerator briefly to firm up the frosting. Cut into 24 bars and serve.
Notes
- Ensure the bars are completely cooled before frosting to avoid melting the frosting.
- Use creamy peanut butter for a smoother texture in both the batter and frosting.
- Bars can be stored in an airtight container at room temperature for up to 3 days or refrigerated for a week.
- For an extra crunch, consider adding chopped peanuts to the batter or as a topping on the frosting.
