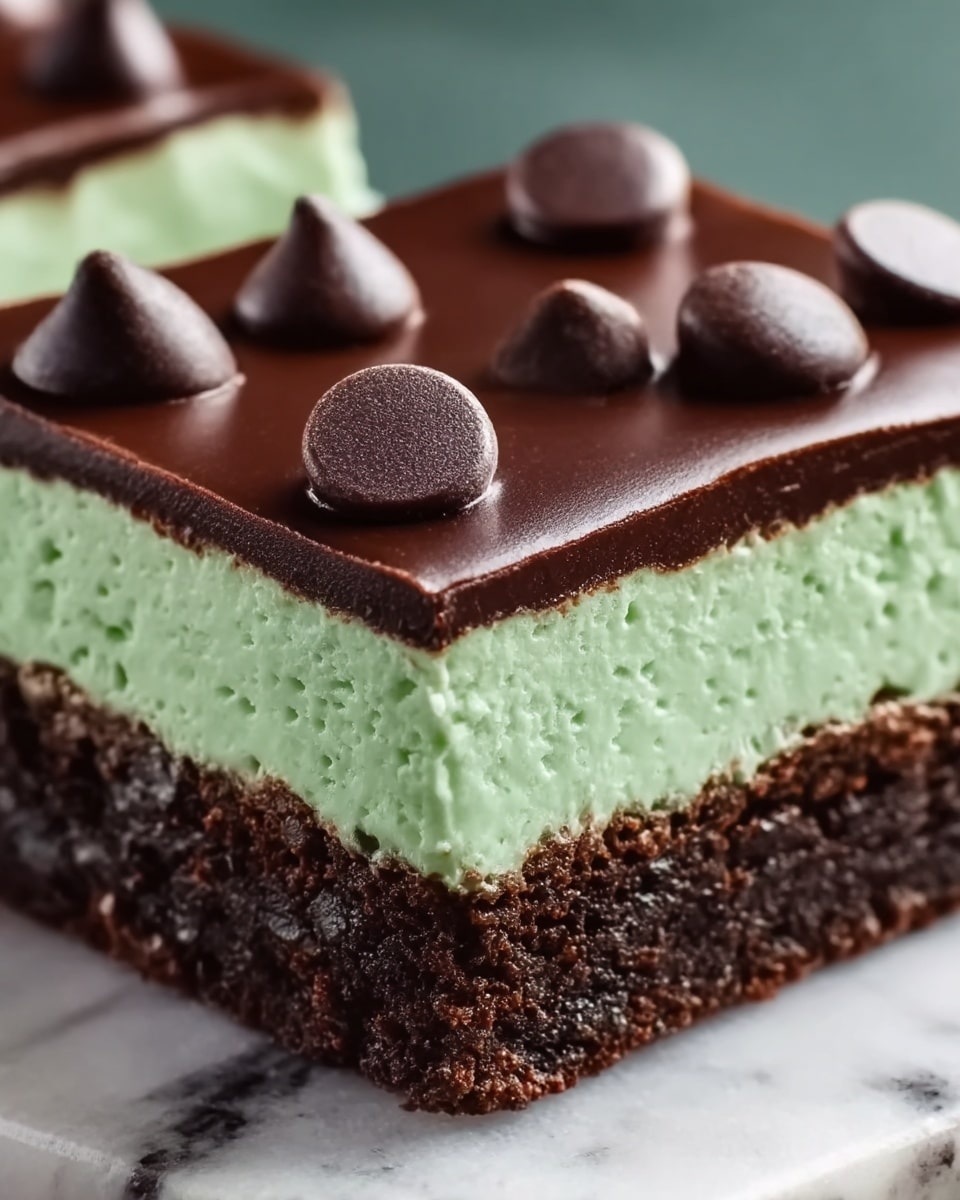
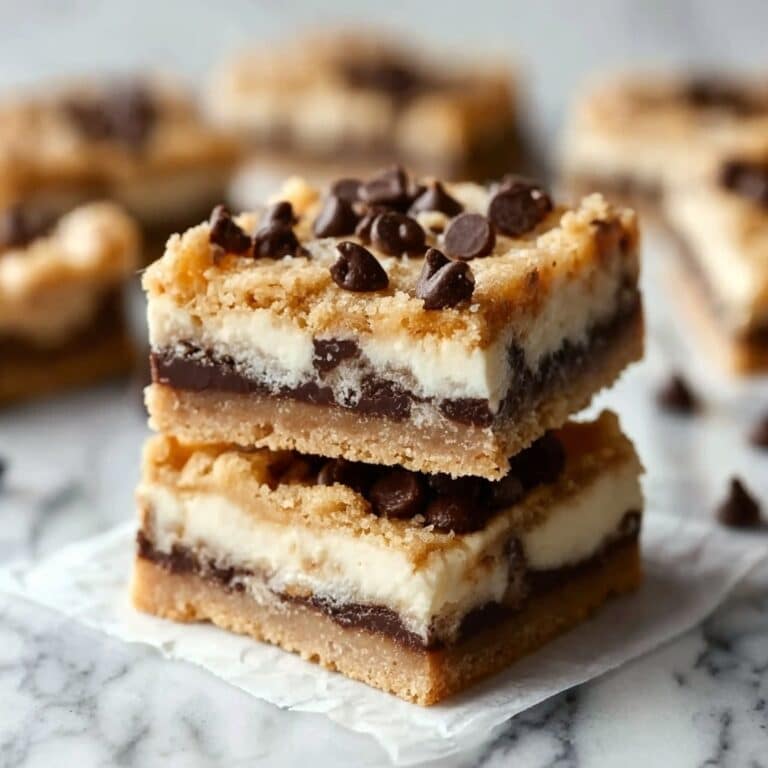
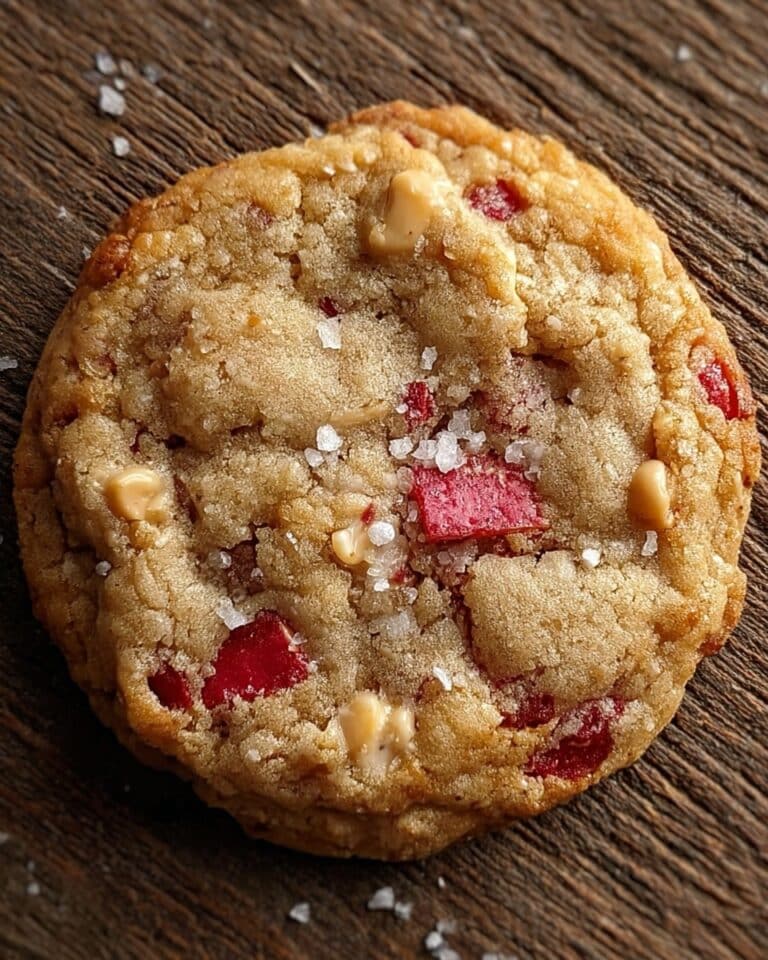
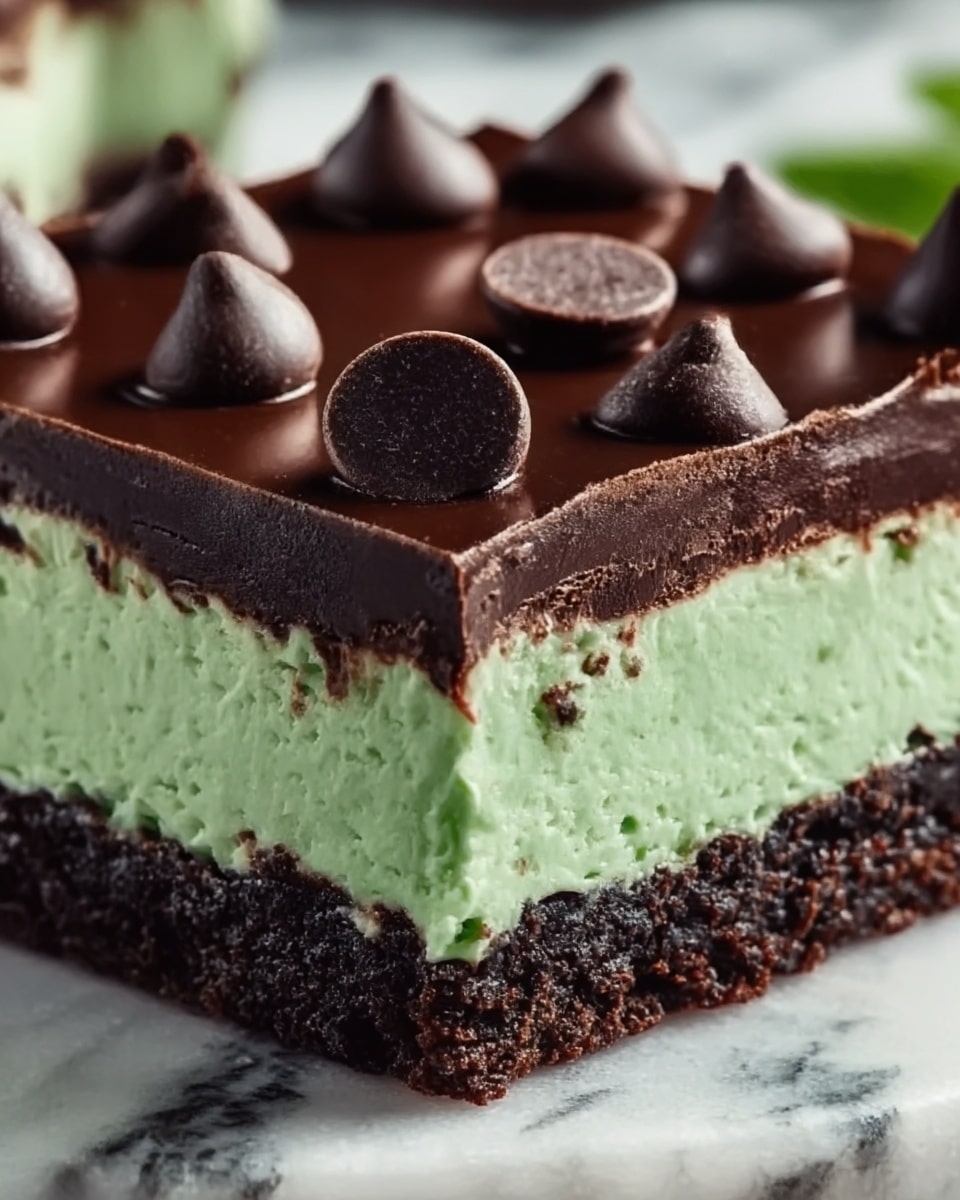
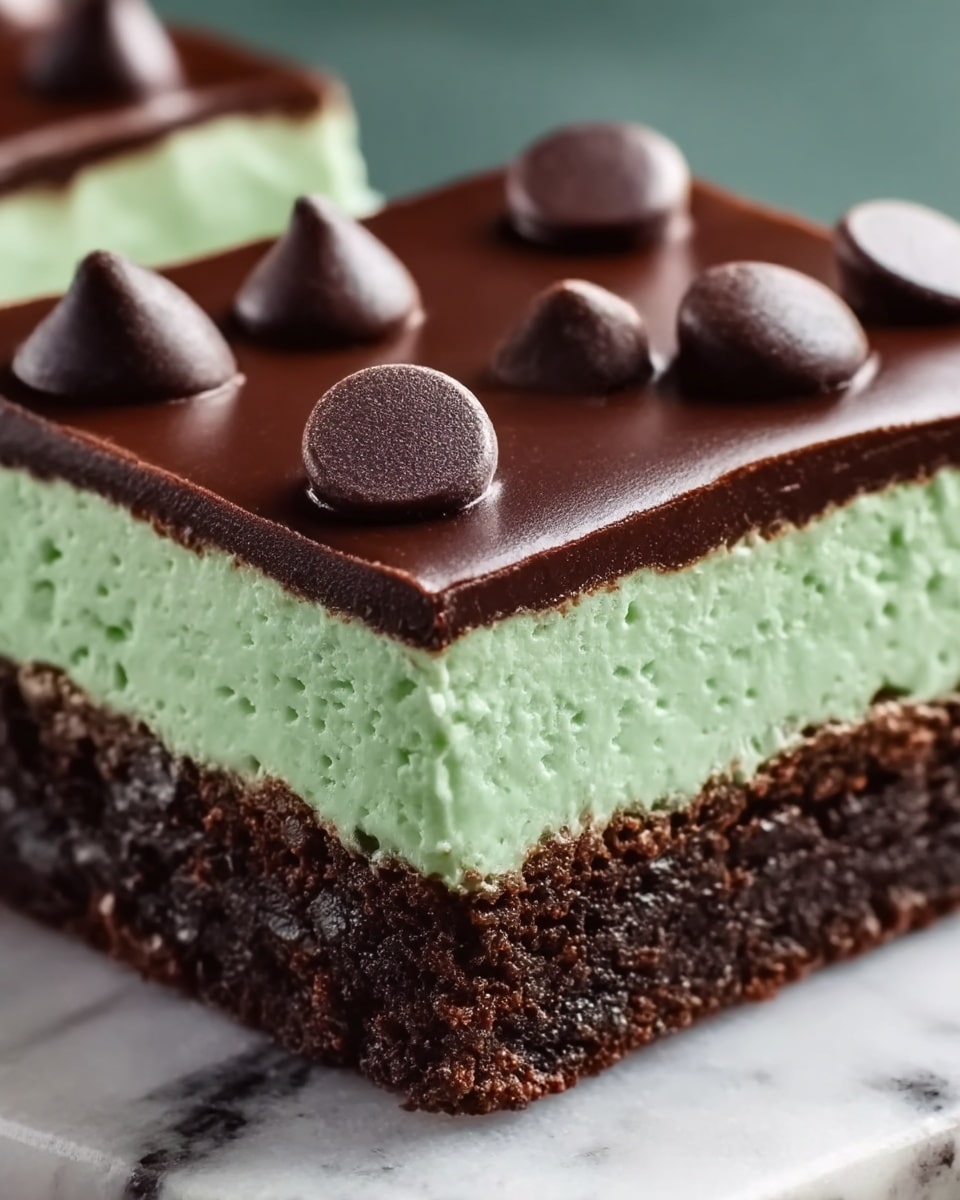
If you’ve ever dreamed of the perfect combination of refreshing mint and rich chocolate in a chewy, delightful treat, look no further than this Mint Chocolate Cookie Bars Recipe. These bars bring together a tender cookie base speckled with mini chocolate chips, a luscious minty cream layer colored just right, and a glossy chocolate topping that adds the ultimate finish. Every bite is a celebration of flavor and texture, making it a crowd-pleaser for holiday parties, casual get-togethers, or simply a special sweet moment at home.
Ingredients You’ll Need
This Mint Chocolate Cookie Bars Recipe is surprisingly simple to make because it relies on a handful of essential ingredients that each play a crucial role. From the buttery cookie base to the creamy mint filling and the rich chocolate topping, each component comes together harmoniously.
- All-purpose flour: The foundation of the cookie base, providing structure and chewiness.
- Baking soda: A tiny lift that ensures the base doesn’t get too dense.
- Salt: Balances sweetness and enhances the flavor depth.
- Unsalted butter: Gives richness and moisture; split between base and topping for silky texture.
- Granulated sugar: Sweetens and helps create the perfect tender crumb in the cookie.
- Egg: Binds ingredients while adding softness and slight richness.
- Vanilla extract: A warm background note that complements both mint and chocolate.
- Peppermint extract: The star of the mint flavor; used sparingly so it’s fresh, not overpowering.
- Mini chocolate chips: Optional, but fantastic for adding little bursts of chocolate joy in the cookie base.
- Powdered sugar: Gives the mint filling a smooth, creamy consistency.
- Milk or heavy cream: Adjusts the mint filling’s spreadability for a luscious layer.
- Green food coloring: Just a drop or two to make the mint filling visually pop.
- Semi-sweet chocolate chips: For melting into a decadent topping that seals all layers perfectly.
How to Make Mint Chocolate Cookie Bars Recipe
Step 1: Preheat Your Oven and Prepare the Pan
Start by setting your oven to 350°F (175°C). This ensures a perfectly timed bake for your cookie base. Line an 8×8-inch baking pan with parchment paper or grease it well—this little step guarantees your bars come out clean and intact.
Step 2: Make the Cookie Base
In a roomy bowl, cream together half a cup of softened unsalted butter with one cup of granulated sugar until the mixture is light and fluffy. This whipping of butter and sugar is key to a tender, melt-in-your-mouth base layer. Next, beat in one large egg along with a teaspoon of vanilla extract and a quarter teaspoon of peppermint extract if you want an extra punch of minty freshness. Gradually add the dry ingredients—1 1/2 cups flour, 1/2 teaspoon baking soda, and 1/4 teaspoon salt—mixing just until combined. If you’re feeling indulgent, gently fold in half a cup of mini chocolate chips, which creates delightful pockets of chocolate once baked. Press this dough evenly into your prepared pan, flattening it gently to an even layer.
Step 3: Bake the Cookie Base
Bake the base in your preheated oven for about 12 to 15 minutes. The goal is for it to be set yet still soft in the middle—test by inserting a toothpick; it should come out clean. Then, let the base cool completely right there in the pan, as this step is crucial before adding the next layers.
Step 4: Prepare the Mint Filling
While the base chills, whip up the mint filling by combining half a cup of softened unsalted butter with 1 1/2 cups powdered sugar. Add 1 1/2 teaspoons peppermint extract for that essential minty zing and about two tablespoons of milk or heavy cream, adjusting until the texture is creamy yet spreadable. Adding a few drops of green food coloring is optional but adds such a festive, fun hue that makes the bars irresistible. Once the base is cool, spread this mint filling evenly over it, creating a thick and luscious layer.
Step 5: Make the Chocolate Topping and Chill
Lastly, melt one cup of semi-sweet chocolate chips together with two tablespoons of unsalted butter until smooth and glossy. Pour this over the mint filling, spreading gently with a spatula to cover the surface uniformly. Pop the entire pan into the refrigerator to chill for at least an hour. This allows all layers to firm up and makes slicing much easier.
Step 6: Cut and Serve
Once chilled and set, lift the whole slab out using the parchment paper edges. Cut into 16 squares and get ready to enjoy bars packed full of mint-chocolate magic!
How to Serve Mint Chocolate Cookie Bars Recipe
Garnishes
Top your bars with a few fresh mint leaves or sprinkle a pinch of crushed peppermint candies for a festive crunch. For an extra layer of indulgence, drizzle a little white chocolate over the cut bars for impressive presentation and added sweetness.
Side Dishes
These bars shine beautifully alongside a scoop of vanilla ice cream or a dollop of freshly whipped cream. For adults, a warm mug of coffee or a peppermint mocha pairs perfectly, echoing the mint and chocolate flavors.
Creative Ways to Present
Serve your bars on a rustic wooden board for casual gatherings or on a delicate dessert plate dusted lightly with cocoa powder or powdered sugar. You can also stack them in cute little towers tied with a festive ribbon if gifting!
Make Ahead and Storage
Storing Leftovers
Store any uneaten bars in an airtight container in the refrigerator to keep the mint filling fresh and the chocolate topping firm. They will stay delicious for up to five days, making them a perfect make-ahead treat.
Freezing
If you want to save some for later, these bars freeze wonderfully. Wrap individual squares tightly in plastic wrap and place them in a freezer-safe bag. They will keep well for up to three months and thaw quickly at room temperature.
Reheating
Because of the creamy mint layer and chocolate topping, reheating is best done at room temperature. Just let the bars sit out for 20 to 30 minutes; this softens them just enough without losing their wonderful texture.
FAQs
Can I use regular chocolate chips instead of mini chocolate chips in the base?
Yes, you can use regular or mini chocolate chips depending on your preference! Mini chips distribute more evenly for little chocolate surprises, while regular chips make bigger melty pockets.
What if I don’t have peppermint extract?
If peppermint extract isn’t available, you can substitute with a few drops of spearmint extract or leave it out entirely, though the signature mint flavor is key to this recipe’s charm.
Can these bars be made gluten-free?
Absolutely! Replace the all-purpose flour with a gluten-free baking blend that includes xanthan gum for similar texture. Just be mindful of the mix’s absorption rate as you may need to adjust slightly.
How long will the bars stay fresh at room temperature?
Due to the mint filling containing dairy, it’s best to keep the bars refrigerated. At room temperature, they might soften too much or spoil within a day.
Can I make the mint filling vegan?
Yes, swap the butter for vegan margarine or coconut oil and replace milk with a plant-based alternative. The powdered sugar remains the same, so the texture and flavor will still be delightful.
Final Thoughts
Trust me, once you try this Mint Chocolate Cookie Bars Recipe, it will fast become your go-to dessert whenever you crave that perfect mint and chocolate combo. It’s simple to make, utterly delicious, and guaranteed to impress anyone lucky enough to take a bite. So get your ingredients ready and dive into this luscious, minty chocolate adventure!
Print
Mint Chocolate Cookie Bars Recipe
- Total Time: 1 hour 35 minutes (including chilling time)
- Yield: 16 servings 1x
Description
These Mint Chocolate Cookie Bars combine a chewy chocolate chip cookie base with a creamy peppermint filling and a rich chocolate topping, creating a perfect treat for mint and chocolate lovers. Easy to make and ideal for holiday gatherings or a refreshing dessert option.
Ingredients
Cookie Base
- 1 1/2 cups all-purpose flour
- 1/2 tsp baking soda
- 1/4 tsp salt
- 1/2 cup unsalted butter, softened
- 1 cup granulated sugar
- 1 large egg
- 1 tsp vanilla extract
- 1/4 tsp peppermint extract (optional, for extra mint flavor)
- 1/2 cup mini chocolate chips (optional, for extra chocolate chunks in the base)
Mint Filling
- 1/2 cup unsalted butter, softened
- 1 1/2 cups powdered sugar
- 1 1/2 tsp peppermint extract (or to taste)
- 2 tbsp milk or heavy cream (adjust for consistency)
- A few drops of green food coloring (optional, for a fun mint color)
Chocolate Topping
- 1 cup semi-sweet chocolate chips
- 2 tbsp unsalted butter
Instructions
- Preheat the Oven: Preheat your oven to 350°F (175°C). Line an 8×8-inch square baking pan with parchment paper or grease it with butter or cooking spray.
- Make the Cookie Base: In a separate large bowl, cream together the softened butter and granulated sugar until light and fluffy. Beat in the egg, vanilla extract, and peppermint extract (if using) until well combined. Gradually add the dry ingredients (flour, baking soda, salt) to the wet mixture, mixing until just combined. If desired, fold in the mini chocolate chips. Spread the cookie dough evenly into the prepared baking pan and press it down gently to form an even layer.
- Bake the Cookie Base: Bake for 12-15 minutes, or until a toothpick inserted into the center comes out clean. Let the cookie base cool completely in the pan before proceeding.
- Make the Mint Filling: Once the cookie base is fully cooled, prepare the mint filling by beating together the softened butter and powdered sugar until smooth. Add peppermint extract, milk or heavy cream, and green food coloring (if using). Mix until creamy and spread evenly over the cooled cookie base.
- Prepare the Chocolate Topping: Melt the semi-sweet chocolate chips together with the butter until smooth, either using a microwave in short bursts or a double boiler. Pour the melted chocolate over the mint filling, spreading it evenly with a spatula.
- Chill the Bars: Place the baking pan in the refrigerator and chill for at least 1 hour to allow the layers to set properly.
- Cut and Serve: Remove from the refrigerator, cut into 16 bars, and serve. Enjoy these minty, chocolatey, chewy bars!
Notes
- For a stronger mint flavor, adjust the peppermint extract in both the cookie base and the filling according to your preference.
- You can substitute heavy cream with milk in the filling, but heavy cream provides a richer texture.
- Make sure the cookie base is completely cool before adding the mint filling to prevent melting and mixing of layers.
- Store the bars in an airtight container in the refrigerator for up to 5 days.
- For cleaner cuts, warm the knife slightly before slicing the bars.
