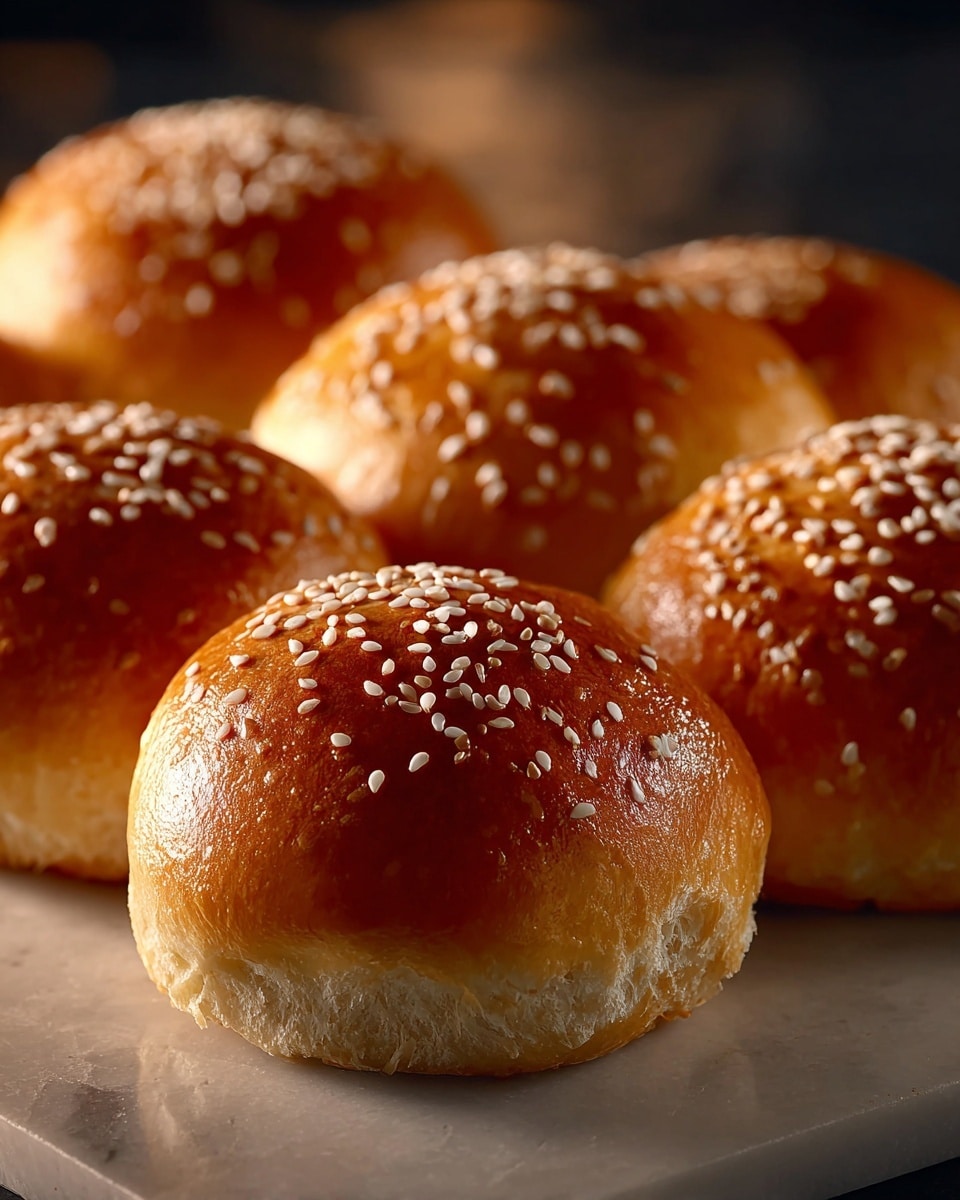
If you’ve been searching for a delightfully soft and creamy treat to brighten your day, this Italian Cream Buns Recipe is exactly what you need. These buns boast a tender, pillowy crumb paired with a luscious whipped cream filling, making each bite a heavenly experience. Perfect for breakfast, a snack, or even a light dessert, this recipe brings together simple ingredients to create a timeless classic that’s both comforting and indulgent. Trust me, once you’ve whipped up these Italian cream buns, they’ll quickly become a favorite in your baking repertoire.
Ingredients You’ll Need
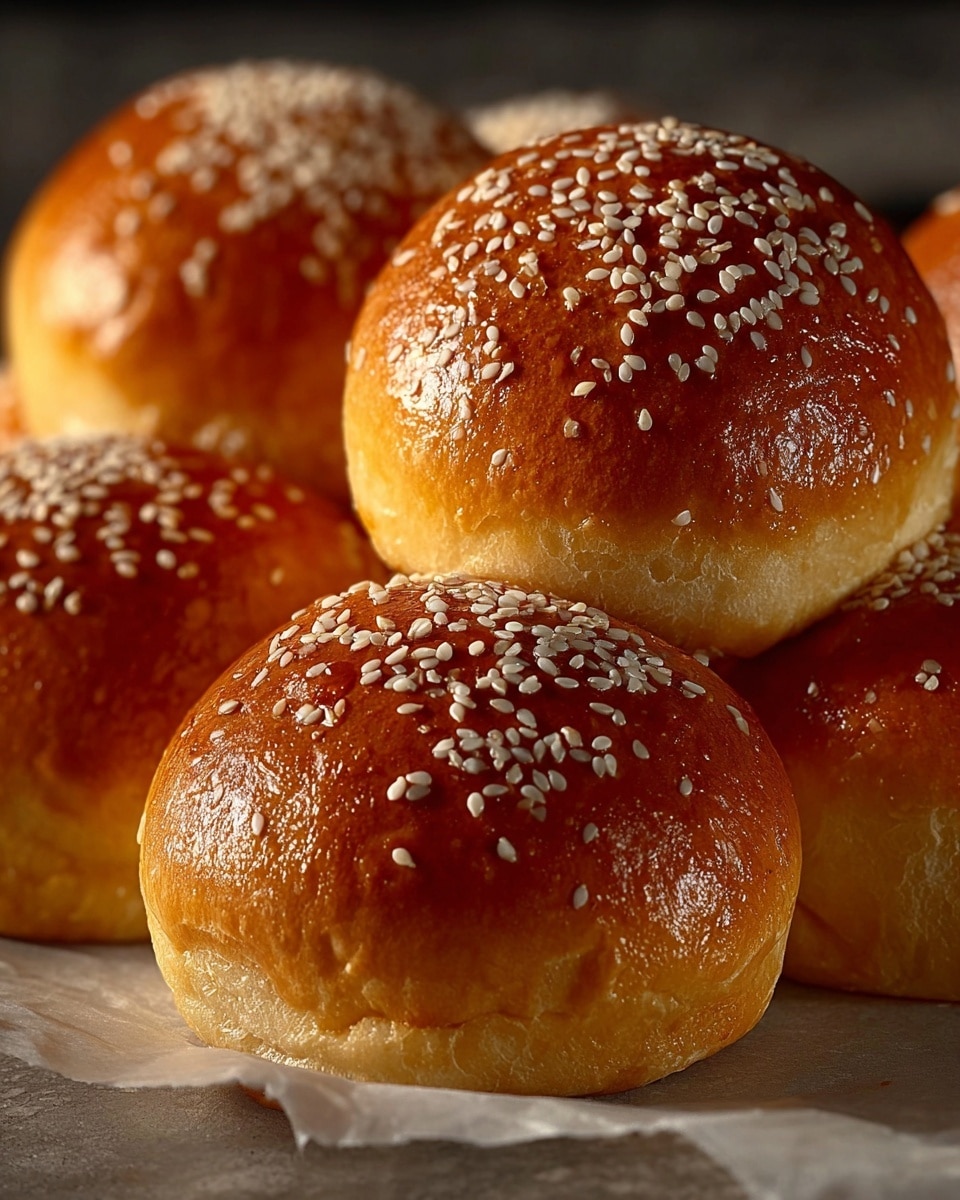
These ingredients might seem humble, but each one plays a critical role in crafting the soft texture, gentle sweetness, and attractive golden hue of your Italian Cream Buns. From the all-purpose flour forming the dough’s backbone to the rich unsalted butter that adds moisture and flavor, every component is essential to achieving that perfect balance.
- 3 cups all-purpose flour: Provides structure and a soft crumb perfect for buns.
- 1/4 cup sugar: Adds a gentle sweetness that balances the richness.
- 1 packet (2 1/4 tsp) active dry yeast: The magic that makes the dough rise fluffy and light.
- 1/2 tsp salt: Enhances flavor and balances sweetness.
- 3/4 cup warm milk: Awakens the yeast and enriches the dough with moisture.
- 1/4 cup unsalted butter, softened: Adds richness and tenderizes the bread.
- 1 egg: Helps bind ingredients and gives a slight golden color.
- 1 cup heavy cream: Whipped to create the creamy filling inside the buns.
- 2 tbsp powdered sugar: Sweetens the whipped cream filling delicately.
- 1 tsp vanilla extract: Infuses the cream with a warm, fragrant note.
- Extra powdered sugar, for dusting: A final snowy touch that adds both beauty and a hint of sweetness.
How to Make Italian Cream Buns Recipe
Step 1: Activate the Yeast
Begin by mixing the warm milk, sugar, and active dry yeast in a bowl. This combination needs about 5 to 10 minutes to become foamy, signaling that your yeast is active and ready to work its magic. This initial step is vital because without a bubbly yeast mixture, your buns won’t rise properly and won’t have that characteristic fluffy texture.
Step 2: Prepare the Dough
Once your yeast mixture is foamy, stir in the softened butter, egg, salt, and flour. The goal is to bring all these ingredients together into a soft, cohesive dough. Knead it for 8 to 10 minutes until the dough turns smooth and elastic. This kneading develops the gluten, which gives your buns their chewy, yet tender bite.
Step 3: Let the Dough Rise
Cover the dough and set it aside to rise until it has doubled in size; this usually takes about an hour. This resting period allows the yeast to create air bubbles inside the dough, making it light and airy. It’s a patient step, but it pays off with perfectly fluffy buns later on.
Step 4: Shape the Buns
After the dough has doubled, punch it down gently to release excess air. Divide the dough into 8 equal portions and shape each piece into a round bun. Place the buns on a baking sheet, giving them some space to grow, and allow them to rise again for about 30 minutes. This second rise guarantees the buns will bake up tender and plump.
Step 5: Bake to Golden Perfection
Preheat your oven to 350°F (175°C) and bake the buns for 18 to 20 minutes until they’re a beautiful golden color. The aroma at this point is irresistible, with notes of buttery dough and freshly baked bread filling your kitchen. Once baked, transfer the buns to a wire rack to cool completely—this is important to prevent the cream filling from melting.
Step 6: Whip the Cream Filling
While the buns cool, whip together heavy cream, powdered sugar, and vanilla extract until stiff peaks form. This luscious whipped cream is what transforms these buns into the luscious treat they are. Once ready, slice the buns horizontally and generously fill each with the whipped cream, creating a perfect sweet cream sandwich.
Step 7: The Finishing Touch
Before serving, dust the filled buns with extra powdered sugar. This adds not only a hint of extra sweetness but also a charming, bakery-worthy look that’s sure to impress anyone lucky enough to taste these delicious buns.
How to Serve Italian Cream Buns Recipe
Garnishes
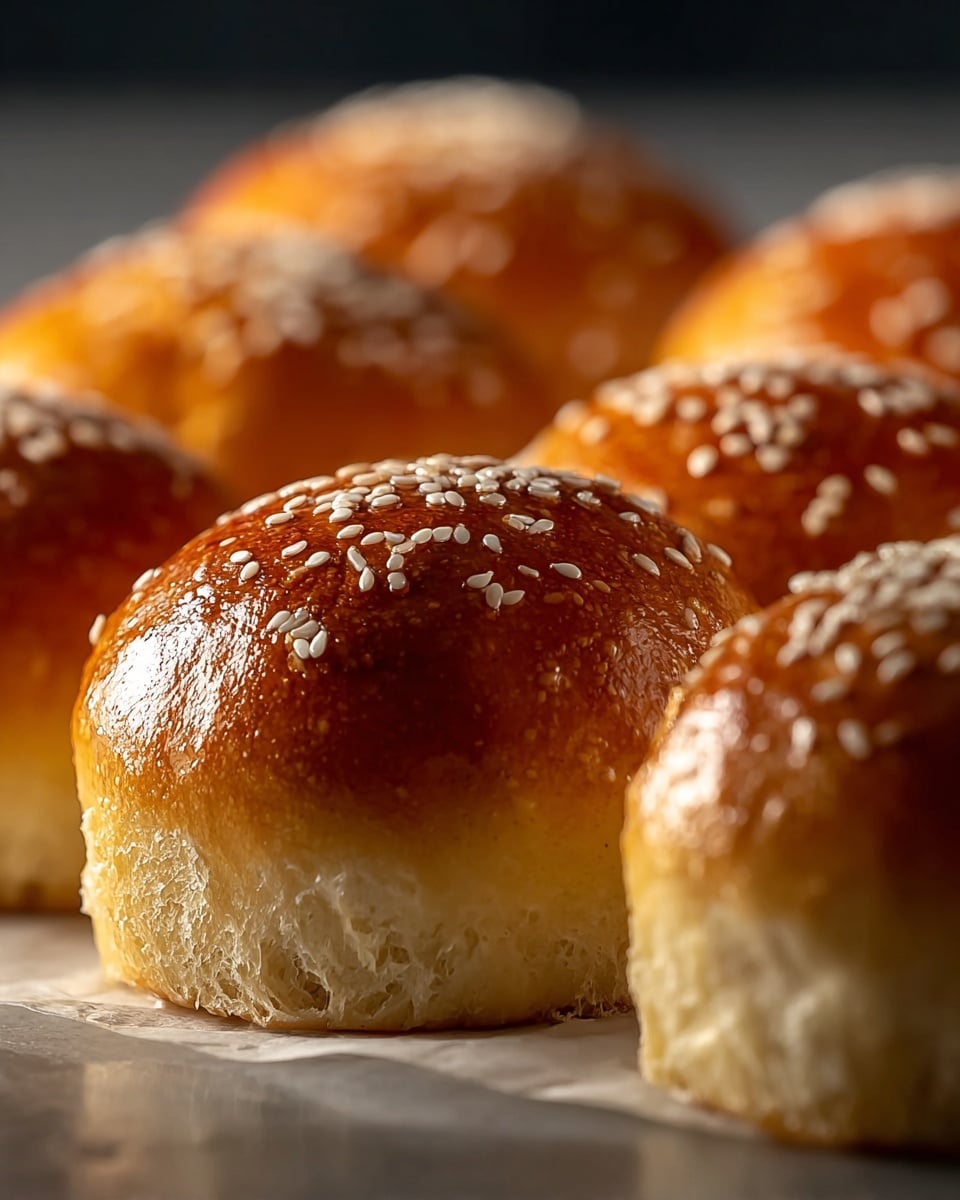
To elevate your Italian Cream Buns Recipe, consider sprinkling a little grated lemon zest or finely chopped toasted almonds on top after dusting with powdered sugar. These garnishes add a fresh zing or a delicate crunch that complements the creaminess perfectly. Fresh berries also work wonderfully for a burst of color and natural sweetness.
Side Dishes
Serve these luscious buns alongside a steaming cup of espresso or a chilled glass of milk for a simple yet elegant combo. If you’re aiming for a brunch spread, pairing them with fresh fruit salad or a light citrus sorbet can balance the richness of the cream with crisp, refreshing flavors.
Creative Ways to Present
For a party or special occasion, try placing the filled buns on a tiered cake stand, letting the powdered sugar dust appear like tiny snow-capped hills. You could also slice them into smaller halves or thirds for bite-sized treats, making them easy to share while still enjoying the full creamy goodness within.
Make Ahead and Storage
Storing Leftovers
If you happen to have any leftover Italian Cream Buns—which is never guaranteed!—store them in an airtight container in the refrigerator. The whipped cream inside means they won’t last long at room temperature, but refrigerated, they stay fresh and delicious for up to 2 days.
Freezing
For longer storage, you can freeze the buns before adding the cream filling. Wrap each bun tightly in plastic wrap and then place them in a freezer-safe container or bag. They’ll keep beautifully for up to 2 months. When you’re ready to serve, thaw them overnight in the refrigerator and then whip fresh cream to fill.
Reheating
To enjoy the buns warm, lightly heat the unfilled buns in the oven at 300°F (150°C) for about 5 to 7 minutes. Avoid microwaving as it can make the bread tough. After warming, add the whipped cream filling just before serving to keep the cream fresh and stable.
FAQs
Can I use low-fat milk or cream in the Italian Cream Buns Recipe?
While low-fat milk can be used to activate the yeast, using heavy cream for the filling is best because it whips into a rich, stable cream that gives the buns their signature creamy texture. Low-fat cream won’t give the same luscious results.
Do I need to use active dry yeast, or can I substitute instant yeast?
Instant yeast can work in this recipe, but because it activates more quickly, you may want to reduce the initial rising time slightly. With active dry yeast, the traditional foaming step helps ensure your dough rises beautifully.
Can this dough be used for other types of buns?
Absolutely! This versatile dough is enriched and soft, making it a great base for various sweet or savory buns. Just adjust fillings or toppings depending on what you want to create.
Is it possible to make these buns gluten-free?
For a gluten-free version, you’d need to use a gluten-free flour blend designed for baking yeast breads, but keep in mind the texture and rise may differ from the classic result. Experimenting with xanthan gum can help mimic gluten’s elasticity.
How long should the whipped cream be fresh inside the buns?
Once filled, the Italian Cream Buns are best eaten within a day to enjoy the cream at its freshest. Refrigerate any leftovers promptly and avoid leaving them out at room temperature for extended periods.
Final Thoughts
Making this Italian Cream Buns Recipe is like inviting a little bit of bakery bliss right into your own kitchen. With its simple ingredients and straightforward process, you can create a batch of irresistibly soft buns filled with airy whipped cream that feels like a warm hug in every bite. Give these a try soon, and watch how they quickly become a beloved staple for you and your loved ones!
Print
Italian Cream Buns Recipe
- Total Time: 1 hour 50 minutes
- Yield: 8 buns 1x
Description
Delight in these soft and tender Italian Cream Buns, lightly sweetened and filled with a luscious whipped cream infused with vanilla. Perfect for a special breakfast, brunch, or afternoon treat, these buns combine a fluffy yeast dough with a rich, creamy filling and a dusting of powdered sugar for an irresistible finish.
Ingredients
Dough Ingredients
- 3 cups all-purpose flour
- 1/4 cup sugar
- 1 packet (2 1/4 tsp) active dry yeast
- 1/2 tsp salt
- 3/4 cup warm milk
- 1/4 cup unsalted butter, softened
- 1 egg
Filling Ingredients
- 1 cup heavy cream
- 2 tbsp powdered sugar
- 1 tsp vanilla extract
Finishing
- Extra powdered sugar, for dusting
Instructions
- Activate the yeast: In a bowl, combine warm milk, sugar, and active dry yeast. Let the mixture sit for 5 to 10 minutes until it becomes foamy, indicating the yeast is active.
- Make the dough: Stir in the softened butter, egg, salt, and flour into the yeast mixture until a soft dough forms. Knead the dough for 8 to 10 minutes until it becomes smooth and elastic.
- First rise: Cover the dough with a clean towel or plastic wrap and allow it to rise in a warm place until it doubles in size, about 1 hour.
- Shape the buns: Gently punch down the risen dough and divide it into 8 equal pieces. Shape each piece into a bun and place them on a baking sheet lined with parchment paper. Let them rise a second time for 30 minutes.
- Bake the buns: Preheat the oven to 350°F (175°C). Bake the buns for 18 to 20 minutes until they turn golden brown. Remove from the oven and allow them to cool completely.
- Prepare the filling: In a chilled bowl, whip the heavy cream with powdered sugar and vanilla extract until stiff peaks form.
- Assemble and serve: Slice the cooled buns horizontally and fill each with the whipped cream. Dust the assembled buns lightly with powdered sugar before serving.
Notes
- Ensure the milk is warm (about 105°F to 110°F) to properly activate the yeast without killing it.
- Kneading the dough until smooth is key to achieving soft and fluffy buns.
- Allow the buns to cool completely before filling to prevent the whipped cream from melting.
- For extra flavor, you can add citrus zest (like lemon or orange) to the whipped cream.
- Store any leftover buns in an airtight container in the refrigerator and consume within 2 days for best freshness.
