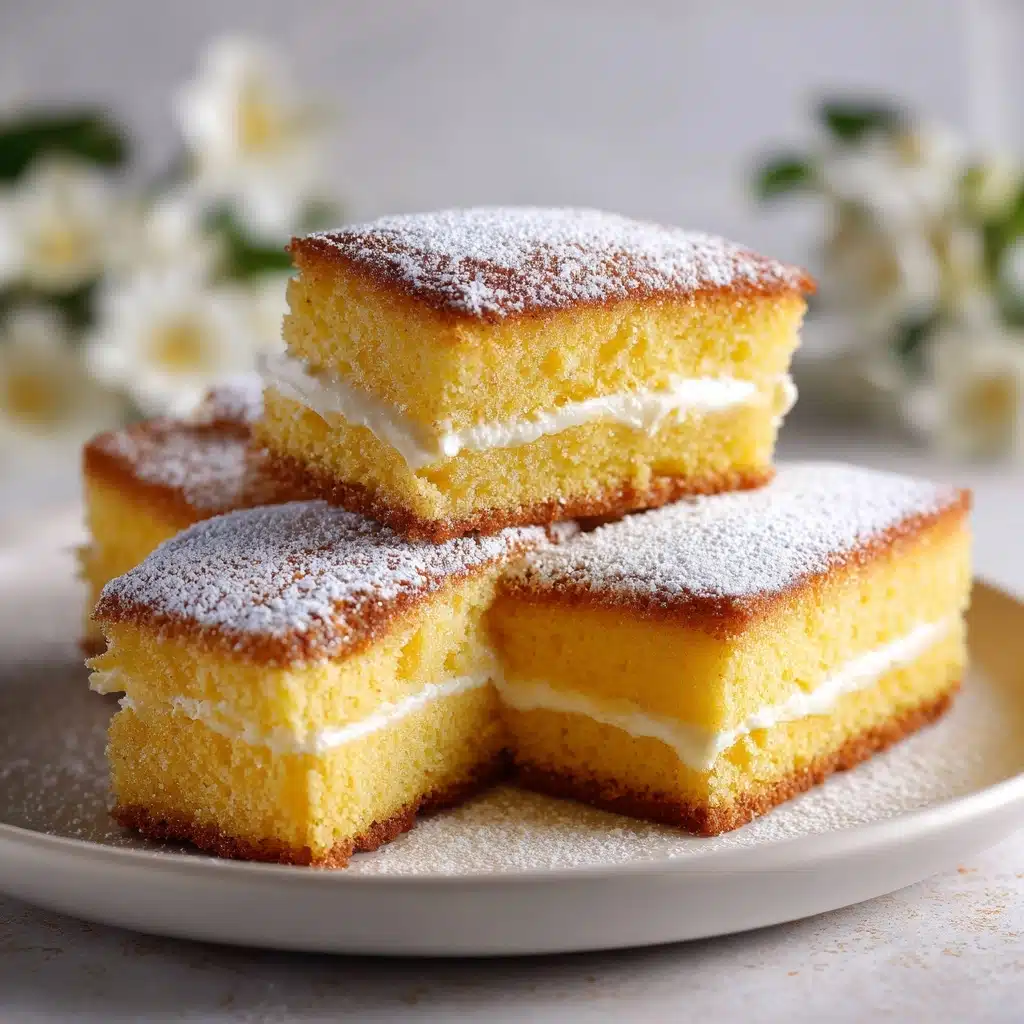
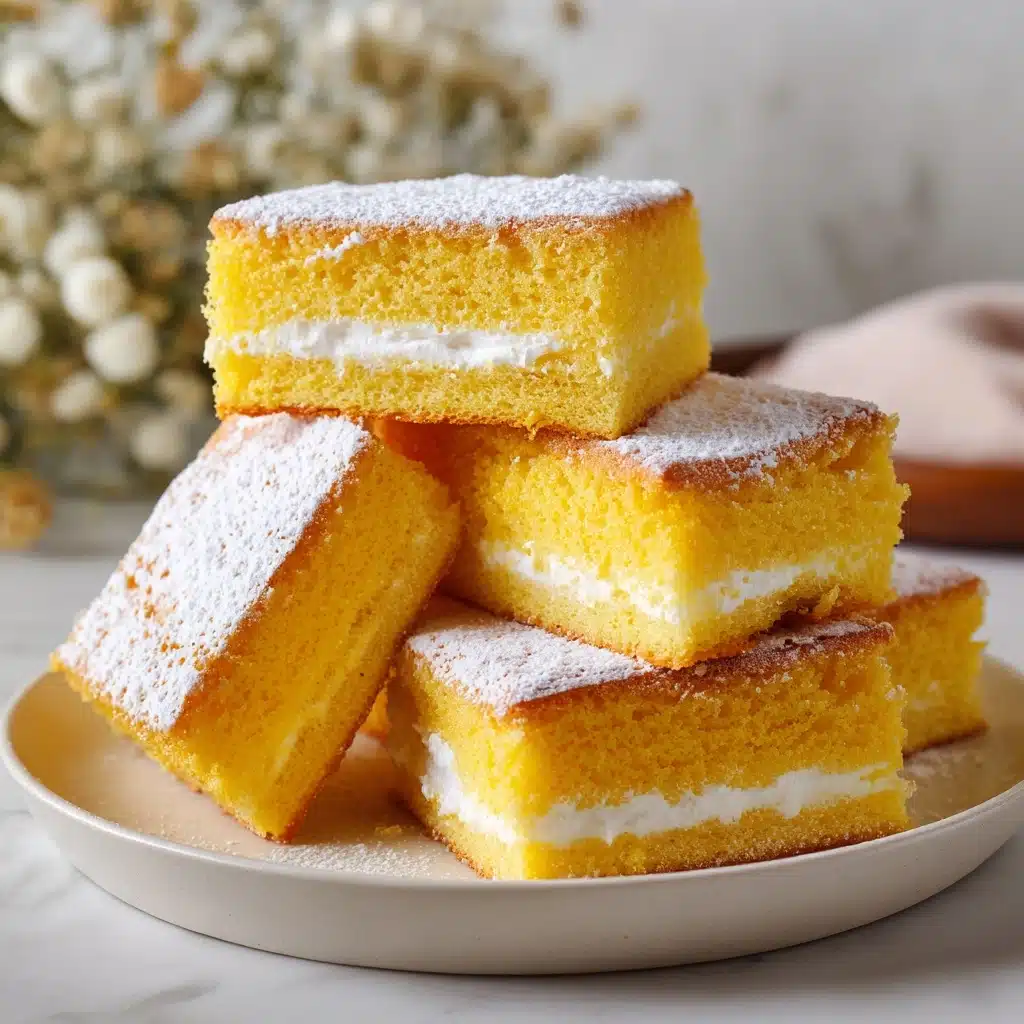
If you’ve ever longed for the nostalgic delight of those iconic golden snack cakes, you’re in for a treat—Homemade Twinkies Vanilla Cakes deliver all the fluffy goodness and luscious creamy filling you remember, with the added magic of being baked right in your own kitchen. With a soft, pillowy sponge and classic vanilla cream center, these cakes strike that perfect balance of sweetness and melt-in-your-mouth texture. Whether you’re making them to impress guests or as a heartfelt tribute to your childhood favorites, this recipe is a joy to share and even better to eat. Trust me, after one bite, you’ll never look at boxed snack cakes the same way again!
Ingredients You’ll Need
What makes these Homemade Twinkies Vanilla Cakes so irresistible? It’s all about the simplicity and harmony of classic ingredients. Each item works in tandem to create that airy crumb, golden exterior, and creamy, dreamy filling that defines this beloved treat.
- All-purpose flour: Provides the structure for the cakes without making them too dense.
- Baking powder: Gives the cakes their essential lift and bounce.
- Salt: Enhances the vanilla flavor and balances the sweetness.
- Eggs (room temperature): The secret to achieving a light and airy sponge.
- Granulated sugar: Sweetens the batter and ensures a tender crumb.
- Whole milk: Adds necessary moisture for softness and richness.
- Vanilla extract: Delivers that irresistible classic vanilla aroma and taste.
- Unsalted butter (melted and cooled): Enriches the cake’s flavor and keeps it moist.
- Vegetable shortening (for filling): Gives the cream filling its signature texture and stability.
- Powdered sugar (for filling): Ensures the filling is silky smooth and sweet.
- Butter (for filling): Keeps the cream flavorful and rich.
- Milk (for filling): Binds and lightens the filling for easy piping.
- Pinch of salt (for filling): Cuts the sweetness just enough for perfect balance.
How to Make Homemade Twinkies Vanilla Cakes
Step 1: Prep Your Pans and Oven
Begin by preheating your oven to 350°F (175°C). Lightly grease a Twinkie pan or mini loaf pan so your cakes release easily after baking. This small step sets you up for that classic Twinkie shape and texture!
Step 2: Whisk Dry Ingredients
In a medium bowl, gently whisk together the flour, baking powder, and salt. This ensures the leavening agent is evenly distributed and gets you closer to the perfect sponge for your Homemade Twinkies Vanilla Cakes.
Step 3: Beat Eggs and Sugar
In a large mixing bowl, beat the eggs and sugar together on high speed for 5 to 7 minutes. Your mixture should transform into a pale, thick, glossy batter that’s tripled in volume. This is the key to recreating that light, airy crumb.
Step 4: Combine Wet Ingredients
In a small bowl, stir together the whole milk, vanilla extract, and melted (but cooled!) butter. This trifecta infuses richness and signature flavor into every bite.
Step 5: Fold Everything Together
Now comes the magic moment: gently fold the dry ingredients and milk mixture into the beaten eggs and sugar, alternating between the two. Mix just until combined—overmixing can deflate your batter and lead to dense cakes, and you want these Homemade Twinkies Vanilla Cakes to be feather-light.
Step 6: Fill the Molds
Spoon the batter into your prepared molds, filling each cavity about three-quarters full. This gives them room to rise and become perfectly puffy in the oven.
Step 7: Bake
Bake for 12 to 15 minutes, or until the tops are golden and a toothpick inserted in the center comes out clean. The aroma will absolutely fill your kitchen with sweet, nostalgic promise!
Step 8: Cool
Let the cakes cool in their pans for 5 minutes, then transfer to a wire rack to cool completely. Patience is worth it—rushing this step can make the vanilla filling melt instead of sitting perfectly inside.
Step 9: Make the Iconic Cream Filling
With a hand or stand mixer, beat together softened butter, shortening, powdered sugar, vanilla, milk, and just a pinch of salt until fluffy and light. This luscious filling is what launches these treats from good to legendary.
Step 10: Fill the Cakes
Transfer the cream to a piping bag fitted with a small round tip. Use a skewer or small knife to poke three holes in the base of each cake. Slide the piping tip in and gently fill each cavity. This part never gets old—watching each cake turn into a Homemade Twinkies Vanilla Cakes masterpiece!
How to Serve Homemade Twinkies Vanilla Cakes
Garnishes
For an extra-special touch, dust the tops lightly with powdered sugar to echo the nostalgic look, or pipe a tiny swirl of filling on top of each cake for fun. A simple vanilla glaze is also delightful if you’re serving these at a party and want a little extra shine.
Side Dishes
Start with a cold glass of milk or a mug of coffee for the ultimate afternoon treat. Fresh berries, especially strawberries or raspberries, add a welcome tartness on the side that cuts through the rich filling. For a retro vibe, serve alongside a creamy vanilla milkshake or classic American diner favorites.
Creative Ways to Present
Present your Homemade Twinkies Vanilla Cakes on a vibrant platter at a birthday party or family gathering—watch the smiles appear! For an adorable twist, slice them in half and arrange over a scoop of vanilla ice cream or into a nostalgic Twinkie “trifle” layered with whipped cream and fruit.
Make Ahead and Storage
Storing Leftovers
Keep any extra cakes in an airtight container in the refrigerator. They’ll stay fresh and moist for up to 3 days, making them perfect for grab-and-go weekday lunchbox treats or afternoon pick-me-ups.
Freezing
To save some for later, place fully cooled and filled cakes in a single layer on a baking sheet, freeze until firm, then transfer to a zip-top freezer bag. Homemade Twinkies Vanilla Cakes will keep beautifully in the freezer for up to two months—just remember to thaw in the fridge or at room temperature before serving.
Reheating
While these cakes are meant to be enjoyed chilled or room temperature, if you’d like to gently warm them, just pop them in a microwave for 8 to 10 seconds. The cake will soften and the creamy filling will be just a touch gooey, making for a delightfully comforting treat.
FAQs
Do I need a special Twinkie pan for this recipe?
Not at all! While a dedicated Twinkie pan creates that classic look, a regular mini loaf pan or even a muffin tin (with some foil to help shape) will work just fine. The taste of Homemade Twinkies Vanilla Cakes comes through no matter what.
Can I substitute the shortening in the filling?
Absolutely! If you prefer, use marshmallow fluff for part or all of the shortening for an extra-sweet, more marshmallowy filling. The texture will be softer but just as delicious.
How can I ensure my cream filling actually stays inside the cakes?
Let the cakes cool completely before filling—that’s the secret. Filling warm cakes can cause the cream to melt or seep out. Patience pays off for picture-perfect Homemade Twinkies Vanilla Cakes every time.
What’s the best way to get the sponge cake super light?
The key is beating the eggs and sugar until the mixture is very thick and airy. Fold the dry and wet ingredients gently so you don’t lose those valuable bubbles—that’s what gives the cakes their delicate structure!
Can I make these cakes gluten-free?
Yes, you can swap the all-purpose flour for a reliable cup-for-cup gluten-free blend. Just make sure your blend contains xanthan gum or a similar binder for the best results.
Final Thoughts
There’s a special magic in bringing back a beloved treat from scratch, and Homemade Twinkies Vanilla Cakes are the perfect nostalgic project for bakers of any level. Once you see how easy and rewarding it is to whip up this golden classic, you may never reach for the store-bought version again. Don’t wait—gather your ingredients, round up your favorite people, and let the wonderful aroma of fresh vanilla cakes fill your kitchen. Happy baking!
Print
Homemade Twinkies Vanilla Cakes Recipe
- Total Time: 40 minutes
- Yield: 10 cakes 1x
- Diet: Vegetarian
Description
Learn how to make delicious homemade Twinkies Vanilla Cakes with a soft sponge and a creamy filling. These nostalgic treats are perfect for any occasion!
Ingredients
For the Cakes:
- 1 cup all-purpose flour
- 1 teaspoon baking powder
- 1/4 teaspoon salt
- 4 large eggs (room temperature)
- 3/4 cup granulated sugar
- 1/3 cup whole milk
- 1/2 teaspoon vanilla extract
- 2 tablespoons unsalted butter (melted and cooled)
For the Filling:
- 1/2 cup unsalted butter (softened)
- 1/2 cup vegetable shortening
- 1 cup powdered sugar
- 1/2 teaspoon vanilla extract
- 1 tablespoon milk
- pinch of salt
Instructions
- Preheat the oven: Preheat the oven to 350°F (175°C) and grease a Twinkie or mini loaf pan.
- Prepare the cakes: Whisk flour, baking powder, and salt. Beat eggs and sugar until pale. Mix milk, vanilla, and melted butter. Combine wet and dry ingredients. Pour batter into molds and bake for 12–15 minutes.
- Make the filling: Beat butter, shortening, powdered sugar, vanilla, milk, and salt until fluffy. Fill a piping bag and inject cream into cakes.
- Serve: Enjoy immediately or refrigerate for later.
Notes
- You can use marshmallow fluff instead of shortening for a sweeter filling.
- These cakes freeze well and can be thawed for serving.
- Prep Time: 25 minutes
- Cook Time: 15 minutes
- Category: Dessert
- Method: Baking
- Cuisine: American
Nutrition
- Serving Size: 1 cake
- Calories: 290
- Sugar: 20g
- Sodium: 120mg
- Fat: 15g
- Saturated Fat: 6g
- Unsaturated Fat: 8g
- Trans Fat: 0g
- Carbohydrates: 35g
- Fiber: 0g
- Protein: 3g
- Cholesterol: 75mg