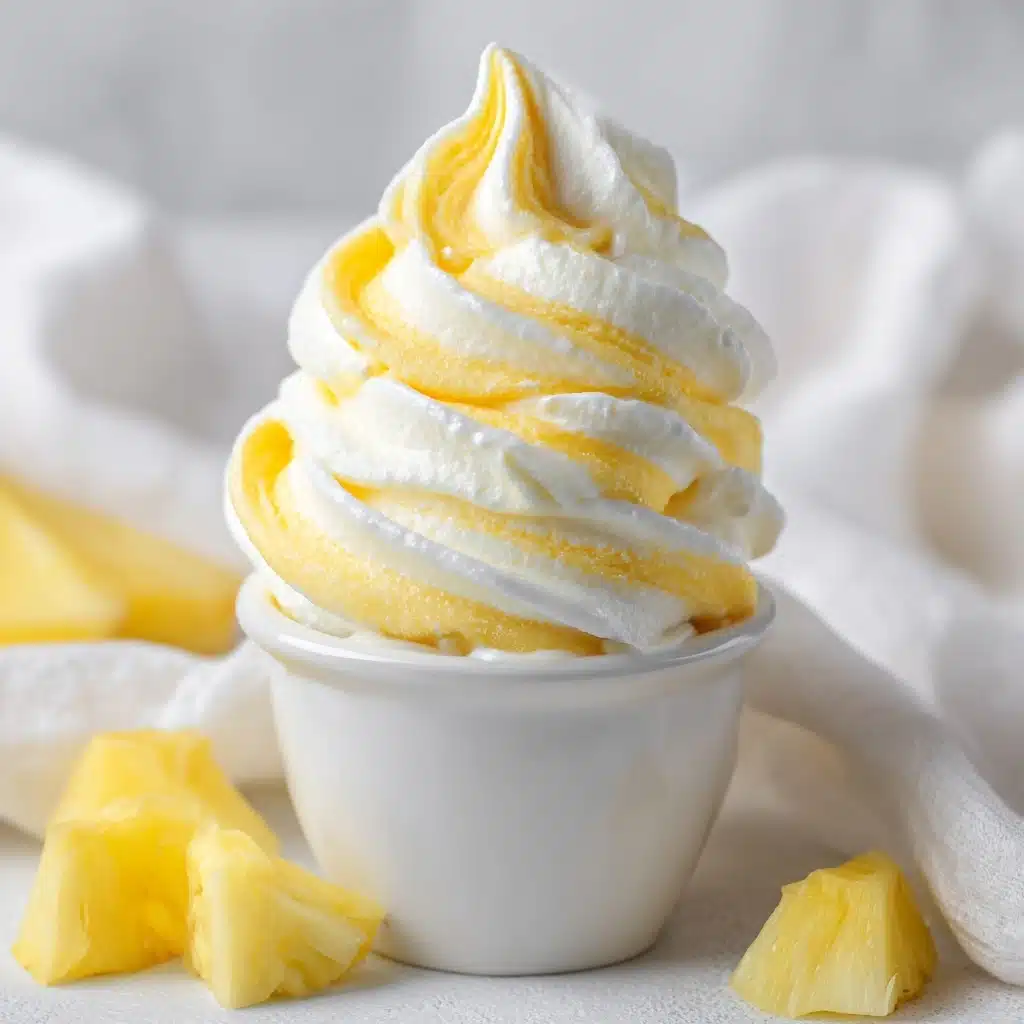
If you’ve ever dreamt of that tropical, sunny magic found in every spoonful of fruity frozen treats, this Homemade Pineapple Soft Serve Ice Cream is here to make your day. With just a handful of easy, wholesome ingredients, you can whip up the creamy, vibrant pineapple indulgence right in your own kitchen. Whether you serve it straight from the blender for a soft, cloud-like texture or scoop it after a quick chill for something a bit firmer, this treat brings instant vacation vibes and pure joy with every swirl.
Ingredients You’ll Need
Nothing complicated here — just a few simple things come together to create the most dreamy Homemade Pineapple Soft Serve Ice Cream. Each ingredient has a purpose, blending sweetness, creaminess, and brightness into a dessert you’ll want to make again and again.
- Frozen Pineapple Chunks: These are the star! Using frozen fruit not only gives you that instantly creamy, soft-serve texture, but also eliminates the need for ice or churning.
- Coconut Milk (or Any Milk of Choice): Coconut milk adds a lush, tropical creaminess, but any milk you love works here—this is what smoothes everything out into ice cream perfection.
- Honey or Maple Syrup (Optional): Just a touch boosts the natural sweetness of the pineapple, but feel free to skip or adjust for your taste or dietary needs.
- Fresh Lemon Juice: A splash of lemon wakes everything up and brings out the pineapple’s best flavor.
- Pinch of Salt: Even desserts need salt — just a pinch helps balance the sweetness and enhance flavor overall.
How to Make Homemade Pineapple Soft Serve Ice Cream
Step 1: Prep Your Ingredients
Start by making sure your pineapple chunks are fully frozen; this is key for getting the signature soft-serve consistency. If you’re starting with fresh pineapple, chop and freeze the pieces for at least a few hours beforehand. Have your choice of milk, sweetener, lemon juice, and salt ready to go—it all comes together fast once you start blending.
Step 2: Blend Until Smooth and Creamy
Add the frozen pineapple, coconut milk (or other milk), honey or maple syrup (if you want it a bit sweeter), fresh lemon juice, and a pinch of salt straight into a high-speed blender or food processor. Blend everything together, stopping to scrape down the sides as needed. If it seems too thick to blend, drizzle in a bit more milk until the mixture flows and becomes temptingly creamy and smooth.
Step 3: Taste and Adjust
Once the texture is velvety and the color sunshiny-bright, taste a spoonful. Is it enough sweetness? Tangy and bright? Adjust with another drop of honey, a dash more lemon, or tiny pinch of salt if you’d like. This step is your moment to customize the flavor exactly how you love it!
Step 4: Serve or Freeze for Scoops
Now you have two glorious options: for the classic soft-serve experience, serve your Homemade Pineapple Soft Serve Ice Cream immediately, swirling it into bowls or cones while it’s still silky and smooth. If you prefer something a bit more scoopable like traditional ice cream, transfer it to a container and freeze for one to two hours, then scoop and enjoy. Trust me—it’s a win-win situation.
How to Serve Homemade Pineapple Soft Serve Ice Cream

Garnishes
All about the little extras? Try topping with toasted coconut flakes, a handful of chopped macadamia nuts, or a few fresh pineapple tidbits for added texture and fun. Even a sprig of fresh mint immediately turns your dessert into a stunning tropical showstopper.
Side Dishes
This bright, cool dessert is fantastic served with light, crisp butter cookies, coconut macaroons, or alongside a platter of fresh tropical fruits—think mango, kiwi, and strawberries to keep the sunshine vibes going strong.
Creative Ways to Present
Get playful! Pipe the Homemade Pineapple Soft Serve Ice Cream into parfait glasses or hollowed-out pineapple halves for serious wow factor. Swirl in a touch of raspberry puree for a gorgeous marbled effect or serve in mini cones for an adorable party treat everyone will love.
Make Ahead and Storage
Storing Leftovers
If you somehow have leftovers (it happens!), simply transfer your Homemade Pineapple Soft Serve Ice Cream to an airtight container. It’ll keep well in the freezer for up to one week, but the sooner you enjoy it, the creamer the texture remains.
Freezing
For the best texture, store your soft serve in a freezer-safe container with a layer of parchment or wax paper pressed on top to minimize ice crystals. Allow at least 10 minutes at room temperature to soften before scooping and serving again.
Reheating
Okay, you won’t need to reheat Homemade Pineapple Soft Serve Ice Cream, but if it gets a bit too firm in the freezer, just let it sit out briefly on the counter. A few minutes of patience turns it perfectly creamy and scoopable again!
FAQs
Can I use fresh pineapple instead of frozen?
You can, but you’ll need to freeze the chunks first! Fresh pineapple won’t create the right creamy consistency unless fully frozen before blending.
Is there a way to make this entirely vegan?
Absolutely! Just use coconut milk or any non-dairy milk and choose maple syrup over honey for sweetness. You’ll get the same creamy, dreamy results.
What if my blender gets stuck?
If blending is tough, don’t panic—just add a little extra milk, one tablespoon at a time, and pulse or stir to help things along. Scrape down the sides as needed for even blending.
Can I double the recipe?
You sure can! Big batch or small, this recipe is wonderfully flexible. Just make sure your blender or food processor can handle the extra volume.
Why add a pinch of salt?
Salt is a flavor enhancer, even in desserts! It balances the sweetness and makes all the tropical flavors in your Homemade Pineapple Soft Serve Ice Cream really pop.
Final Thoughts
Refreshing, vibrant, and bursting with tropical flavor, this Homemade Pineapple Soft Serve Ice Cream is a sunshine-y treat you’ll want to whip up all summer long. It’s quick, so simple to customize, and absolutely irresistible—why not treat yourself to a little scoop of paradise today?
Print
Homemade Pineapple Soft Serve Ice Cream Recipe
- Total Time: 5 minutes (plus optional freezing time)
- Yield: 4 servings 1x
- Diet: Vegan
Description
Indulge in the tropical delight of Homemade Pineapple Soft Serve Ice Cream. This dairy-free and vegan treat is made with just a few simple ingredients and is perfect for a refreshing summer dessert.
Ingredients
Frozen Pineapple Soft Serve:
- 4 cups frozen pineapple chunks
- ½ cup coconut milk (or any milk of choice)
- 1–2 tablespoons honey or maple syrup (optional, to taste)
- 1 teaspoon fresh lemon juice
- pinch of salt
Instructions
- Blend Ingredients: Add the frozen pineapple chunks, coconut milk, honey or maple syrup (if using), lemon juice, and a pinch of salt to a high-speed blender or food processor. Blend until smooth and creamy, stopping to scrape down the sides as needed.
- Adjust Consistency: If the mixture is too thick, add a splash more milk to help it blend.
- Serve: Enjoy immediately for a soft-serve texture, or transfer to a container and freeze for 1–2 hours for a firmer scoopable consistency. Scoop into bowls or cones and indulge!
Notes
- For a dairy-free and vegan version, use maple syrup and non-dairy milk.
- Add a splash of vanilla extract for extra depth of flavor.
- Best served fresh but can be stored in the freezer for up to 1 week—just let it sit at room temperature for 10 minutes before scooping.
- Prep Time: 5 minutes
- Cook Time: 0 minutes
- Category: Dessert
- Method: Blending
- Cuisine: American
Nutrition
- Serving Size: ½ cup
- Calories: 95
- Sugar: 15g
- Sodium: 5mg
- Fat: 2g
- Saturated Fat: 2g
- Unsaturated Fat: 0g
- Trans Fat: 0g
- Carbohydrates: 21g
- Fiber: 2g
- Protein: 1g
- Cholesterol: 0mg