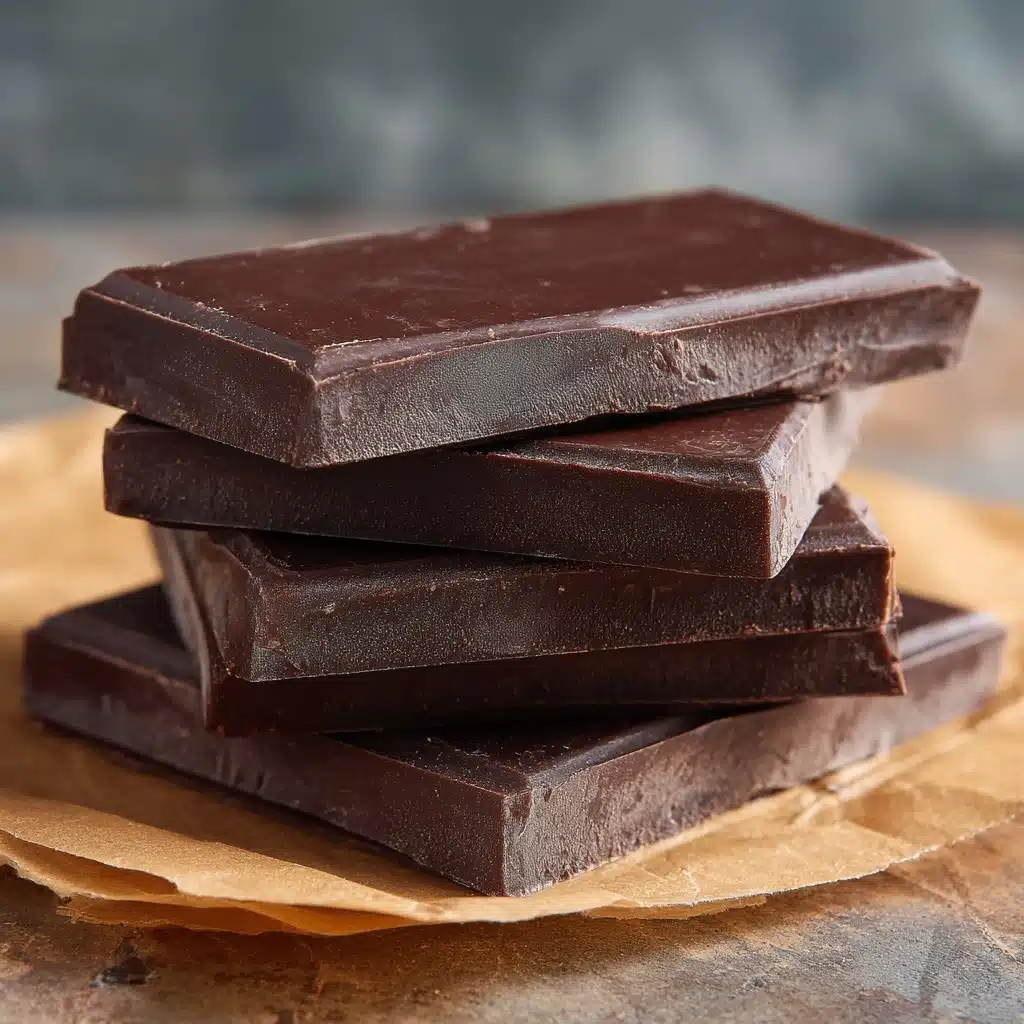
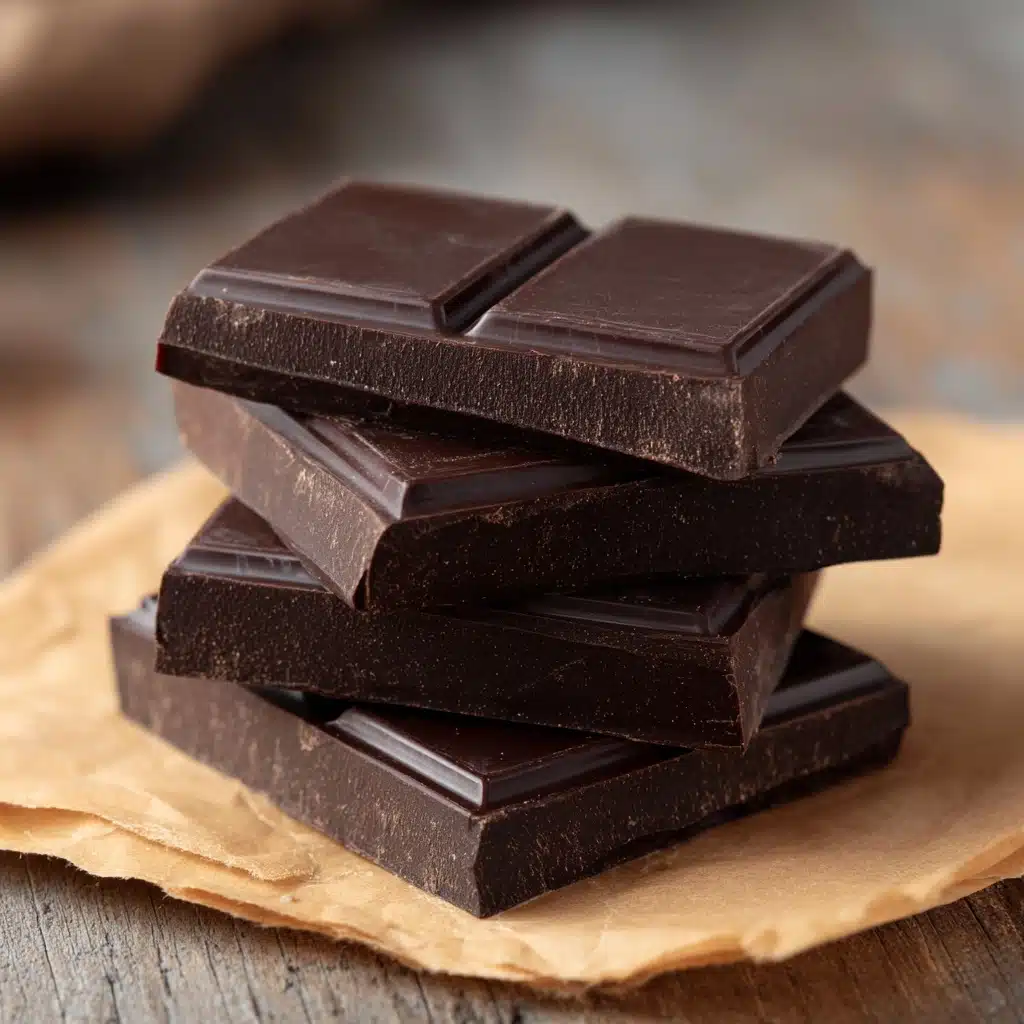
Homemade Chocolate Bars really are the stuff of chocolate lovers’ dreams: they’re rich, melt-in-your-mouth decadent, and so astonishingly simple to make, you’ll wonder why you ever bought chocolate at the store. Each bite showcases pure, vivid cocoa flavor, mellowed by velvety cocoa butter and your own favorite sweetener. Whether you keep it classic or have fun with mix-ins, this DIY treat is pure joy in every square.
Ingredients You’ll Need
It’s truly enchanting how a handful of basic ingredients can become something so luxurious. Each part of this recipe creates a layer of flavor, texture, or aroma in your Homemade Chocolate Bars—so let’s break down what you’ll need and why!
- Cocoa Butter: Provides the signature smoothness and luxurious melt, just like the best artisan chocolate.
- Unsweetened Cocoa Powder: Packs all the deep, nuanced chocolate flavor; opt for a high-quality variety for the richest taste.
- Powdered Sugar or Maple Syrup: Adds the sweetness; powdered sugar keeps bars firmer, while maple syrup gives a softer, slightly caramel-touched result.
- Vanilla Extract: Enhances and rounds out the chocolate’s natural notes, so don’t skip it!
- Pinch of Salt: Just a touch, but it magically intensifies every other flavor.
- Optional Mix-ins (chopped nuts, dried fruit, coconut flakes, sea salt): Get creative for fun textures and flavor surprises in every bite.
How to Make Homemade Chocolate Bars
Step 1: Melt the Cocoa Butter
Start by placing your chopped cocoa butter into a heatproof bowl set over a saucepan of gently simmering water (this double boiler method keeps things gentle and prevents scorching). Stir every so often until the cocoa butter is fully melted and beautiful and glossy. That smell is your first promise of great chocolate to come.
Step 2: Whisk in Cocoa Powder
Once your cocoa butter is melted, remove any lumps; then slowly sprinkle in your unsweetened cocoa powder, whisking as you go. Take your time here—this is where the smooth richness is built. Whisk until the mixture looks utterly silky and unified.
Step 3: Sweeten and Flavor
Now it’s time for the sweetness: choose either powdered sugar (for a classic, firmer bar) or maple syrup (for a softer, fudgier bar with a hint of caramel). Whisk it in completely, then add the vanilla extract and a little pinch of salt. Once it’s all mixed, dip in a spoon to taste and adjust sweetness if you’d like.
Step 4: Pour Into Molds and Add Fun Extras
Transfer your chocolate mixture into silicone chocolate bar molds or a parchment-lined tray for a rustic slab. Sprinkle with your favorite mix-ins—maybe chopped hazelnuts, toasty coconut, dried cherries, or a dramatic flourish of flaky sea salt. Give the molds a gentle tap on the counter to pop any air bubbles and help everything settle perfectly.
Step 5: Chill and Set
Slip the molded chocolate into the fridge and let it chill for 1–2 hours, or until completely set and firm. (The hardest part: being patient!) Once they feel firm to the touch, pop out your bars and admire your homemade masterpiece.
How to Serve Homemade Chocolate Bars

Garnishes
A sprinkle of sea salt, a final dusting of extra cocoa powder, or a drizzle of melted dark chocolate on top of your Homemade Chocolate Bars transforms them into jewel-like treats. For a touch of luxury, try adding edible gold leaf or a few toasted nuts just before serving.
Side Dishes
Pair these chocolate bars with a cup of hot espresso, a scoop of vanilla gelato, or even a handful of fresh berries for a café-worthy dessert experience at home. Homemade Chocolate Bars also make a delightful accompaniment to cheese boards (yes, really!) or served alongside a glass of red wine for a sophisticated treat.
Creative Ways to Present
Wrap each bar in parchment and tie with twine for heartfelt edible gifts. Layer mini chocolate squares in a glass jar for a casual, help-yourself dessert. For parties, break the bars into rustic shards and pile high on a platter with dried fruit and nuts—everyone will go wild for the interactive dessert spread.
Make Ahead and Storage
Storing Leftovers
Keep your Homemade Chocolate Bars in an airtight container in a cool, dry place (the pantry is perfect if it’s not too warm). If you’ve used maple syrup for a softer bar, it’s best to store them in the fridge—they’ll keep their snap and stay fresh for up to two weeks.
Freezing
For longer storage, Homemade Chocolate Bars can be frozen. Wrap each bar tightly in parchment or wax paper, tuck into a freezer bag, and freeze for up to 3 months. Let the bars come to room temperature before enjoying, to bring back that smooth, silky texture.
Reheating
Technically, you don’t reheat chocolate bars, but if they’ve chilled a bit too hard, just let them sit at room temperature for 10–15 minutes. They’ll soften and become perfectly snackable again—no microwave needed!
FAQs
Can I use coconut oil instead of cocoa butter?
You can use coconut oil in a pinch, but your bars will be softer, especially at room temperature, and will have a hint of coconut flavor. For the signature creamy snap, cocoa butter is the way to go for true Homemade Chocolate Bars!
Why do my chocolate bars look dull or streaky?
That’s likely because of cocoa butter blooming or temperature changes. For extra shine, you can temper the chocolate (gently warming and cooling it to specific temperatures), but your bars will still taste fantastic without this step.
Can I make these Homemade Chocolate Bars sugar free?
Absolutely! Use your favorite powdered sugar substitute or a sugar-free liquid sweetener, but remember liquid sweeteners will create a softer chocolate. Taste as you go, since sweetness varies between alternatives.
How do I customize the texture and flavor?
Let yourself play! Try almond extract, orange zest, cardamom, peppermint oil, or swirl in peanut butter. Swapping in crunchy nuts or chewy dried fruit also changes both taste and bite.
How long will Homemade Chocolate Bars keep?
Stored in the fridge in an airtight container, your bars will stay delicious for up to two weeks. Frozen, they’re good for three months—if you can resist them that long!
Final Thoughts
Few things beat the simple luxury of Homemade Chocolate Bars, made with your own favorite flavors and treats mixed in. If you’ve never tried making chocolate from scratch, consider this your sign—it’s rewarding, fun, and utterly delicious. Grab those ingredients and get ready to wow yourself and anyone lucky enough to share in your creation!
Print
Homemade Chocolate Bars Recipe
- Total Time: 1 hour 15 minutes (including chilling)
- Yield: 4 standard chocolate bars 1x
- Diet: Vegan
Description
Indulge in the rich, velvety goodness of homemade chocolate bars made with premium cocoa butter and cocoa powder. Customize with your favorite mix-ins for a delightful treat!
Ingredients
Main Ingredients:
- 1 cup cocoa butter, chopped
- 1 cup unsweetened cocoa powder
- 1/2 cup powdered sugar or maple syrup
- 1 teaspoon vanilla extract
- Pinch of salt
Optional Mix-ins:
- Chopped nuts
- Dried fruit
- Coconut flakes
- Sea salt
Instructions
- Melt Cocoa Butter: In a heatproof bowl over simmering water, melt cocoa butter until smooth.
- Blend Ingredients: Whisk in cocoa powder, then stir in sugar (or maple syrup), vanilla, and salt until glossy.
- Pour and Set: Pour into molds, add mix-ins, refrigerate until firm, then store in airtight container.
Notes
- Use high-quality ingredients for best results.
- If sweetening with liquid, store chocolate bars chilled.
- You can temper the chocolate for a glossy finish.
- Prep Time: 10 minutes
- Cook Time: 5 minutes
- Category: Dessert, Snack
- Method: No-Bake
- Cuisine: American, European
Nutrition
- Serving Size: 1 bar
- Calories: 320
- Sugar: 15 g
- Sodium: 20 mg
- Fat: 26 g
- Saturated Fat: 16 g
- Unsaturated Fat: 10 g
- Trans Fat: 0 g
- Carbohydrates: 22 g
- Fiber: 4 g
- Protein: 3 g
- Cholesterol: 0 mg


