“`html
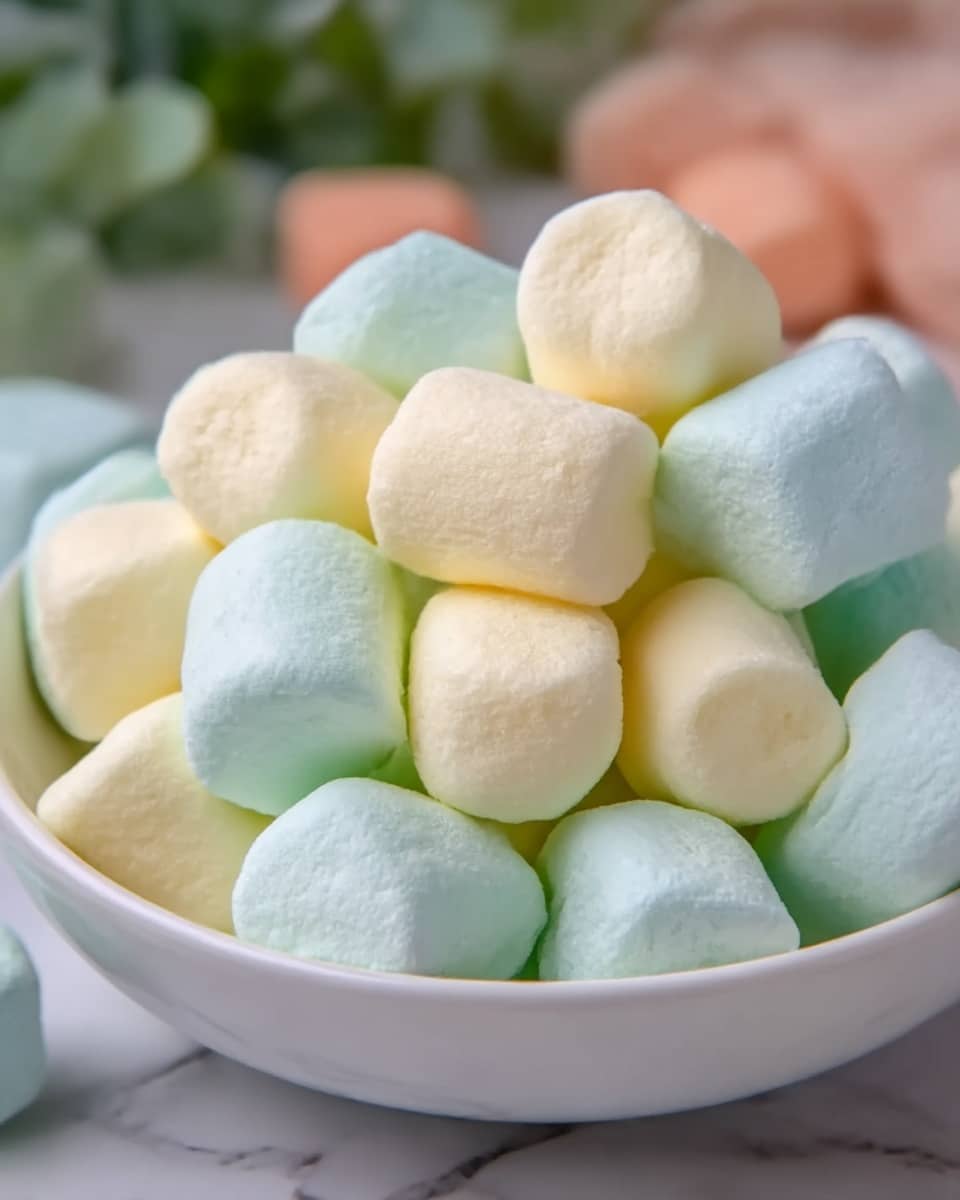
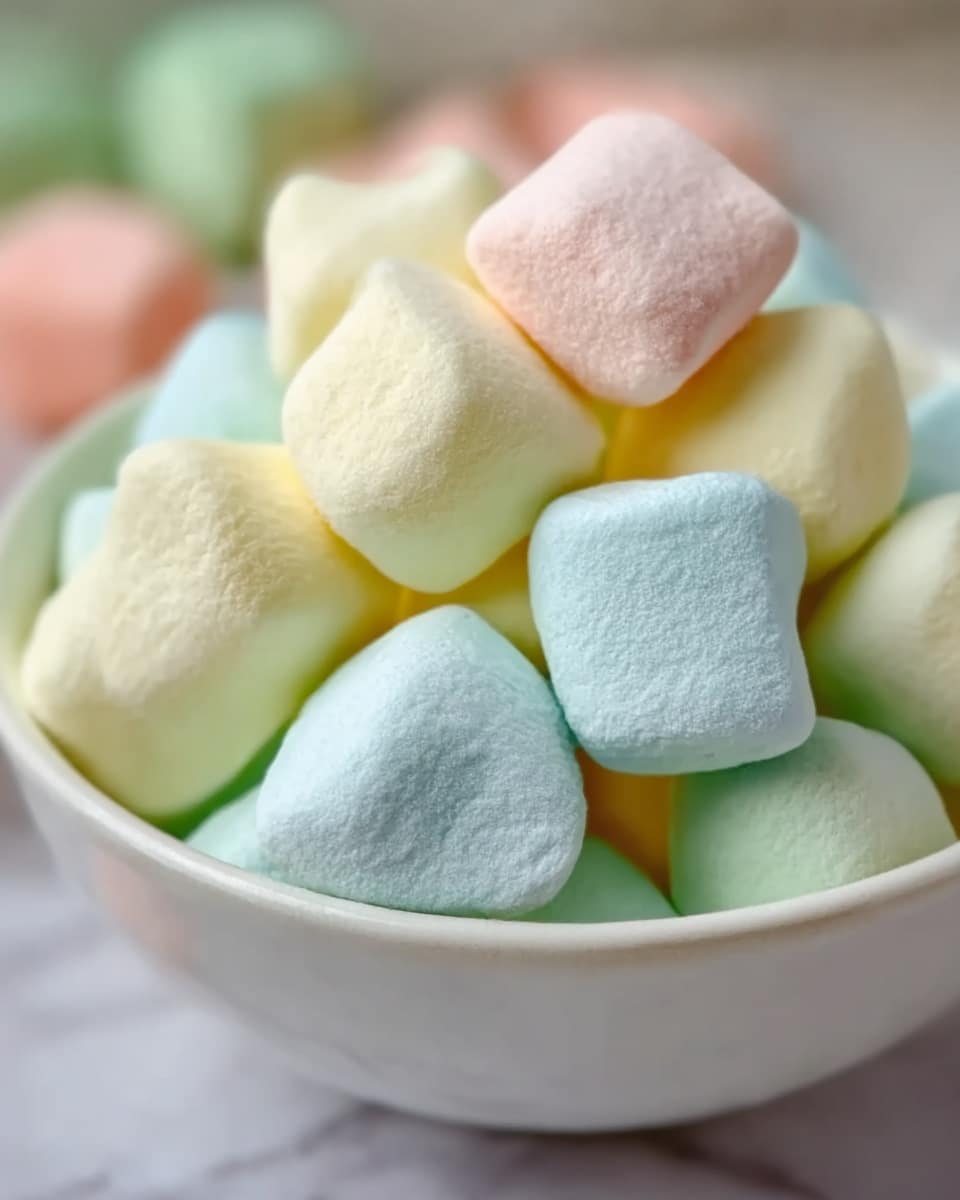
If you’re anything like me and love those little nostalgic flavors that brighten up the holidays, then you are going to absolutely adore this Homemade Butter Mints: A Sweet Holiday Treat Recipe. These delicate, buttery candies are perfectly melt-in-your-mouth soft with just the right hint of peppermint, making them a charming homemade present or a festive nibble to share around the tree. They’re surprisingly simple to make, using a handful of ingredients that come together in a creamy, dreamy dough that you shape into bite-sized stars of sweetness. Let me walk you through every step to create this beautiful holiday classic that’s sure to become a favorite year after year.
Ingredients You’ll Need
The magic of this recipe lies in its simplicity, with each ingredient playing a crucial role. The creamy butter provides richness, powdered sugar gives sweetness and structure, peppermint extract delivers that refreshing peppermint zing, and a splash of whipping cream helps keep the texture silky. Plus, a few drops of food coloring can turn these mints into festive jewels that match any holiday palette.
- 1 stick unsalted butter (softened): This is the base of your mints, bringing richness and that signature buttery flavor.
- 1 tablespoon whipping cream: Adds moisture to achieve that smooth, creamy consistency that melts on your tongue.
- 4 cups powdered sugar (divided, plus more for dusting): Essential for sweetness and to help the mints hold their shape without crumbling.
- ½ teaspoon pure peppermint extract: Provides that classic cool peppermint flavor; use pure extract for the best taste.
- 1-4 drops food coloring (optional): Bring your butter mints to life with festive colors; add more for brighter hues.
How to Make Homemade Butter Mints: A Sweet Holiday Treat Recipe
Step 1: Cream the Ingredients
Start by combining your softened butter, whipping cream, 1 cup of powdered sugar, and peppermint extract in a stand mixer bowl. Beat them together until smooth and creamy. This step is all about blending those rich butter flavors with fresh peppermint, laying the groundwork for that melt-in-your-mouth texture.
Step 2: Add Sugar Gradually
Don’t rush! Add the remaining powdered sugar one cup at a time, mixing well after each addition. As you do this, gently press down any dough stuck to the sides of the bowl. You’ll notice the dough begins to pull away from the sides, signaling it’s perfectly thick and pliable for shaping.
Step 3: Divide the Dough
If you want to play with colors, divide your dough evenly now. Wrap each portion tightly in plastic wrap to keep it from drying out. Weighing the dough will help ensure each color batch is evenly sized, making your final mints uniform and pretty.
Step 4: Color the Dough
Now the fun part! Add 1 to 4 drops of your chosen food coloring to each wrapped dough portion and knead it until the color is evenly mixed throughout. Once colored, pop them back into the fridge for about an hour to firm up, which makes rolling and shaping easier.
Step 5: Shape the Mints
Lightly dust your cutting board with powdered sugar and roll out each color section into ropes about half an inch thick. Using a sharp knife or dough scraper, cut into small, bite-sized pieces. This step lets you create those charming little mints that are just perfect for popping in your mouth.
Step 6: Dry the Mints
Spread your cut mints on a board or baking sheet and let them rest at room temperature for about 12 hours. This drying period firms them up so they keep their shape but remain wonderfully tender. It’s a great time to plan your festive packaging!
Step 7: Store the Mints
Once dry, store your homemade butter mints in an airtight container at room temperature. They stay fresh and delicious for up to two weeks, giving you plenty of time to snack, share, or gift these sweet holiday treasures.
How to Serve Homemade Butter Mints: A Sweet Holiday Treat Recipe
Garnishes
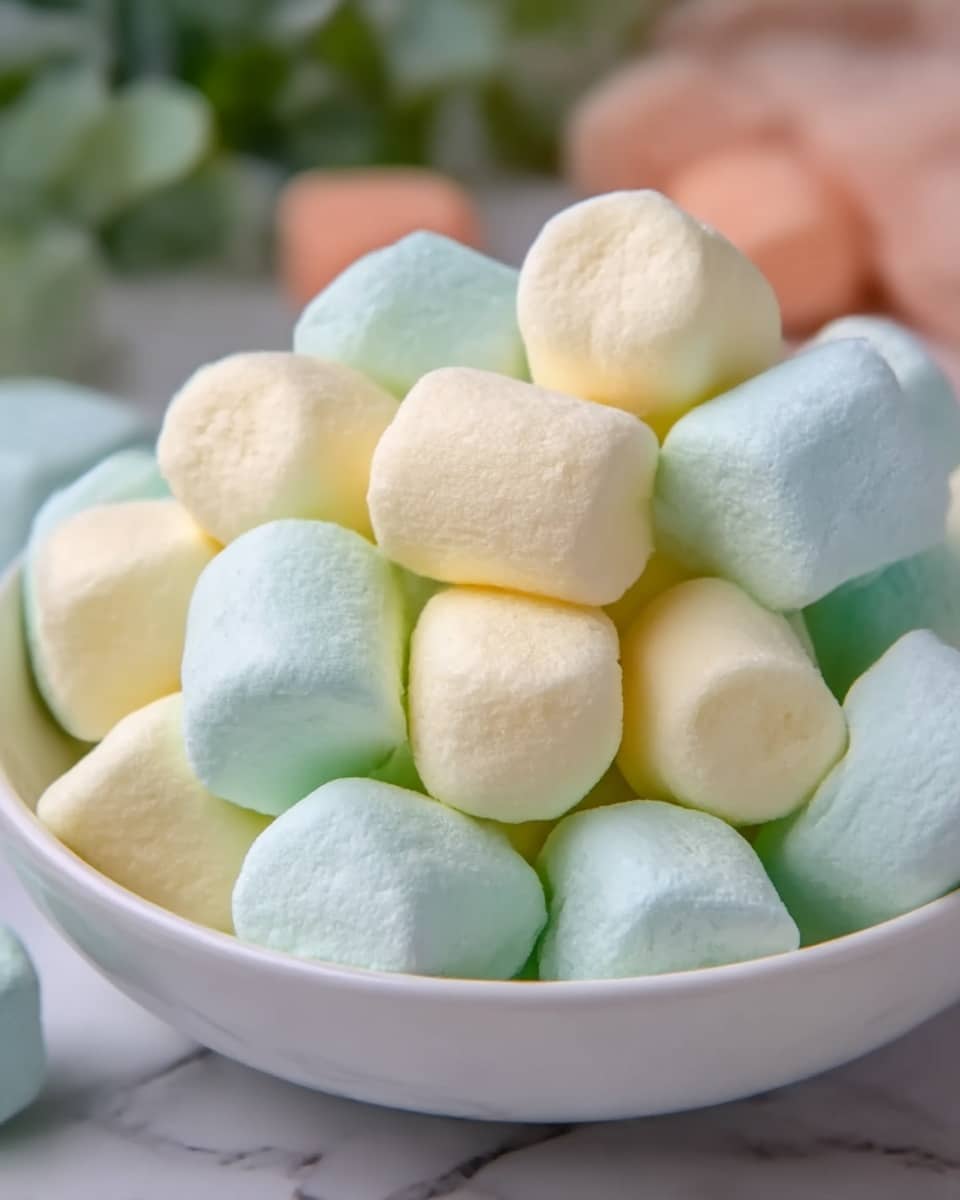
These buttery mints are stunning simply on their own, but a sprinkle of edible glitter or a dusting of extra powdered sugar can dress them up beautifully. For a fun twist, place a tiny mint leaf or a small sprinkle of crushed candy cane on top just before drying to add a festive flair.
Side Dishes
Butter mints are terrific palate cleansers after a hearty holiday meal. Serve them alongside a rich dessert like chocolate torte or a nutty pecan pie to balance the flavors and refresh your guests’ taste buds.
Creative Ways to Present
Think beyond the bowl! Arrange the mints in clear glass jars tied with festive ribbons for charming gifts. Or create a colorful platter by grouping various tinted mints in candy dishes, perfect for holiday parties or as an eye-catching dessert table accent.
Make Ahead and Storage
Storing Leftovers
If you’re lucky enough to have leftovers, no worries—the mints keep their delicate texture beautifully when stored at room temperature in an airtight container. Avoid refrigeration since the humidity can soften them too much.
Freezing
Freezing butter mints is generally not recommended because the texture can suffer and become crumbly upon thawing. It’s best to enjoy them fresh within the two weeks after making.
Reheating
These mints don’t require reheating. Their charm is in their cool, melt-in-your-mouth softness straight from storage. Just let them come to room temperature if they feel firm to the touch before serving.
FAQs
Can I use salted butter instead of unsalted?
While you can, unsalted butter is best for this recipe because it gives you control over the saltiness. Using salted butter might make your mints taste a bit off balance since these candies are meant to be sweet and light.
How long do these butter mints last?
When stored properly in an airtight container at room temperature, they stay fresh and delicious for up to two weeks, making them perfect for gifting or enjoying throughout the season.
Can I make these mints without food coloring?
Absolutely! The mints taste fantastic even without any coloring. The food coloring is purely optional and used to give them that festive holiday look.
What texture should the dough have after mixing?
Your dough should be soft but firm enough to hold shape, not sticky or crumbly. It pulls away cleanly from the sides of the bowl and feels pliable to the touch.
Can I use a hand mixer instead of a stand mixer?
You can! Just make sure your butter is well softened before mixing, and scrape down the bowl often to get all the ingredients combined evenly.
Final Thoughts
You’re now fully equipped to make this Homemade Butter Mints: A Sweet Holiday Treat Recipe that feels both special and comforting. From the creamy buttery base to the cooling peppermint pop, these little candies spark joy with every bite. I can’t wait for you to make them, share them, and maybe even create new traditions with these sweet seasonal delights. Trust me, once you’ve tried your hand at these, they’ll become a holiday staple on your table too!
“`
Print
Homemade Butter Mints: A Sweet Holiday Treat Recipe
- Total Time: 13 hours 20 minutes
- Yield: 20 servings 1x
Description
Homemade Butter Mints are a classic, melt-in-your-mouth sweet treat perfect for the holiday season. Creamy, buttery, and infused with refreshing peppermint, these colorful mints are easy to make and perfect for gift-giving or festive gatherings.
Ingredients
Butter Mint Dough
- 1 stick unsalted butter (softened)
- 1 tablespoon whipping cream
- 4 cups powdered sugar (divided, plus more for dusting)
- ½ teaspoon pure peppermint extract
- 1–4 drops food coloring (or more for brighter colors)
Instructions
- Cream the Ingredients: In the bowl of a stand mixer, cream together the softened butter, whipping cream, 1 cup of powdered sugar, and peppermint extract until smooth.
- Add Sugar Gradually: Push down any dough sticking to the sides of the bowl. Add another cup of powdered sugar and mix again. Repeat this process until all the powdered sugar is incorporated and the dough starts to pull away from the sides of the bowl.
- Divide the Dough: If using multiple colors, weigh and divide the dough evenly, then wrap each section tightly in plastic wrap to prevent drying out.
- Color the Dough: Add 1-4 drops of your chosen food coloring to each dough section and knead until evenly distributed. Wrap again and chill in the refrigerator for 1 hour.
- Shape the Mints: On a cutting board dusted with powdered sugar, roll the dough into ropes approximately ½ inch thick. Use a sharp knife or dough scraper to cut the ropes into small pieces.
- Dry the Mints: Leave the cut pieces on the cutting board or transfer to a baking sheet. Allow them to dry at room temperature for about 12 hours until they firm up.
- Store the Mints: Store the dried butter mints at room temperature in an airtight container for up to 2 weeks to maintain freshness.
Notes
- Make sure the butter is softened at room temperature for easy creaming.
- Adjust the amount of food coloring to achieve your preferred shade.
- Use powdered sugar to dust the work surface to prevent sticking when shaping the mints.
- Allowing the mints to dry thoroughly is essential to achieve the signature melt-in-your-mouth texture.
- These mints can be stored in an airtight container for up to two weeks at room temperature.
- Prep Time: 1 hour 20 minutes
- Cook Time: 12 hours (drying time)
- Category: Candy
- Method: No-Cook
- Cuisine: American
