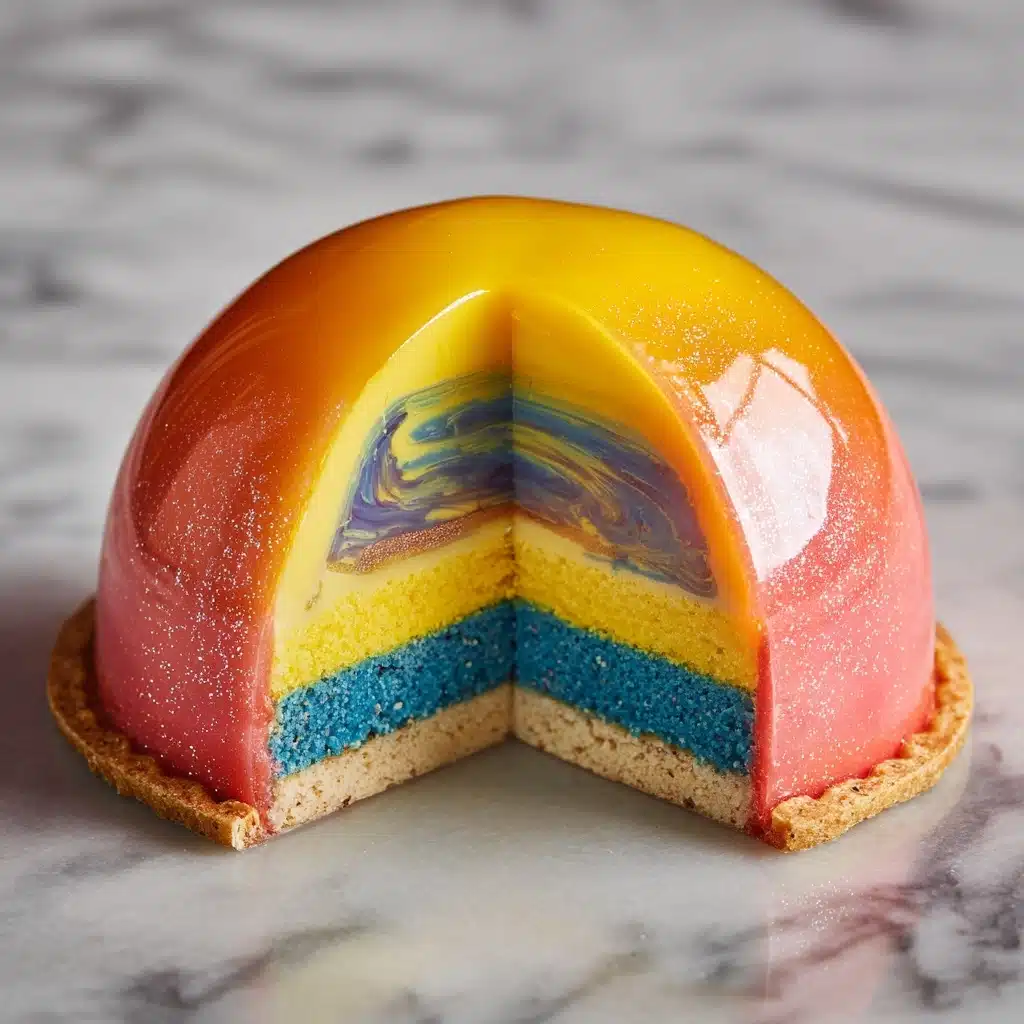
If you’ve ever dreamed of bringing a touch of fantasy to your dessert table, this Dragon Egg Cheesecake is pure magic on a plate. With vividly marbled jewel tones, a rich chocolate crust, and a mystical shimmer, this recipe transforms the classic cheesecake into a showstopping centerpiece worthy of any celebration or themed gathering. Every bite is creamy, colorful, and just daring enough to dazzle your guests—while its whimsical dragon egg scales and enchanting luster invite everyone to lose themselves in a delicious fairytale moment.
Ingredients You’ll Need
It’s astonishing how a few everyday staples—and some vibrant touches—can turn an ordinary cheesecake into something extraordinary. Each ingredient adds a crucial note to the flavor, structure, or eye-catching beauty of the Dragon Egg Cheesecake.
- Chocolate graham cracker crumbs: These provide the deep, earthy base and a satisfying contrast to the bright, creamy filling.
- Unsalted butter, melted: This binds the crust together and lends a melt-in-your-mouth texture.
- Cream cheese, softened: The heart of the cheesecake! Soft cream cheese ensures a silky, luscious filling.
- Granulated sugar: Sweetens the tang of the cream cheese, building a classic and irresistible cheesecake bite.
- Vanilla extract: Just a splash boosts the overall depth and aroma of the filling.
- Large eggs: These bind everything together, creating a souffle-like softness without heaviness.
- Sour cream: Adds a gentle tanginess and lighter texture, perfect for cutting through richness.
- Heavy cream: This makes your cheesecake extra smooth, almost cloudlike in each forkful.
- Gel food coloring (green, purple, and black): The secret to the dragon egg’s brilliant marbled effect—go bold and vivid!
- White chocolate chips: Use these for a creamy sweet topping or for drizzling.
- Candy melts or fondant scales (optional): For the full fantasy effect, shape or place these as dragon scales.
- Edible shimmer dust or luster spray: A magical finishing touch that brings the whole dragon egg illusion to life.
How to Make Dragon Egg Cheesecake
Step 1: Build the Chocolate Crust
Start your Dragon Egg Cheesecake with a sturdy, delicious foundation. Mix the chocolate graham cracker crumbs with melted butter in a medium bowl until all the crumbs are evenly moistened. Press the mixture firmly into the bottom of a 9-inch springform pan, making sure it’s compact and reaches the edges. Bake in a preheated 325°F oven for 10 minutes—just enough to set the crust. Allow it to cool while you move on to the filling.
Step 2: Make the Marbled Cheesecake Batter
In a large mixing bowl, beat the softened cream cheese and granulated sugar together until the mixture turns smooth and fluffy. Scrape the sides as needed to avoid lumps. Mix in the vanilla extract. One at a time, beat in the eggs, allowing each to fully incorporate before adding the next. Finally, add in the sour cream and heavy cream, mixing gently just until everything’s combined—overbeating can lead to cracks. Divide the batter evenly among three bowls, and tint each with green, purple, or black gel food coloring, stirring gently for rich, even color.
Step 3: Create the Marbled Dragon Egg Effect
Now the real fun begins! Drop alternating spoonfuls of the colored batters into your cooled crust, creating random patterns. Don’t worry about perfection; the beauty is in the unpredictability. Use a skewer or the tip of a butter knife to gently swirl the colors together, making dragon-scale inspired streaks and marbled layers. Stop before the colors blend too much—you want those beautiful, bold patches.
Step 4: Bake the Cheesecake
Place the pan back in the oven and bake for 50 to 60 minutes. Watch for the center: it should be just set and still slightly jiggly in the middle, which means the Dragon Egg Cheesecake will be perfectly creamy after chilling. Turn off the oven, leave the door cracked open, and let the cheesecake cool inside for one hour. This gentle cool-down prevents cracks and ensures the filling stays ultra-smooth.
Step 5: Chill and Decorate
Transfer the cooled cheesecake to the fridge, letting it chill for at least four hours—or better yet, overnight. When it’s cold and set, melt white chocolate chips and drizzle over the top, or get creative by placing candy melts or fondant “scales” to mimic the look of a legendary dragon egg. Finish with an ethereal shimmer of edible dust or a spritz of luster spray, turning your creation into a mythical masterpiece.
How to Serve Dragon Egg Cheesecake

Garnishes
Elevate each slice by brushing the top with more edible shimmer dust, or scatter a few edible pearls or stars on the plate to highlight that fantasy vibe. A sprig of fresh mint or a swirl of white or dark chocolate can add a lovely flourish as well—make every serving as enchanting as the whole cake!
Side Dishes
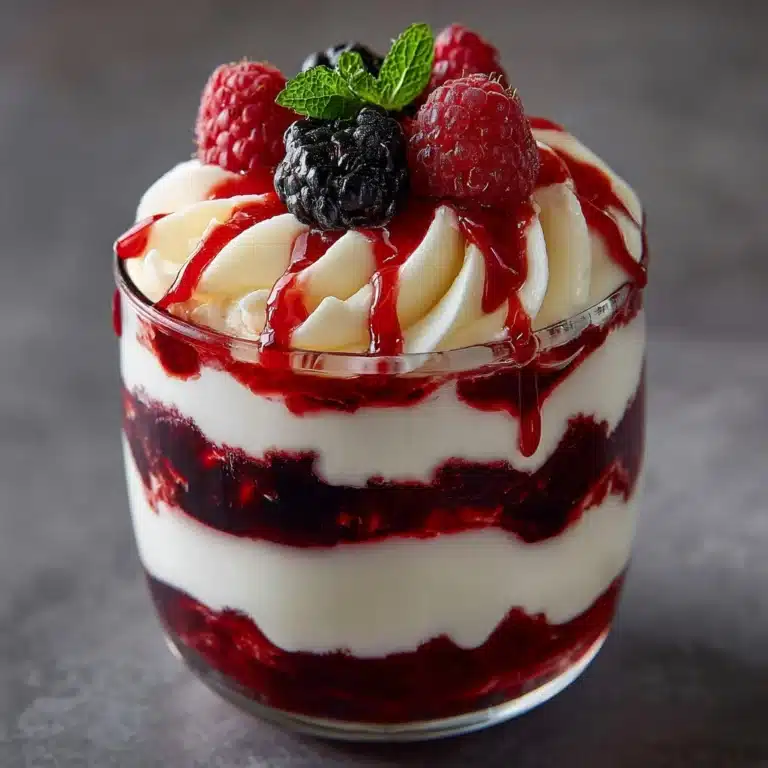
This bold dessert loves a little company. Try serving with fresh berries, tangy fruit coulis, or even a dollop of whipped cream to provide a refreshing contrast to the rich, creamy Dragon Egg Cheesecake. For an adult twist, pair with coffee, after-dinner liqueur, or sparkling cider to really bring out the mystical mood.
Creative Ways to Present
For true fantasy fans, present your Dragon Egg Cheesecake on a metallic platter or set atop a cloth nest of “leaves” (edible or decorative). Individual mini cheesecakes, each adorned with their own shimmering scale, make fantastic party favors. Want a cake that glows? Try a smidge of glow-in-the-dark edible luster or nestle the cake on a bed of dry ice (just for the effect, not to eat!). The drama is part of the fun!
Make Ahead and Storage
Storing Leftovers
If you happen to have any slices left (which seriously might never happen), store them tightly covered in the refrigerator. The cheesecake stays wonderfully creamy for up to 5 days, and the colors remain vivid and eye-catching!
Freezing
Dragon Egg Cheesecake freezes surprisingly well: wrap individual slices or the whole (undecorated) cake in plastic wrap, then foil. Store in the freezer for up to one month. Thaw overnight in the fridge before serving, and decorate with shimmer or scales after it’s fully thawed for the best presentation.
Reheating
No need to reheat, since Dragon Egg Cheesecake is best served well-chilled! If you’ve just pulled a slice from the freezer, let it soften in the refrigerator for a few hours before enjoying. This keeps the texture dreamy and smooth—never rubbery or icy.
FAQs
Can I use any other colors besides green, purple, and black?
Absolutely! Part of the fun is customizing your Dragon Egg Cheesecake to match any fantasy theme or whim. Any combination of vibrant gel colors works beautifully—just avoid over-mixing to keep those dramatic swirls intact.
How do I prevent my cheesecake from cracking?
The secret is gentle handling: don’t overmix the batter, bake until just set, and cool the cheesecake slowly in the oven with the door cracked. These steps all help guarantee a flawless top for decorating!
Can I make this recipe gluten-free?
Yes! Simply swap out the regular chocolate graham crackers for a gluten-free variety, and check that your decorative elements and food coloring are also gluten-free.
What’s the best way to achieve the perfect marbled swirl?
Layer each color in generous spoonfuls, then swirl just enough with a skewer or knife—think long, smooth motions rather than circles. This way, your Dragon Egg Cheesecake will have distinct, bold patterns worthy of a fantasy novel.
Do I need a springform pan for this recipe?
A springform pan really is ideal: it makes unmolding and displaying your Dragon Egg Cheesecake much easier. If you don’t have one, line a regular pan with removable parchment to help with lifting and cutting.
Final Thoughts
This is more than just dessert—it’s a delicious adventure waiting to happen. Whether you’re throwing a magical birthday, a fantasy movie marathon, or just craving something special, Dragon Egg Cheesecake is sure to bring smiles and spark imaginations. Give it a try, and prepare for your kitchen to become the hottest bakery in all the realms!
Print
Dragon Egg Cheesecake Recipe
- Total Time: 5 hours 25 minutes (including cooling and chilling)
- Yield: 12 servings 1x
- Diet: Non-Vegetarian
Description
Indulge in a mystical and visually stunning Dragon Egg Cheesecake that will be the highlight of any fantasy-themed gathering or Halloween party. This marbled cheesecake resembles a dragon egg with its vibrant colors and shimmering scales, making it a magical dessert that’s as delightful to look at as it is to eat.
Ingredients
Graham Cracker Crust:
- 2 cups chocolate graham cracker crumbs
- 1/2 cup unsalted butter, melted
Cheesecake Filling:
- 24 ounces cream cheese, softened
- 1 cup granulated sugar
- 1 teaspoon vanilla extract
- 3 large eggs
- 1/2 cup sour cream
- 1/2 cup heavy cream
- Gel food coloring (green, purple, and black)
Decoration:
- 1 1/2 cups white chocolate chips
- Candy melts or fondant scales for decoration (optional)
- Edible shimmer dust or luster spray for effect
Instructions
- Preheat the oven: Preheat the oven to 325°F.
- Prepare the crust: Mix chocolate graham cracker crumbs and melted butter, press into a 9-inch springform pan, and bake for 10 minutes. Let it cool.
- Make the filling: Beat cream cheese and sugar until fluffy, add vanilla extract, eggs one at a time, sour cream, and heavy cream. Divide into three bowls, tint with gel food coloring.
- Assemble the cheesecake: Alternate spoonfuls of colored batter in the crust, swirl with a skewer. Bake for 50-60 minutes, then cool in the oven with the door cracked.
- Chill and decorate: Refrigerate for at least 4 hours, then top with melted white chocolate or decorate with scales and shimmer dust.
Notes
- You can use metallic edible paint or luster spray to give the cheesecake a mystical sheen.
- This recipe is perfect for fantasy-themed parties or Halloween.
- Prep Time: 25 minutes
- Cook Time: 60 minutes
- Category: Dessert
- Method: Baking
- Cuisine: American
Nutrition
- Serving Size: 1 slice
- Calories: 480
- Sugar: 35 g
- Sodium: 280 mg
- Fat: 32 g
- Saturated Fat: 18 g
- Unsaturated Fat: 12 g
- Trans Fat: 0 g
- Carbohydrates: 42 g
- Fiber: 1 g
- Protein: 7 g
- Cholesterol: 130 mg