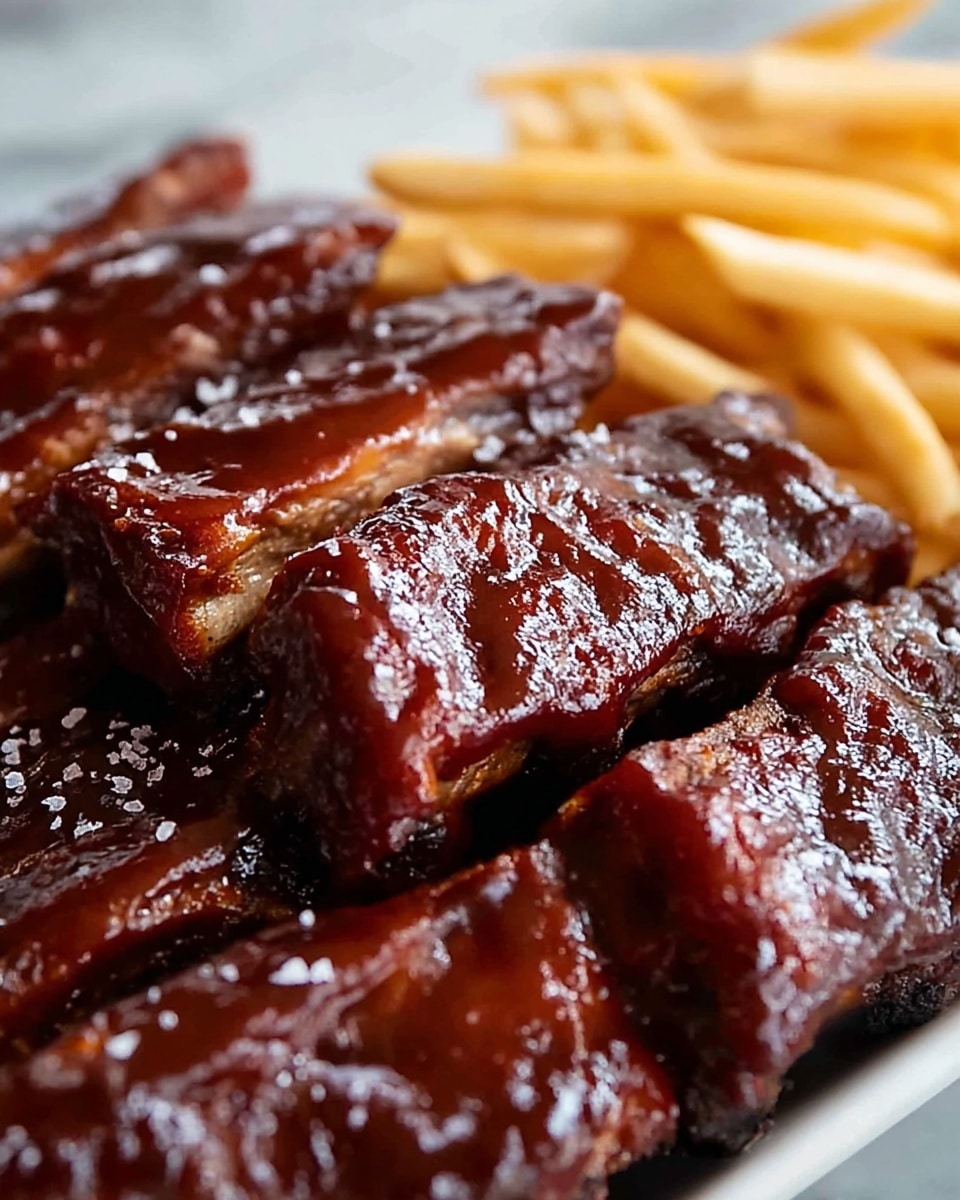
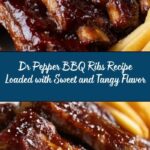
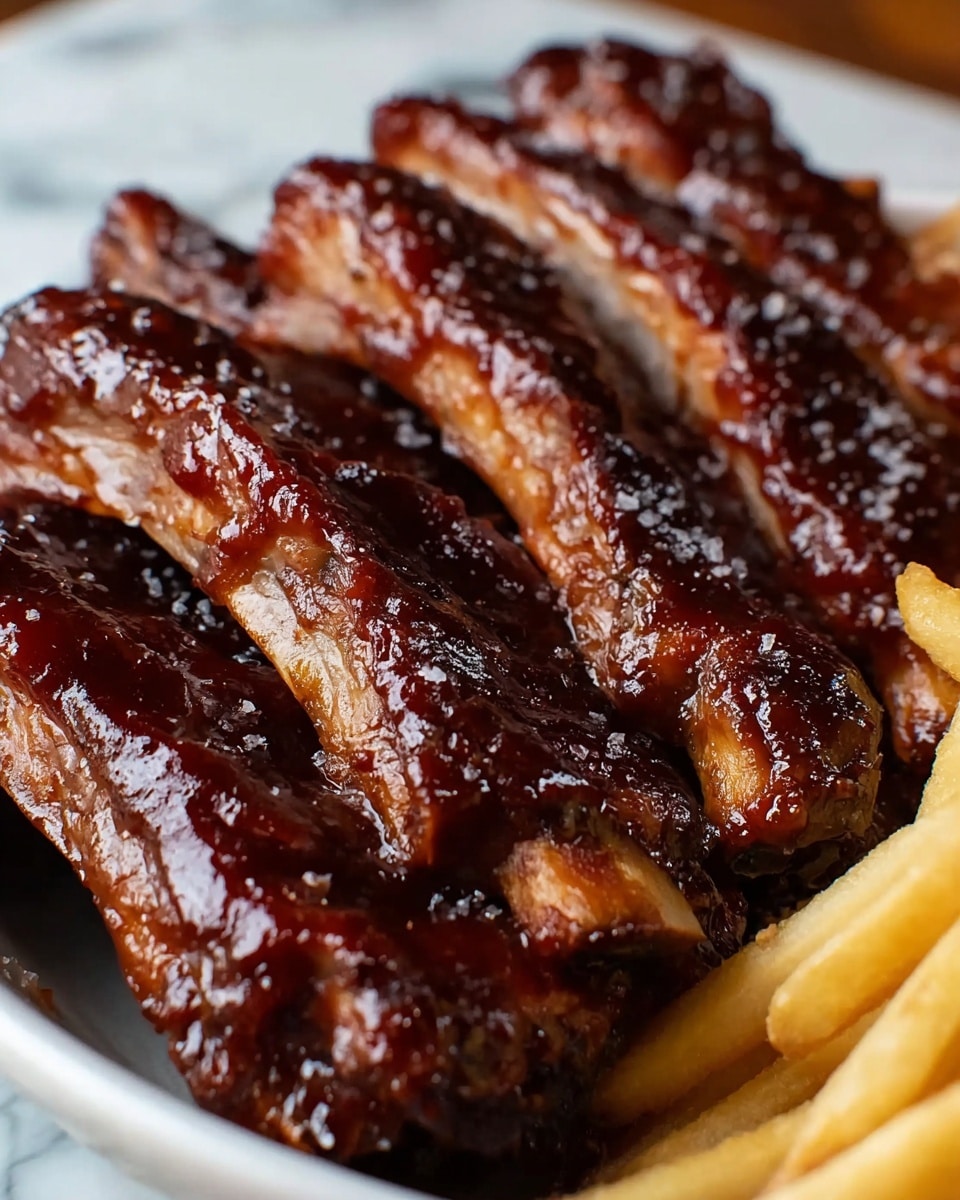
If you are ready to impress your friends and family with a dish that perfectly balances sweet, tangy, and smoky flavors, this Dr Pepper Glazed Baby Back Ribs Recipe is exactly what you need. These ribs soak up a luscious glaze made from a blend of Dr Pepper soda and carefully selected ingredients, creating an irresistibly sticky coating that seals in the tenderness of the meat. Each bite offers that ultimate finger-licking experience you crave on a cozy weekend or special gathering.
Ingredients You’ll Need
Gathering just the right ingredients is essential for achieving the perfect taste and texture in this recipe. Each element contributes uniquely to the flavor profile—from the caramel sweetness of brown sugar to the smoky warmth of paprika and the bold tang of apple cider vinegar, making every rib unforgettable.
- 2 racks of baby back ribs: The star of the dish, tender and meaty, perfect for slow cooking.
- 1 can (12 oz) Dr Pepper soda: Adds a unique sweetness and depth to the glaze.
- 1/2 cup brown sugar, packed: Provides caramelization and balances acidity.
- 1/4 cup apple cider vinegar: Adds a bright, tangy contrast to the sweet glaze.
- 1/4 cup ketchup: Brings a rich tomato base and thickness to the sauce.
- 2 tbsp Worcestershire sauce: Gives a savory, umami boost.
- 2 tbsp soy sauce: Adds saltiness and depth.
- 1 tbsp Dijon mustard: Introduces a subtle tang and slight heat.
- 1 tsp garlic powder: Infuses a robust garlic flavor without overpowering.
- 1 tsp onion powder: Enhances the glaze’s savory notes.
- 1/2 tsp smoked paprika: Offers a gentle smokiness that pairs perfectly with ribs.
- 1/4 tsp ground black pepper: Adds a mild heat and complexity.
- 1/4 tsp salt: Enhances all other flavors harmoniously.
- 1/2 cup BBQ sauce (for glazing): Provides the final sticky, flavorful layer for glazing.
How to Make Dr Pepper Glazed Baby Back Ribs Recipe
Step 1: Prepare Your Cooking Temperature
Start by preheating your grill or oven to a steady 300°F (150°C). If you’re grilling, setting up for indirect heat is a must—it prevents flare-ups and ensures those ribs cook slowly and tenderly, developing that fall-off-the-bone texture you’re after.
Step 2: Remove the Silver Skin
Take a moment to remove the silver skin membrane from the back of the ribs. This thin layer can keep sauces from penetrating the meat properly, so sliding a knife underneath and peeling it off helps your glaze and seasoning soak in fully, boosting flavor and tenderness.
Step 3: Make the Dr Pepper Glaze
In a medium saucepan, combine the Dr Pepper, brown sugar, apple cider vinegar, ketchup, Worcestershire sauce, soy sauce, Dijon mustard, garlic powder, onion powder, smoked paprika, black pepper, and salt. Stir everything together for an exciting mix that will soon turn into a luscious glaze.
Step 4: Simmer the Sauce
Bring the mixture to a gentle simmer over medium heat, stirring occasionally. Let it bubble away for 20 to 25 minutes until it thickens into a rich, shiny glaze that will coat your ribs beautifully. This step allows all those beautiful flavors to meld together and develop depth.
Step 5: Season the Ribs
While your glaze is simmering, season the ribs with your favorite dry rub or simply sprinkle them with salt and pepper. This seasoning is the perfect canvas for your Dr Pepper glaze, enhancing the overall flavor profile without overpowering it.
Step 6: Cook the Ribs Slowly
Place the ribs bone-side down on the cooler side of your grill and cover it for 2 to 3 hours, or bake the ribs covered with foil in your preheated oven for 2 to 2.5 hours. This slow cooking breaks down connective tissues and makes the ribs incredibly tender and juicy.
Step 7: Glaze and Caramelize
In the last 15 minutes of cooking, start brushing your ribs with the Dr Pepper glaze mixed with BBQ sauce to create that signature sticky, caramelized crust. Continue cooking to allow the sugars in the glaze to caramelize and give the ribs a gorgeous, shiny finish.
Step 8: Rest and Serve
Once cooked perfectly, remove the ribs from the heat and let them rest for about 5 minutes. This lets the juices redistribute for maximum juiciness. Then slice between the bones and serve with extra BBQ sauce for those who love an extra flavor kick.
How to Serve Dr Pepper Glazed Baby Back Ribs Recipe
Garnishes
A sprinkle of freshly chopped parsley or green onions adds a fresh contrast in color and brightness to the rich glaze. For a touch of extra zing, a few thin slices of pickled jalapeños balance the sweetness with heat.
Side Dishes
Classic coleslaw or creamy mashed potatoes make fantastic companions to these ribs. The cool crunch of the slaw cuts through the sticky richness, while fluffy potatoes soak up every delicious drop of extra sauce.
Creative Ways to Present
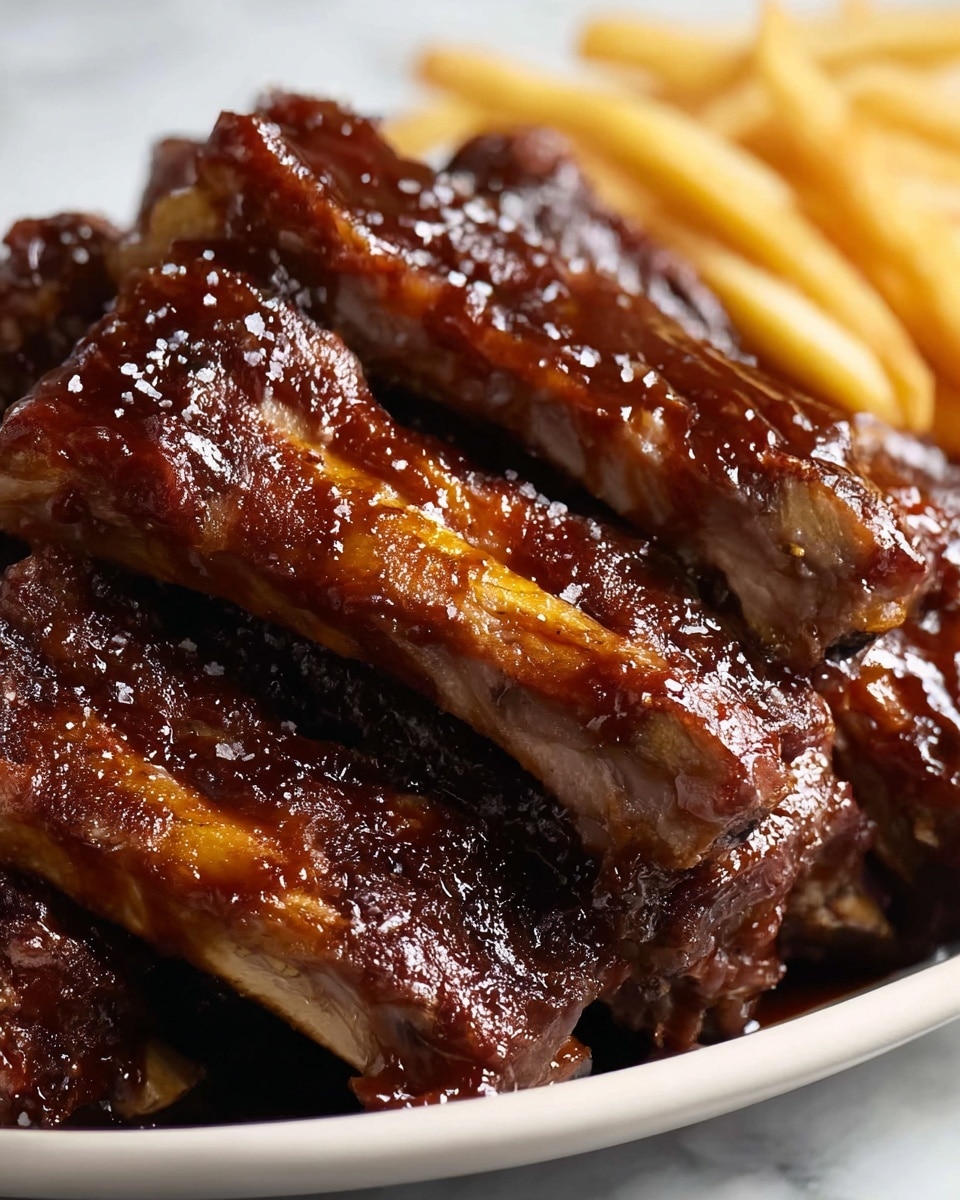
Serve the ribs stacked high on a wooden board lined with parchment paper for a rustic, casual vibe. Pair with small ramekins of the glaze and extra BBQ sauce for dipping—your guests will appreciate the hands-on deliciousness!
Make Ahead and Storage
Storing Leftovers
Once cooled, wrap your leftover Dr Pepper glazed ribs tightly in foil or place them in an airtight container. They keep well in the refrigerator for up to 3 days, maintaining their moisture and flavor.
Freezing
You can freeze cooked ribs by wrapping them securely in plastic wrap followed by a layer of foil, or place in a freezer-safe container. For best taste, consume within 2 months, and be sure to thaw them overnight in the refrigerator before reheating.
Reheating
To reheat, place the ribs in a covered dish in a 300°F (150°C) oven until warmed through. Adding a little extra BBQ sauce or glaze before reheating helps bring back their signature sticky, flavorful coating and juicy tenderness.
FAQs
Can I make the glaze without Dr Pepper?
While Dr Pepper adds a unique sweet and spicy flavor, you can substitute with other cola-like sodas or even a mix of root beer and a splash of apple cider vinegar for a similar tangy sweetness.
Should I remove the silver skin from the ribs?
Yes! Removing the silver skin is key to allowing your marinade and glaze to penetrate the meat fully, ensuring your ribs turn out tender and flavorful rather than chewy.
Is it better to cook the ribs on the grill or in the oven?
Both methods work wonderfully. Grilling adds a subtle smoky flavor, while baking is more hands-off and still yields tender results. Choose based on your preference and available equipment.
How do I know when the ribs are done?
The ribs are cooked perfectly when the meat pulls away easily from the bone with a little tug and the internal temperature reaches about 190-203°F (88-95°C) for that melt-in-your-mouth texture.
Can I prepare the ribs ahead of time?
Absolutely. You can prepare the glaze and even season the ribs a day ahead. Just keep them wrapped in the refrigerator and cook when ready for maximum flavor development.
Final Thoughts
If you’re looking for a mouthwatering crowd-pleaser that brings sweet, tangy, and smoky flavors all in one place, this Dr Pepper Glazed Baby Back Ribs Recipe is your go-to. It’s straightforward to prepare and promises to fill your table with joy and satisfied smiles. Trust me, once you try these ribs, they’ll become a treasured favorite you’ll want to make again and again.
Print
Dr Pepper Glazed Baby Back Ribs Recipe
- Total Time: 2 hours 40 minutes
- Yield: 4 servings 1x
Description
These Dr Pepper Ribs are tender, flavorful baby back ribs cooked slowly with a sweet and tangy Dr Pepper glaze. The ribs are simmered in a homemade sauce made from Dr Pepper soda, brown sugar, apple cider vinegar, and spices, then glazed and cooked to perfection on the grill or in the oven. This recipe yields fall-off-the-bone ribs with a caramelized, sticky finish, ideal for a delicious BBQ meal.
Ingredients
Ribs
- 2 racks of baby back ribs
Dr Pepper Sauce
- 1 can (12 oz) Dr Pepper soda
- 1/2 cup brown sugar, packed
- 1/4 cup apple cider vinegar
- 1/4 cup ketchup
- 2 tbsp Worcestershire sauce
- 2 tbsp soy sauce
- 1 tbsp Dijon mustard
- 1 tsp garlic powder
- 1 tsp onion powder
- 1/2 tsp smoked paprika
- 1/4 tsp ground black pepper
- 1/4 tsp salt
Finishing
- 1/2 cup BBQ sauce (for glazing)
Instructions
- Preheat grill or oven: Preheat your grill or oven to 300°F (150°C). If using a grill, set it up for indirect heat to allow slow cooking of the ribs without direct flame.
- Prepare the ribs: Remove the silver skin membrane from the ribs by sliding a knife underneath and pulling it off. This helps the ribs become more tender and absorb flavors better.
- Make the Dr Pepper sauce: In a medium saucepan, combine the Dr Pepper soda, brown sugar, apple cider vinegar, ketchup, Worcestershire sauce, soy sauce, Dijon mustard, garlic powder, onion powder, smoked paprika, black pepper, and salt.
- Simmer the sauce: Heat the mixture over medium heat, stirring occasionally. Let it simmer gently for 20-25 minutes until it thickens into a glaze-like consistency perfect for coating the ribs.
- Season the ribs: While the sauce simmers, season the ribs with your preferred dry rub or simply salt and pepper to taste.
- Cook the ribs: If grilling, place the ribs bone-side down on the cooler indirect heat side of the grill, cover, and cook for 2-3 hours until tender. If baking, place the ribs on a baking sheet, cover with foil, and bake in the oven for 2-2.5 hours until cooked through and tender.
- Glaze the ribs: During the last 15 minutes of cooking, generously brush the ribs with the prepared Dr Pepper glaze and continue cooking until the glaze caramelizes and forms a sticky coating.
- Rest and serve: Remove the ribs from the heat source, let them rest for 5 minutes to allow juices to settle, then slice into portions and serve with extra BBQ sauce on the side.
Notes
- Removing the silver skin membrane from the ribs is key for tenderness and flavor absorption.
- Indirect heat on the grill prevents the ribs from burning and allows slow cooking.
- If you don’t have a grill, baking in the oven covered with foil yields equally tender results.
- You can adjust sweetness and tanginess by tweaking the amount of brown sugar or apple cider vinegar to your preference.
- Resting the ribs after cooking ensures juiciness and better slicing.
