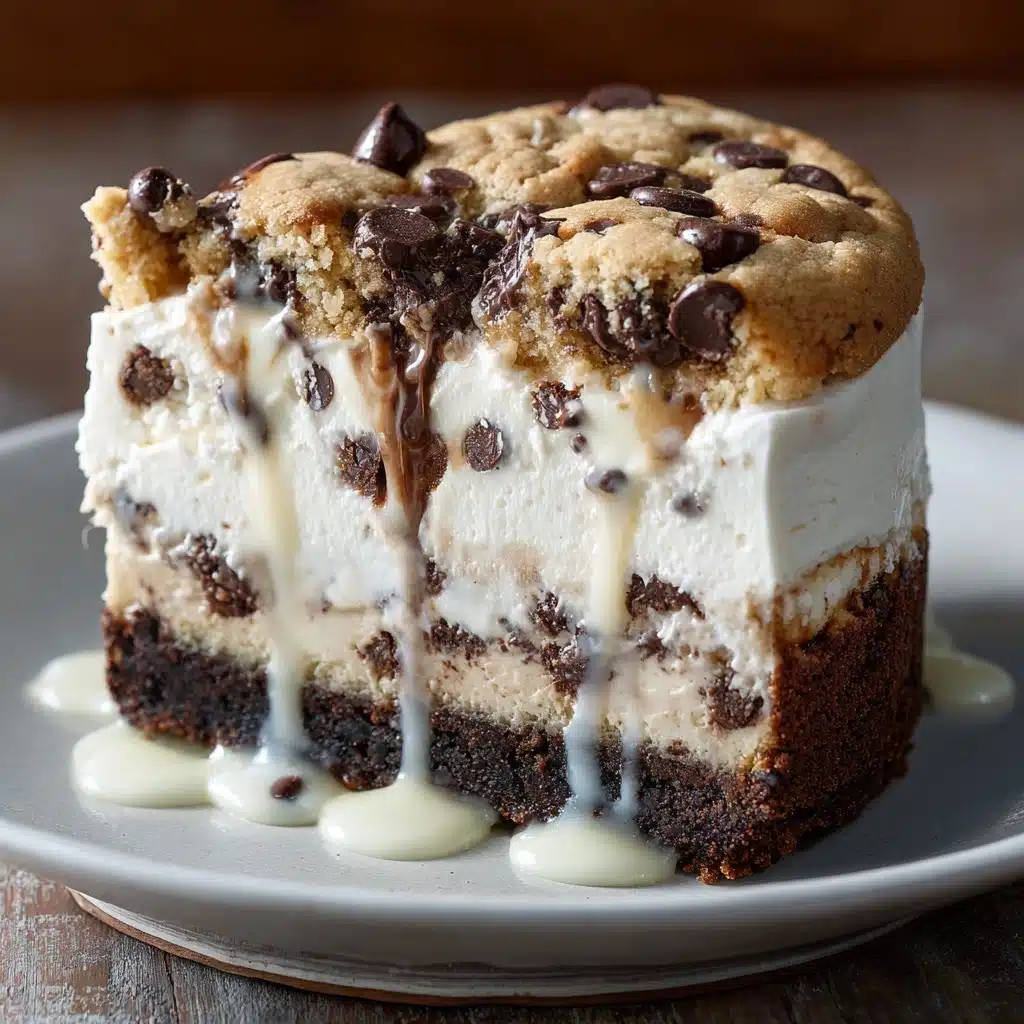
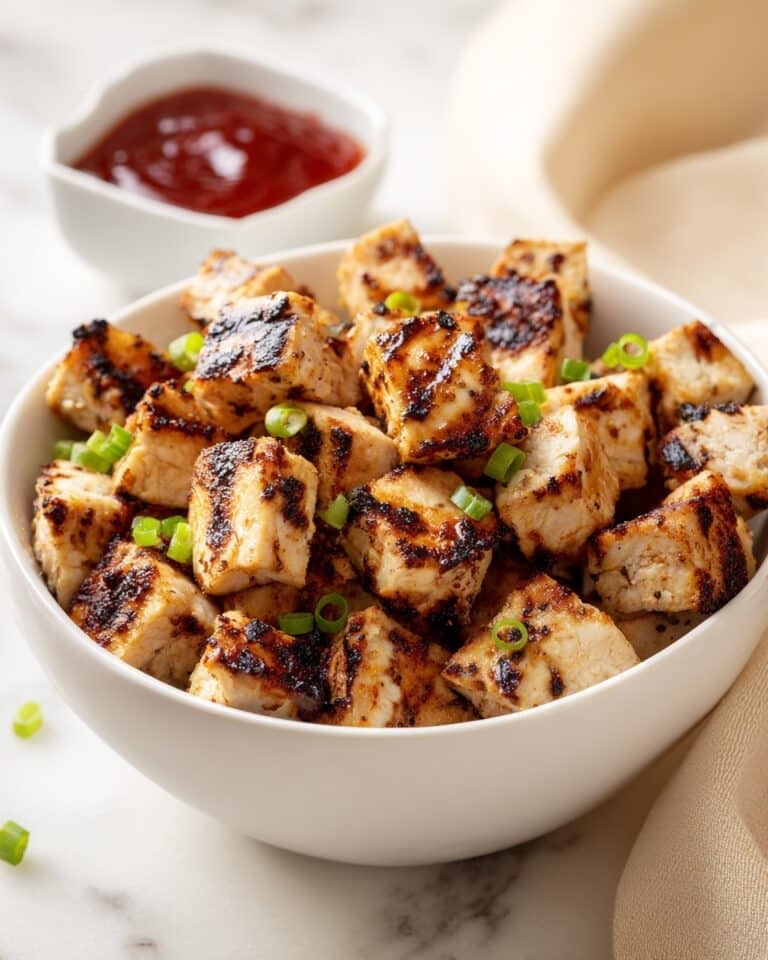
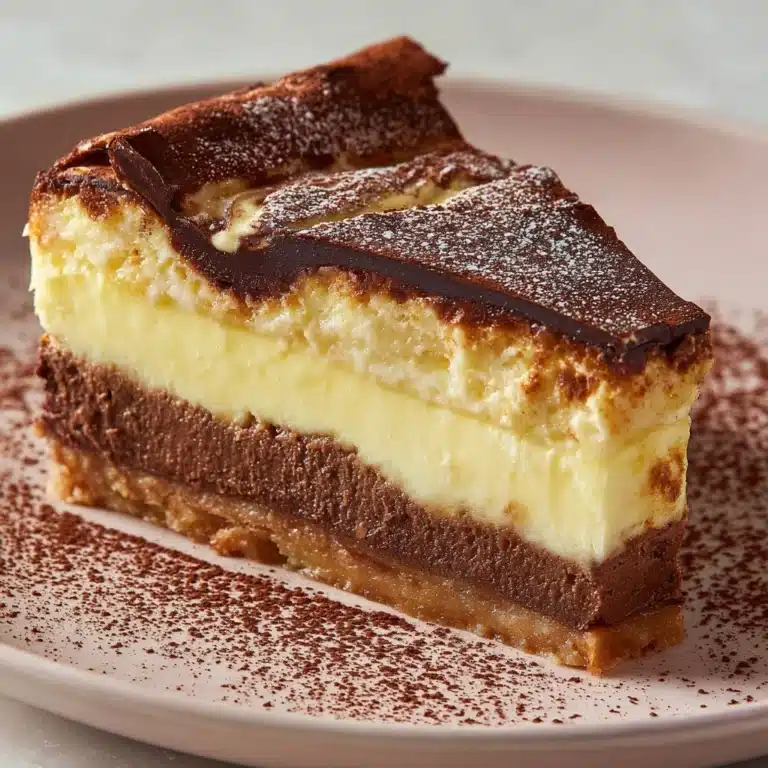
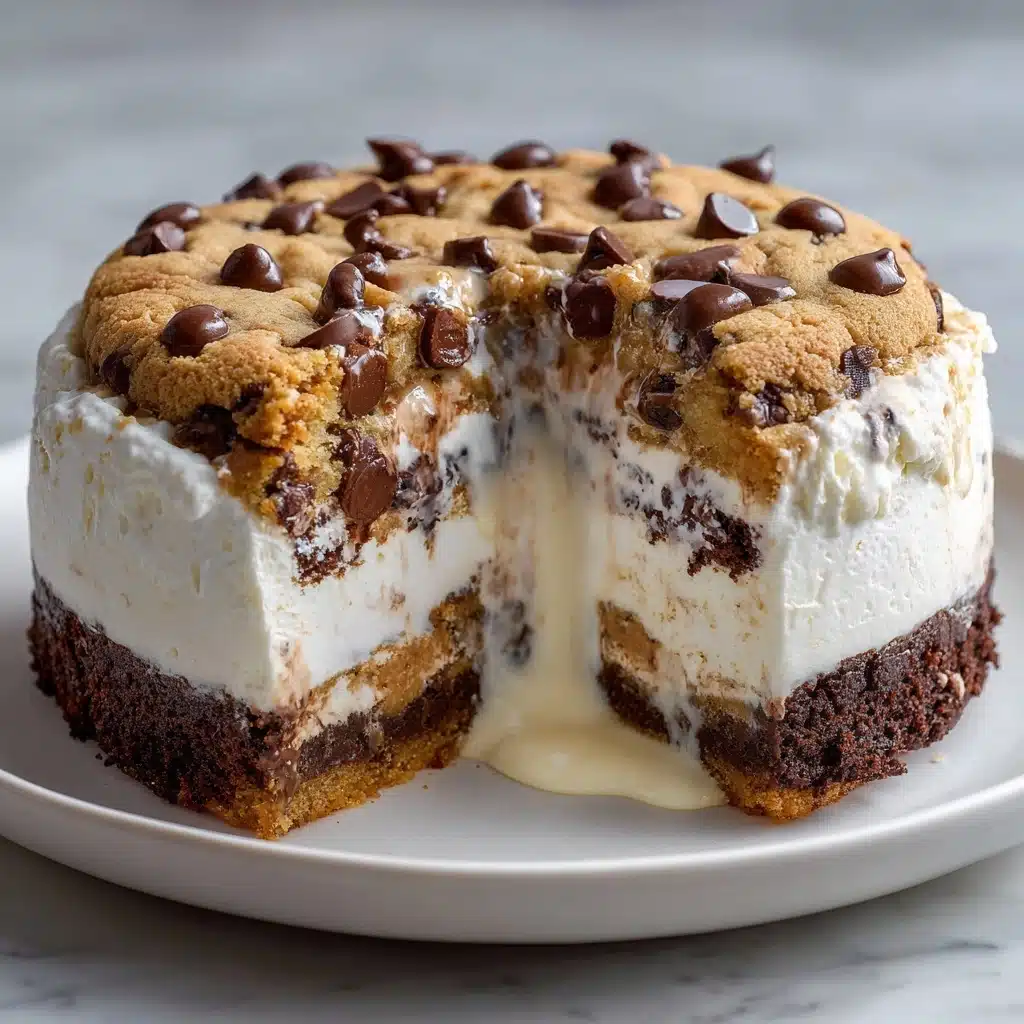
If you’re on the hunt for a showstopping treat that feels like a bakery secret but is a breeze to pull off at home, Crispy Cheesecake Cookie Croffles are about to change your dessert game. Imagine golden, flaky puff pastry folded around a creamy cheesecake center, with cookie and graham cracker crunch, all pressed to crisp perfection in a waffle maker. This fusion dessert is the delicious collision of cookies, cheesecake, and croissants — every bite delivers creamy, crunchy, warm, and sweet bliss. Whether you’re hosting friends or indulging solo, these croffles are endlessly delightful and guaranteed to impress.
Ingredients You’ll Need
The magic of Crispy Cheesecake Cookie Croffles is just how few ingredients you need to create something this extraordinary. Every element plays a part, from irresistible creaminess to that momentous crispy bite.
- Puff Pastry (1 sheet, thawed): The essential foundation, puff pastry crisps beautifully and puffs perfectly in the waffle maker for that signature croffle texture.
- Cream Cheese (4 ounces, softened): This turns melty and luscious inside each croffle, creating that unforgettable cheesecake layer.
- Powdered Sugar (2 tablespoons): Blends seamlessly into the filling, bringing just the right amount of sweetness.
- Vanilla Extract (1/2 teaspoon): A dash of vanilla elevates the whole experience with irresistible aroma and warmth.
- Crushed Graham Crackers (1/4 cup): These bits provide nostalgic crunch and classic cheesecake flavor.
- Mini Chocolate Chips or Cookie Crumbles (2 tablespoons, optional): Sprinkle in for melty chocolate pockets or extra cookie goodness—totally up to you!
- Melted Butter (1 tablespoon, for brushing): A buttery finish means golden, bakery-level crispiness after pressing.
- Granulated Sugar (1 tablespoon, for sprinkling): A light coat caramelizes, adding a sparkly, crisp exterior everyone will love.
How to Make Crispy Cheesecake Cookie Croffles
Step 1: Preheat and Prepare the Waffle Maker
Start by preheating your waffle maker to medium-high heat. This step is crucial for getting that signature crispiness on the outside while allowing the inside to become perfectly gooey and melty. If you’ve never used your waffle maker for anything beyond breakfast waffles, get ready to fall in love with its versatility—especially for Crispy Cheesecake Cookie Croffles!
Step 2: Make the Cream Cheese Filling
In a small bowl, combine the softened cream cheese, powdered sugar, and vanilla extract. Mix until everything is completely smooth and creamy—no lumps allowed! This is the luscious heart of your croffles, so take a moment to make sure it’s silky and dreamy.
Step 3: Prepare the Puff Pastry
Unroll your thawed puff pastry onto a lightly floured surface or straight onto parchment paper. Using a sharp knife or pizza cutter, slice it into four equal squares. Puff pastry can be a little sticky, so don’t stress if the edges aren’t perfect!
Step 4: Fill and Fold Each Croffle
Spoon a generous dollop of the cream cheese filling into the center of each square. Sprinkle with a handful of crushed graham crackers, and if you’re feeling extra, a touch of chocolate chips or cookie crumbs. Fold the pastry over the filling—to make either a triangle or a rectangle—and gently pinch the edges shut to seal in the goodness.
Step 5: Brushing and Sugar Sprinkling
Brush both sides of your sealed croffles with melted butter. Don’t skip this step—the butter ensures a deep golden color and helps the edges crisp up! Sprinkle each with granulated sugar for a touch of extra crunch and a sparkling finish.
Step 6: Waffle to Perfection
Carefully place one or two croffles in the preheated waffle maker (depending on the size of your machine). Close the lid and cook for 4–6 minutes until the pastries are beautifully golden and irresistibly crispy. Your kitchen will smell like a dream right about now.
Step 7: Serve and Enjoy
Let the croffles cool for a minute or two—they’ll be hot and the filling perfectly melty. For an extra flourish, dust with powdered sugar or drizzle with a little melted chocolate. Serve warm and get ready for compliments!
How to Serve Crispy Cheesecake Cookie Croffles
Garnishes
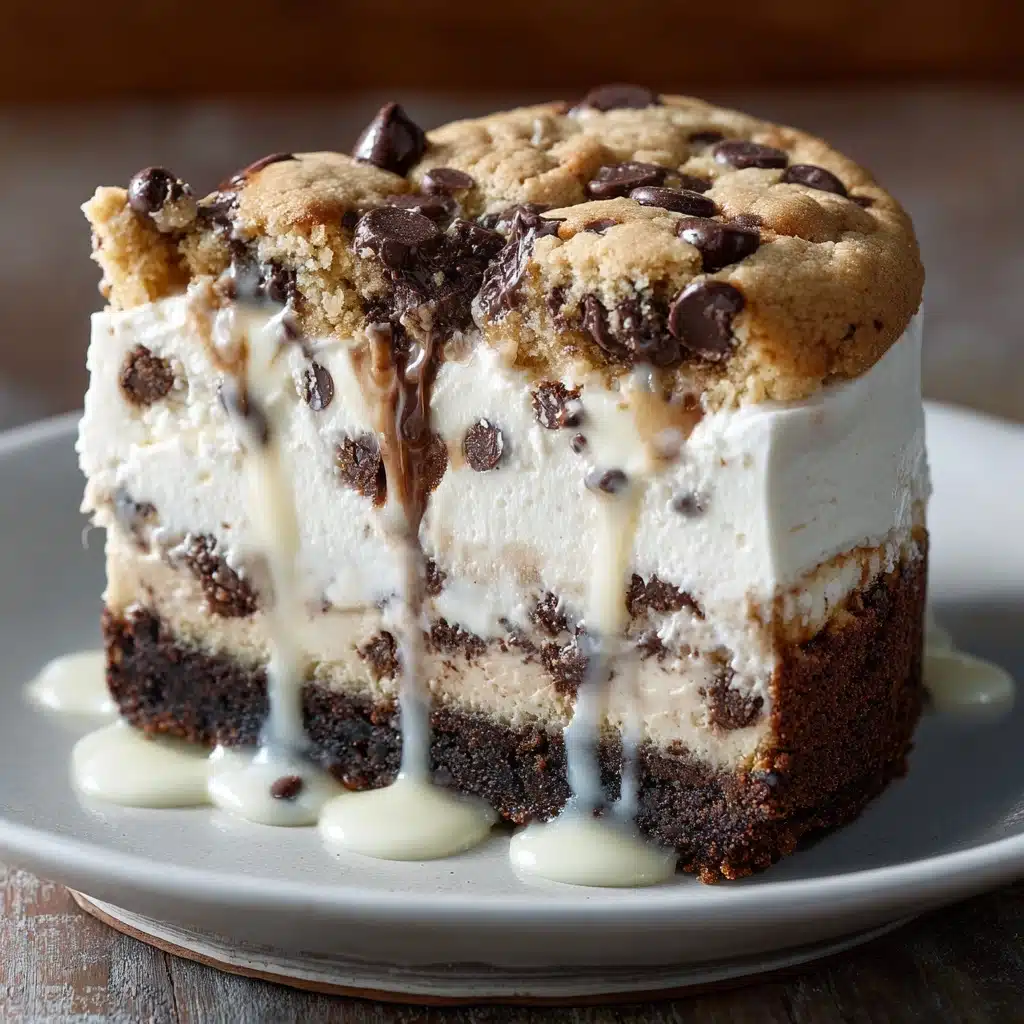
The joy of Crispy Cheesecake Cookie Croffles is in the endless ways you can make each serving special. Try a light shake of powdered sugar for that bakery-fresh look, or a generous drizzle of chocolate or caramel sauce to really make them decadent. A scattering of extra graham cracker crumbs or mini chocolate chips right before serving is also a surefire win.
Side Dishes
While these croffles absolutely shine on their own, they pair beautifully with a scoop of vanilla ice cream, a dollop of whipped cream, or a handful of fresh berries. Guests will adore the hot-and-cold contrast and those bursts of juicy freshness alongside the creamy-rich filling.
Creative Ways to Present
Impress your friends by stacking croffles on a cake stand, fanning them out in a basket lined with a cute napkin, or slicing each in half for a tapas-style dessert platter. For brunch gatherings, arrange with fruit skewers and small jars of dipping sauces for a build-your-own dessert bar featuring your homemade Crispy Cheesecake Cookie Croffles.
Make Ahead and Storage
Storing Leftovers
If any croffles manage to survive your first round of snacking, store them in an airtight container in the refrigerator. They’ll stay delicious for up to 3 days without losing too much of their charm or texture.
Freezing
Crispy Cheesecake Cookie Croffles freeze better than you might expect! Once cooled, pop them in a single layer in a freezer-safe bag or container. Freeze for up to a month—just be sure to separate layers with parchment so they don’t stick together.
Reheating
To recapture that glorious crispness, reheat croffles in your waffle maker for a minute or two (my favorite method). Alternatively, a quick turn in a 350°F oven for about 8 minutes also works wonders. Microwave reheating is fastest, but you’ll lose some of that magical crunch.
FAQs
Can I use crescent roll dough instead of puff pastry?
Absolutely! Crescent roll dough will make your croffles softer and chewier, with a slightly different texture—but they’ll still be completely delicious and just as fun to make and eat.
Do I have to include the optional chocolate chips or cookie crumbs?
Not at all—those are just bonus flavor boosters! The base recipe for Crispy Cheesecake Cookie Croffles is rich and yummy on its own, but feel free to toss in whatever extra treats make you happiest.
Can these be made ahead of time and reheated?
Yes! You can assemble and cook your croffles ahead, then store and reheat as needed. The waffle maker reheating trick keeps them closest to their original golden, crispy state.
What’s the best way to get a perfect crispy exterior?
Don’t skimp on the melted butter and sugar—brushing the croffles well before pressing them in the waffle maker ensures you achieve that amazing crunch and beautiful golden finish that make Crispy Cheesecake Cookie Croffles irresistible.
Can I add fruit or other flavorings to the filling?
Definitely! Lemon zest adds brightness, a spoonful of fruit preserves swirls in tangy sweetness, and even fresh berries work nicely—just keep the filling to one even layer so things stay easy to fold and cook evenly.
Final Thoughts
If ever there was a treat worth making on repeat, Crispy Cheesecake Cookie Croffles are it. They’re every bit as fun to make as they are to eat, and the possibilities to mix, match, and personalize are endless. I hope you fall in love with them just like I did—give this recipe a try and watch it become the star of your dessert table!
Print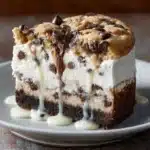
Crispy Cheesecake Cookie Croffles Recipe
- Total Time: 16 minutes
- Yield: 4 croffles 1x
- Diet: Non-Vegetarian
Description
Indulge in the perfect fusion of crispy waffles and creamy cheesecake with these Crispy Cheesecake Cookie Croffles. These delightful treats are made by filling puff pastry with a sweet cream cheese mixture and cooking them to golden perfection in a waffle maker.
Ingredients
Puff Pastry:
1 sheet puff pastry, thawed;
Cream Cheese Filling:
4 ounces cream cheese, softened; 2 tablespoons powdered sugar; 1/2 teaspoon vanilla extract;
Toppings:
1/4 cup crushed graham crackers; 2 tablespoons mini chocolate chips or cookie crumbles (optional);
Additional:
1 tablespoon melted butter (for brushing); 1 tablespoon granulated sugar (for sprinkling)
Instructions
- Preheat Waffle Maker: Preheat a waffle maker to medium-high heat.
- Prepare Cream Cheese Filling: In a small bowl, mix cream cheese, powdered sugar, and vanilla extract until smooth.
- Assemble Croffles: Unroll the puff pastry and cut it into 4 equal squares. Spread the cream cheese mixture, graham crackers, and toppings on each square. Fold over and seal edges.
- Cook Croffles: Brush both sides with melted butter, sprinkle with sugar, and cook in the waffle maker for 4–6 minutes until golden brown.
- Serve: Let cool slightly before serving. Optionally dust with powdered sugar or drizzle with melted chocolate.
Notes
- Best enjoyed fresh but can be reheated in the waffle maker.
- For a flavor twist, try lemon zest or fruit preserves in the filling.
- Use crescent roll dough for a softer, chewier version.
- Prep Time: 10 minutes
- Cook Time: 6 minutes
- Category: Dessert
- Method: Waffle Maker
- Cuisine: Fusion
Nutrition
- Serving Size: 1 croffle
- Calories: 270
- Sugar: 9g
- Sodium: 180mg
- Fat: 18g
- Saturated Fat: 9g
- Unsaturated Fat: 9g
- Trans Fat: 0g
- Carbohydrates: 23g
- Fiber: 1g
- Protein: 4g
- Cholesterol: 30mg
