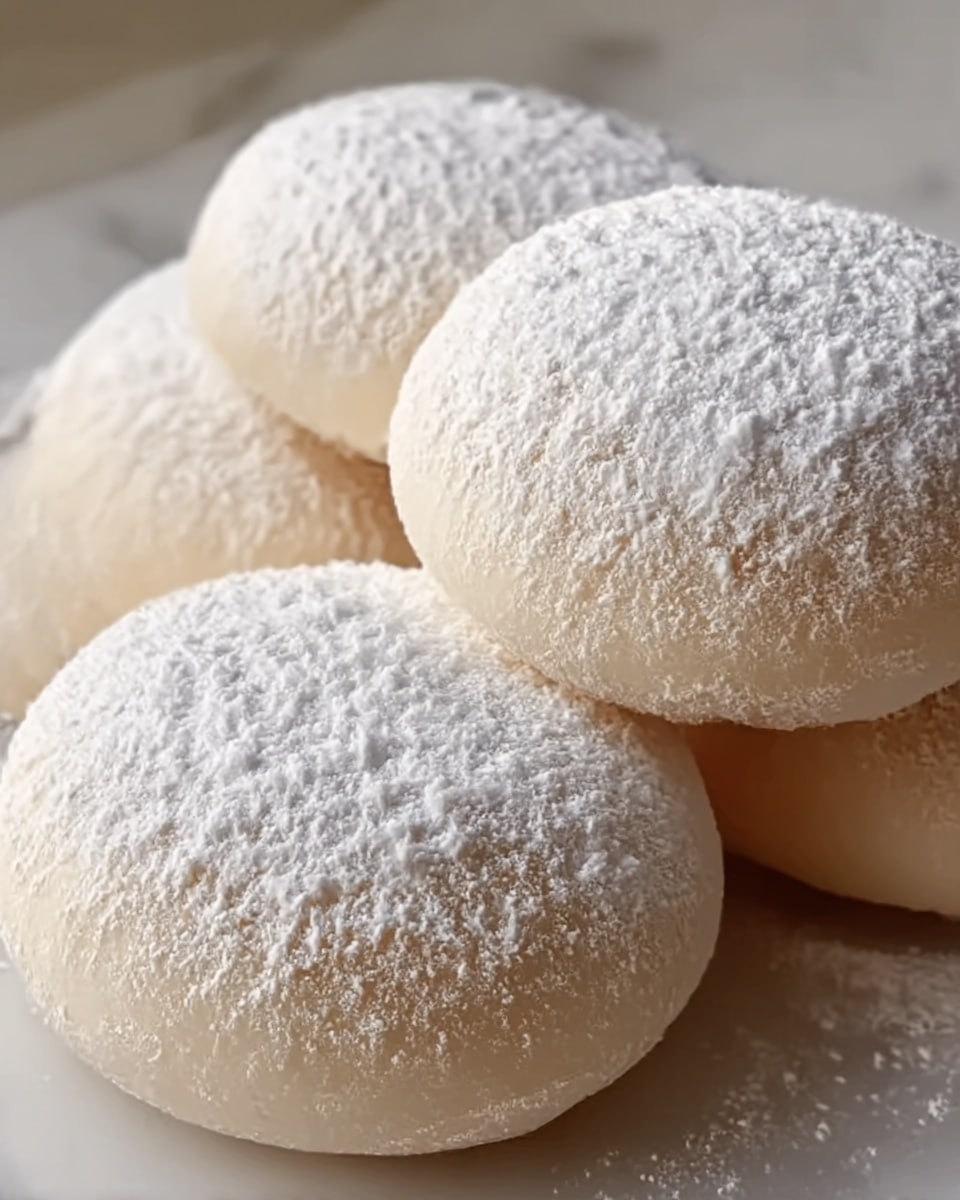
There is something truly magical about the delicate sweetness and melt-in-your-mouth texture of the Condensed Milk Snow Cookies Recipe. These cookies are a delightful treat that bring a nostalgic charm with every bite, combining the richness of condensed milk with a buttery crumb and a snowy coating of powdered sugar. Perfect for sharing with loved ones, they are simple to make yet feel special enough for any occasion, whether it’s a cozy afternoon snack or a festive holiday dessert.
Ingredients You’ll Need
The beauty of this recipe lies in its straightforward ingredients list. Each component plays a crucial role, from the creamy softness of butter and condensed milk to the subtle warmth of vanilla and the gentle sweetness of powdered sugar that creates the signature snow-like finish.
- 1 cup unsalted butter (2 sticks), softened: This provides the rich, creamy base essential for tender cookies.
- 1/2 cup sweetened condensed milk: Adds moisture and a subtle caramelized sweetness that’s hard to resist.
- 1 teaspoon vanilla extract: Enhances the flavor profile with a fragrant warmth.
- 2 cups all-purpose flour: The foundation giving the cookies their structure and delicate crumb.
- 1/4 teaspoon salt: Balances the sweetness perfectly and brings out the flavors.
- 1/4 cup powdered sugar (for rolling): Creates the beautiful snowy coating that makes these cookies visually irresistible.
How to Make Condensed Milk Snow Cookies Recipe
Step 1: Prepare the Dough
First things first, preheat your oven to 350°F (175°C) and line a baking sheet with parchment paper or a silicone mat to prevent sticking. Next, combine the softened butter and sweetened condensed milk in a large bowl, creaming them together until the mixture is smooth and fluffy. This will ensure your cookies have that soft, tender bite everyone loves.
Step 2: Add the Flavor and Flour
Stir in the vanilla extract to infuse your dough with a lovely aromatic depth. Slowly incorporate the all-purpose flour and salt, mixing gently until a soft dough forms. It should be pliable yet not sticky to the touch — the perfect consistency for shaping.
Step 3: Shape the Cookies
Roll the dough into small balls about 1 inch in diameter. This size helps the cookies bake evenly and keeps them delightfully bite-sized. Place them on your prepared baking sheet, spacing each about an inch apart to allow for gentle spreading. Flatten each ball slightly using your fingers or the back of a spoon to create a disk shape. This helps them bake with a tender, even texture.
Step 4: Bake to Perfection
Bake the cookies for 12 to 15 minutes. Keep a close eye as they should be just turning lightly golden at the edges while the centers remain soft but set. This balance is key to achieving a delicate snow cookie texture.
Step 5: Add the Snowy Finish
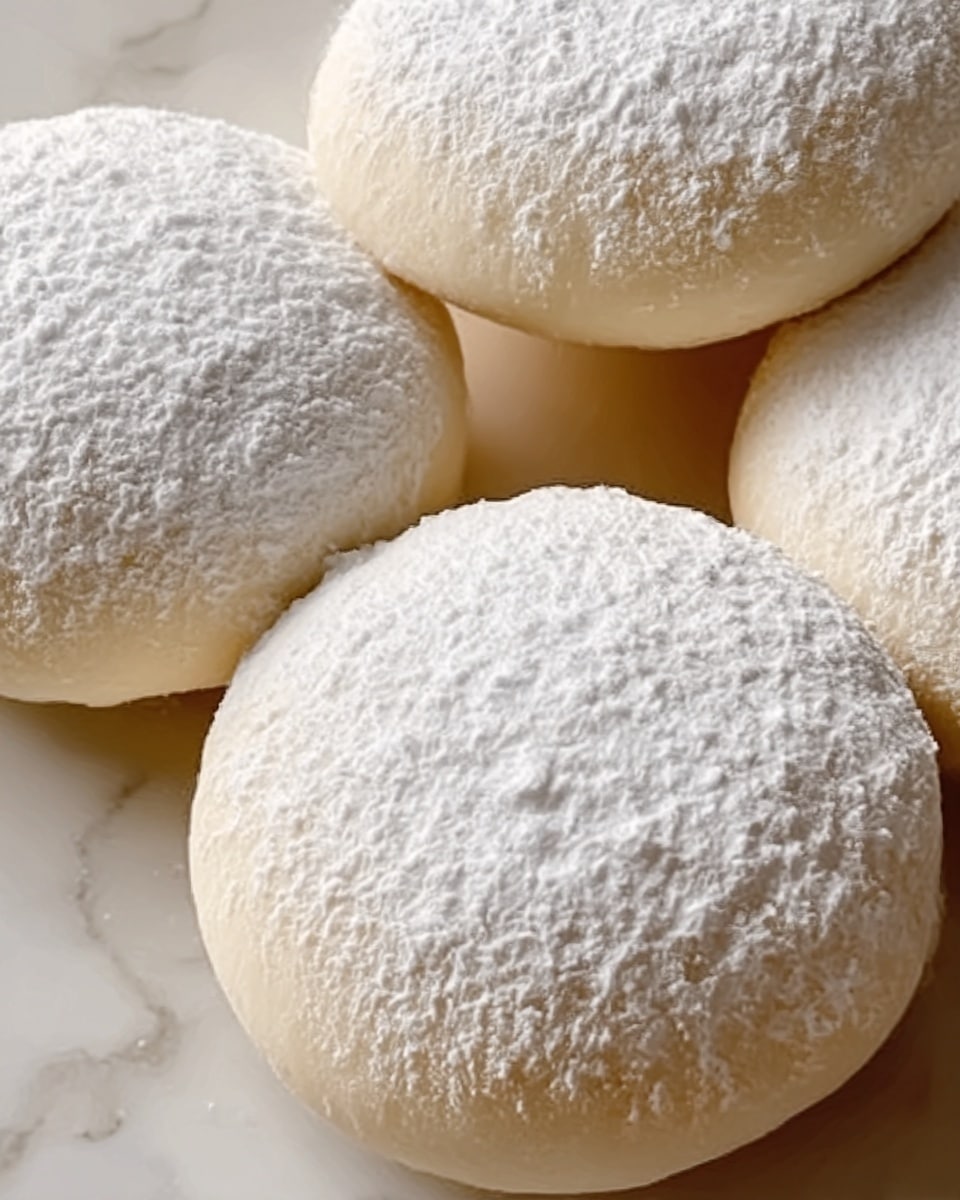
Allow the cookies to cool on the baking sheet for a few minutes before transferring them to a wire rack. Once completely cooled, roll them in powdered sugar generously. This step is what transforms these treats into delightful snow cookies, giving them that classic snowy, frosted appearance that’s as pretty as they are tasty.
How to Serve Condensed Milk Snow Cookies Recipe
Garnishes
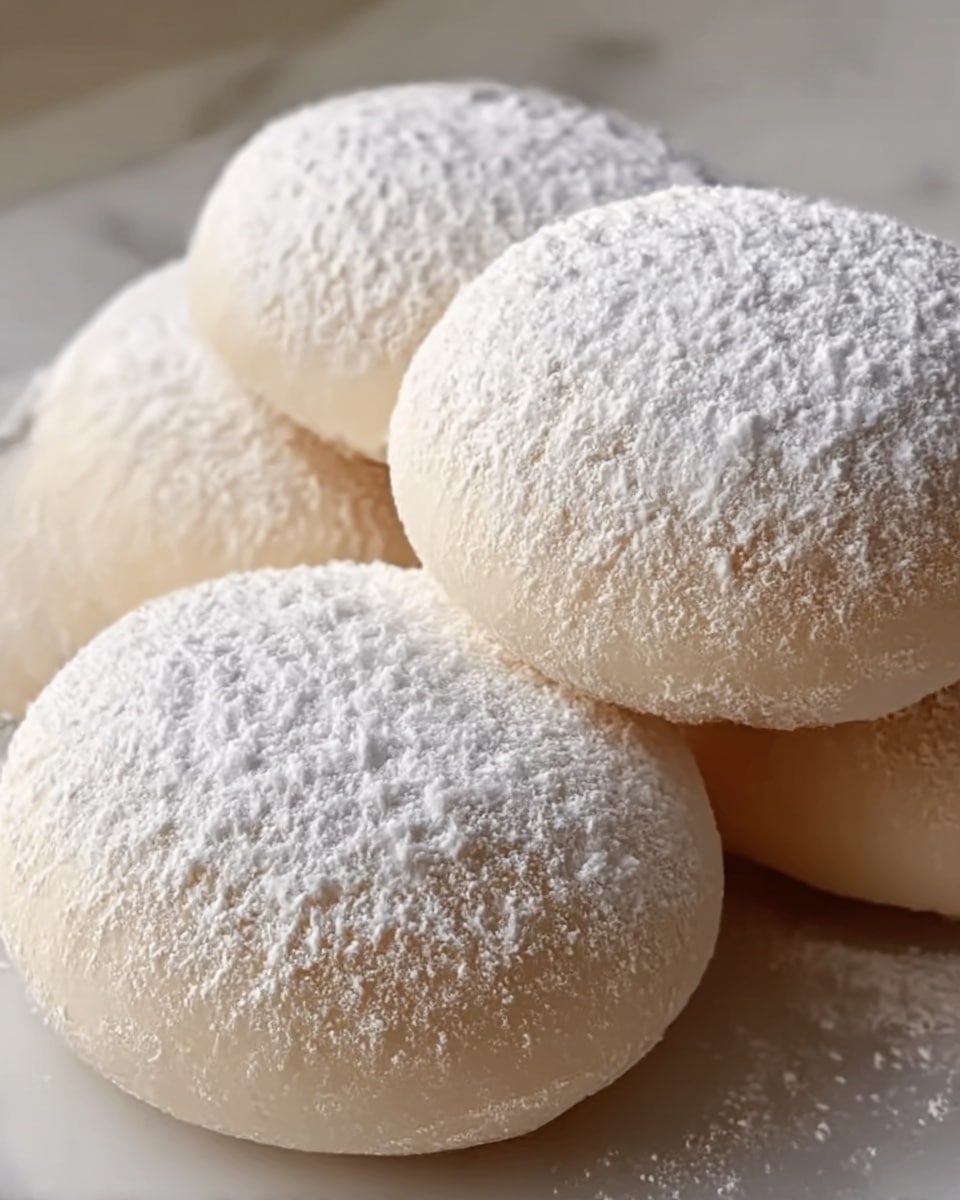
While the powdered sugar coating is the star garnish, feel free to sprinkle a little extra mixed with a touch of cinnamon or finely chopped nuts like pistachios or almonds for contrasting flavor and texture. Fresh mint leaves on the side add a refreshing pop that pairs beautifully with the cookie’s sweetness.
Side Dishes
These cookies pair wonderfully with a warm cup of tea, coffee, or even hot cocoa. Their buttery nature contrasts well with the bitterness of black coffee or the aromatic spices in chai. For an indulgent treat, serve alongside fresh berries or a dollop of whipped cream to elevate your dessert experience.
Creative Ways to Present
Consider stacking a few snow cookies in a clear glass jar tied with a ribbon for a charming gift. Another fun idea is to sandwich two cookies together with a spoonful of dulce de leche or cream cheese frosting. For parties, arrange them on a platter shaped like a snowflake to match the wintery theme.
Make Ahead and Storage
Storing Leftovers
Once baked and dusted with powdered sugar, these cookies can be stored in an airtight container at room temperature for up to one week. Make sure the container is sealed well to keep the cookies from drying out and to preserve their soft texture.
Freezing
You can freeze the dough before baking by shaping the balls and placing them on a tray to freeze solid, then transferring them to a freezer-safe bag for up to three months. When ready to bake, pop them straight in the oven without thawing. For already baked cookies, freeze in a single layer on a tray, then store in an airtight container or bag.
Reheating
If you want to enjoy these cookies warm, gently reheat them in a low oven at 300°F (150°C) for about 5 minutes. This brings back their soft, tender texture, making them feel freshly baked all over again without melting the powdered sugar coating.
FAQs
Can I substitute sweetened condensed milk with regular milk?
Regular milk won’t provide the same sweetness or moisture content, so it’s best to stick with sweetened condensed milk for the authentic flavor and texture of these snow cookies.
How do I know when the cookies are perfectly baked?
Look for lightly golden edges with centers that are set but still soft to the touch. Overbaking will make them lose their tender, melt-in-your-mouth quality.
Can I add flavor variations to this recipe?
Absolutely! Try adding a pinch of cinnamon, lemon zest, or even a bit of finely chopped nuts to the dough for a fun twist without overpowering the delicate flavor.
What’s the best way to roll the cookies in powdered sugar?
Make sure the cookies are completely cooled before rolling to avoid the sugar melting or clumping, and don’t be shy about coating them generously for the best snow effect.
Are these cookies gluten-free?
This recipe uses all-purpose flour, so it’s not gluten-free as is. However, you could experiment with gluten-free flour blends, but results might vary in texture and taste.
Final Thoughts
If you’re looking for a charming and easy-to-make treat that feels like a warm hug in cookie form, the Condensed Milk Snow Cookies Recipe is your answer. Giving these cookies a try will not only satisfy your sweet tooth but also add a lovely new favorite to your baking repertoire. Trust me, once you’ve made them, you’ll find all kinds of reasons to bake a batch again and again.
Print
Condensed Milk Snow Cookies Recipe
- Total Time: 30 minutes
- Yield: 24 servings 1x
- Diet: Vegetarian
Description
Delicate and sweet Condensed Milk Snow Cookies are soft, buttery treats coated in powdered sugar that give a charming snow-like appearance. These melt-in-your-mouth cookies are easy to make with simple ingredients and perfect for pairing with tea or coffee during cozy gatherings or festive occasions.
Ingredients
Cookie Dough
- 1 cup (2 sticks) unsalted butter, softened
- 1/2 cup sweetened condensed milk
- 1 teaspoon vanilla extract
- 2 cups all-purpose flour
- 1/4 teaspoon salt
Finishing
- 1/4 cup powdered sugar (for rolling)
Instructions
- Prepare the Dough: Preheat the oven to 350°F (175°C) and line a baking sheet with parchment paper or a silicone mat to prevent sticking.
- Cream Butter and Condensed Milk: In a large bowl, beat together the softened butter and sweetened condensed milk until the mixture is smooth and fluffy, forming a creamy base for the cookies.
- Add Vanilla: Stir in the vanilla extract thoroughly to infuse the dough with a rich aroma.
- Incorporate Dry Ingredients: Gradually add the all-purpose flour and salt to the wet mixture, mixing gently until a soft, non-sticky dough forms, ensuring even texture throughout.
- Shape the Cookies: Roll the dough into small balls about 1 inch in diameter and place them spaced about 1 inch apart on the prepared baking sheet to allow room for baking.
- Flatten the Cookies: Gently press each dough ball with your fingers or the back of a spoon to create a flat disk shape, aiding even baking and texture.
- Bake: Place the baking sheet in the oven and bake for 12-15 minutes, until the edges of the cookies are just beginning to turn golden while the centers remain soft and set.
- Cool: Let the cookies cool on the baking sheet for a few minutes to firm up before transferring them to a wire rack to cool completely for best texture.
- Coat with Powdered Sugar: Once fully cooled, roll each cookie generously in powdered sugar to achieve a beautiful snowy coating.
- Serve: Enjoy these delicate, sweet snow cookies paired perfectly with your favorite cup of tea or coffee.
Notes
- Ensure the butter is softened to room temperature for easy creaming.
- The dough should not be too sticky; add a little extra flour if necessary, but avoid overmixing.
- Use parchment paper or a silicone baking mat to prevent sticking and ease cleanup.
- Cookies should be cooled completely before rolling in powdered sugar to avoid melting the coating.
- Store cookies in an airtight container at room temperature for up to one week.
- For variation, try adding a pinch of cinnamon or nutmeg to the dough for a warm spice flavor.
