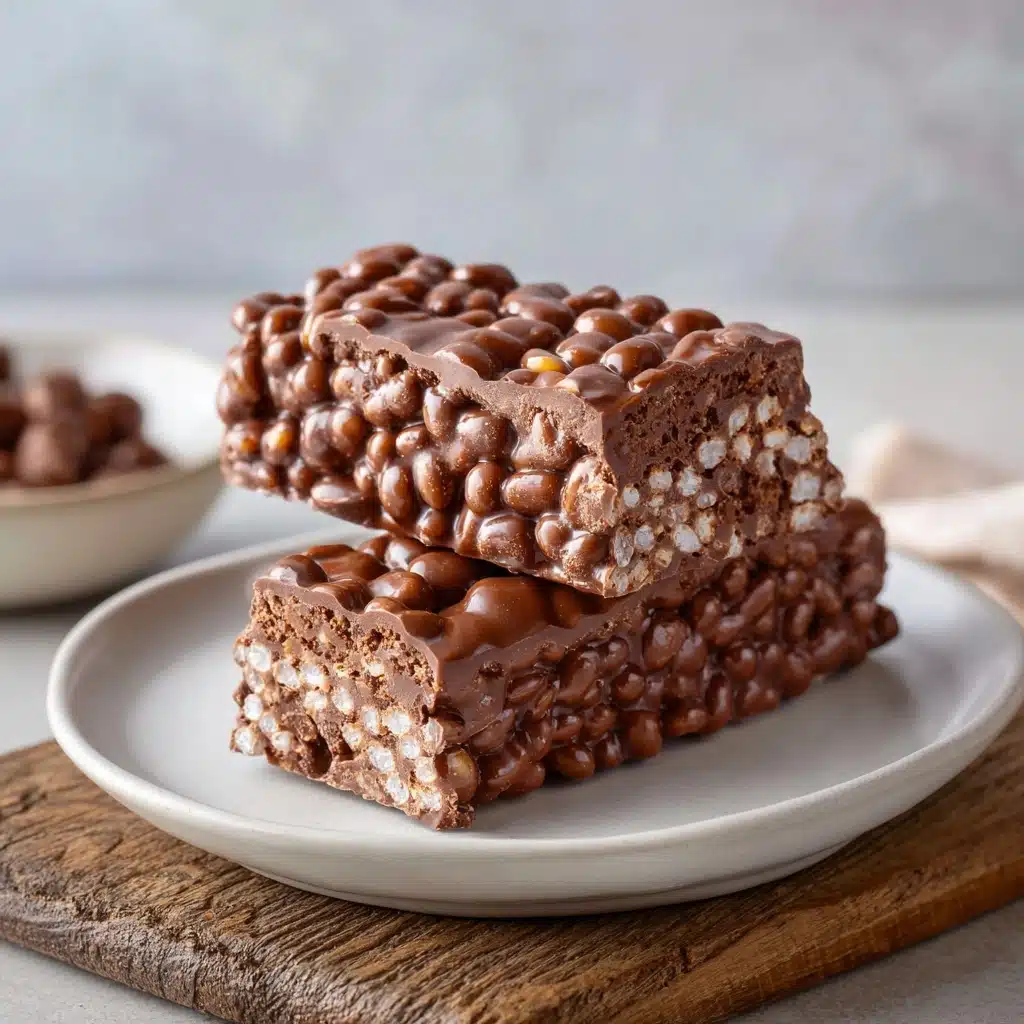
If you’re looking for the ultimate nostalgic treat that’s ridiculously easy, lusciously chocolatey, and addictive in all the right ways, Chocolate Crunch Bars are about to become your new obsession. With just a few pantry staples and zero need for an oven, these bars deliver layers of creamy chocolate, swirls of peanut butter, and that irresistible crispy crunch in every bite. Whether you’re whipping up an after-school surprise, sweet snacking for movie night, or sneaking a treat after dinner, these bars always deliver maximum joy with minimum fuss.
Ingredients You’ll Need
The beauty of Chocolate Crunch Bars lies in their simplicity. Every ingredient works hard to create their signature blend of flavors and textures, so don’t skip a thing! Here’s what you’ll need, plus a little insight into why each is so important.
- Semi-sweet chocolate chips: Bring a rich, perfectly balanced chocolate flavor that holds its shape and melts beautifully.
- Creamy peanut butter: Adds classic, nutty depth and a velvety texture that plays perfectly with the crisp cereal.
- Unsalted butter: Lends silkiness and a subtle salty undertone that ties all the sweet flavors together.
- Honey or maple syrup: Offers a touch of natural sweetness and helps the mixture bind together — choose your favorite for a personal spin.
- Crispy rice cereal: The star of that signature crunch! Be sure to use fresh cereal for the best texture.
- Vanilla extract: Elevates all the flavors for that aroma and flavor you crave in homemade sweets.
- Pinch of salt: A whisper of salt brightens the sweetness and keeps these bars perfectly balanced.
How to Make Chocolate Crunch Bars
Step 1: Prepare Your Pan
First, grab an 8×8-inch baking dish and line it with parchment paper, making sure to leave a little overhang on the sides. This simple step makes lifting and cutting your bars a million times easier once they’re set, so don’t skip it!
Step 2: Melt the Chocolaty Base
In a medium saucepan set over low heat, combine the chocolate chips, creamy peanut butter, unsalted butter, and your choice of honey or maple syrup. Stir the mixture constantly, gently coaxing everything into a smooth, melted pool of chocolate-peanut butter deliciousness. This is where patience pays off—use low heat and keep stirring to avoid scorching your chocolate.
Step 3: Add a Flavor Boost
Once your chocolate mixture is silky and glossy, pull the saucepan off the heat. Now stir in the vanilla extract and a pinch of salt. This step deepens the flavor and balances the sweetness, setting your Chocolate Crunch Bars apart from anything you’ll get pre-made.
Step 4: Fold in Crispy Rice Cereal
Tip in your crispy rice cereal and gently fold until every grain is glossed in chocolatey goodness. Take your time and be gentle; you want to keep those rice crisps whole for that signature crunch!
Step 5: Press and Chill
Pour the mixture into your prepared baking dish. Use a spatula (or clean hands) to gently press it into an even layer, taking care not to pack it too tightly. Now, pop the pan into the refrigerator and let the bars chill for at least 2 hours, or until they’re wonderfully firm and ready to slice.
Step 6: Cut and Serve
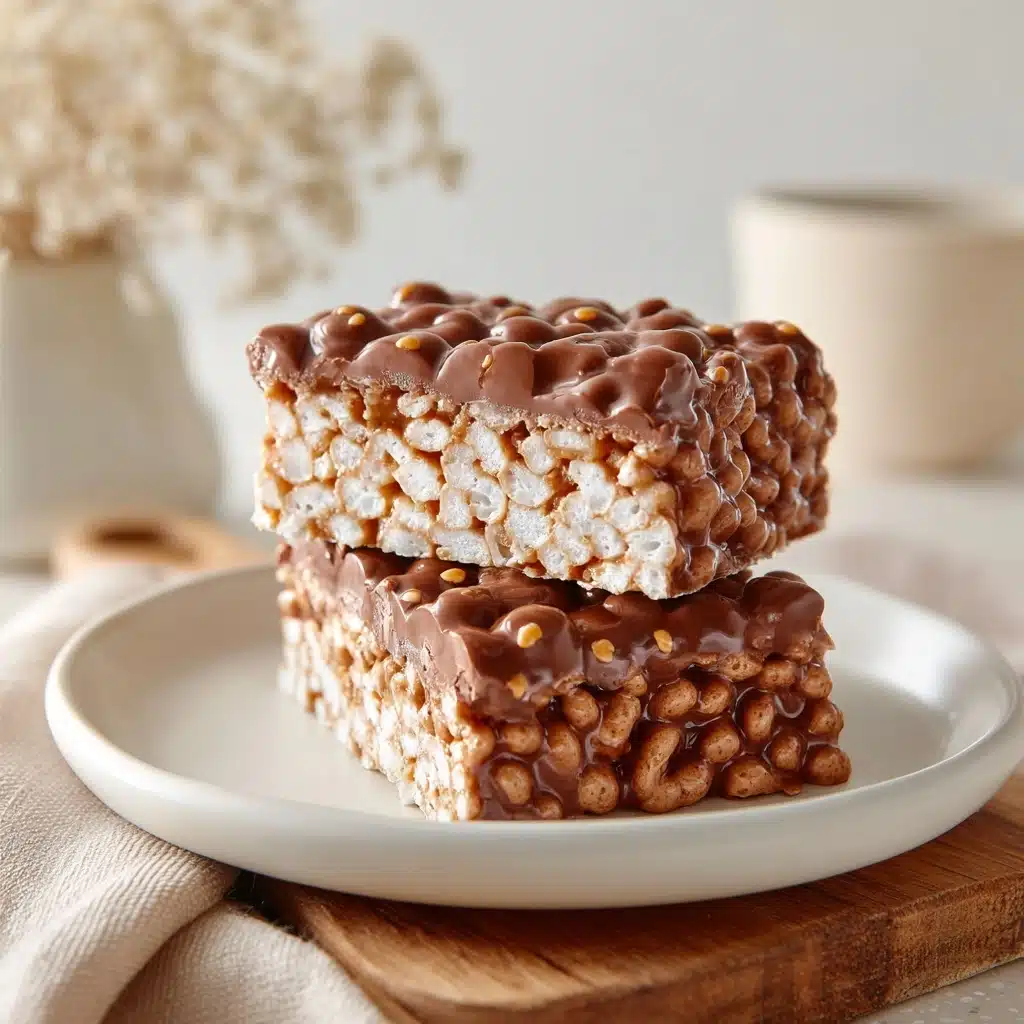
Once chilled and set, lift the mixture out of the pan using the parchment overhang. Slice into bars or bite-sized squares, plate them up, and get ready for some serious smiles. Enjoy your Chocolate Crunch Bars either perfectly chilled for the ultimate snap or at room temperature for a slightly softer bite.
How to Serve Chocolate Crunch Bars
Garnishes
For a pretty presentation, try a sprinkle of flaky sea salt just before the bars set, or drizzle them with a little melted white chocolate after cutting. A dusting of cocoa or even a scattering of mini chocolate chips can add a playful touch to your Chocolate Crunch Bars.
Side Dishes
Serve your Chocolate Crunch Bars with fresh berries for a pop of color and a refreshing contrast, or pair them with a scoop of vanilla ice cream for an utterly decadent dessert plate. Coffee, cold milk, or a vanilla latte make dreamy sipping companions, too.
Creative Ways to Present
Cut the bars into tiny squares and pile them in a mason jar with a festive ribbon for an edible gift. Layer them with parchment paper in a pretty tin or serve as part of a dessert platter for parties. You can even use festive cookie cutters to shape them for the holidays—imagine star-shaped Chocolate Crunch Bars on your cookie tray!
Make Ahead and Storage
Storing Leftovers
These bars stay wonderfully fresh and crunchy when stored in an airtight container in the fridge for up to one week. Be sure to separate layers with parchment or wax paper to prevent sticking, especially if your kitchen runs warm.
Freezing
Chocolate Crunch Bars freeze beautifully! Simply wrap individual bars in plastic wrap, then pop them in a freezer-safe bag or container. They’ll keep their texture and taste for up to three months. Thaw in the fridge or at room temperature whenever the craving hits.
Reheating
No reheating needed—these are made for grab-and-go snacking! If you prefer a softer texture, leave your bar at room temperature for about 10 minutes before enjoying. For a firmer bite, serve straight from the fridge or even slightly chilled from the freezer.
FAQs
Can I make Chocolate Crunch Bars nut-free?
Yes! Substitute sunflower seed butter for peanut butter to make a completely nut-free version. The bars will still be wonderfully creamy and full of flavor with that same beloved crunch.
Can I use milk or dark chocolate instead of semi-sweet?
Absolutely. Use milk chocolate for a sweeter bar or go with dark chocolate if you love a bolder, deeper cocoa flavor. The beauty of Chocolate Crunch Bars is how easy they are to customize to your tastes.
What if I don’t have honey or maple syrup?
If you’re out of both, you can try light corn syrup or even agave in a pinch. Just keep in mind this may slightly alter the flavor, but the bars will still hold together nicely.
Why aren’t my bars sticking together?
If your bars seem crumbly, check that you’re measuring the wet ingredients accurately and mixing thoroughly. Also, make sure they’re fully chilled before cutting—impatience is usually the biggest culprit!
Can I add extras like marshmallows or nuts?
Yes, and it’s a fabulous way to put your own spin on Chocolate Crunch Bars! Stir in mini marshmallows for gooey fun, or sprinkle in chopped peanuts, almonds, or even dried fruit for an extra pop of flavor and texture.
Final Thoughts
I can’t recommend these Chocolate Crunch Bars enough—every bite is a little burst of nostalgia and simple joy. Whether you make them for a party, a quick weeknight treat, or a care package for a friend, they always hit the spot. Go ahead and treat yourself (and your loved ones) to a batch soon—you’ll be hooked after the very first crunch!
Print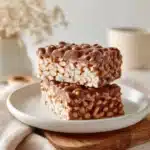
Chocolate Crunch Bars Recipe
- Total Time: 2 hours 15 minutes
- Yield: 16 bars 1x
- Diet: Vegetarian
Description
These Chocolate Crunch Bars are a delightful no-bake treat that combines the rich flavors of chocolate and peanut butter with a satisfying crispy texture. Perfect for a quick dessert or sweet snack!
Ingredients
Chocolate Crunch Bars Ingredients:
- 2 cups semi-sweet chocolate chips
- 1 cup creamy peanut butter
- 1/4 cup unsalted butter
- 1 tablespoon honey or maple syrup
- 3 cups crispy rice cereal
- 1 teaspoon vanilla extract
- Pinch of salt
Instructions
- Prepare the Base: Line an 8×8-inch baking dish with parchment paper.
- Melt Ingredients: In a saucepan over low heat, melt chocolate chips, peanut butter, butter, and honey until smooth.
- Combine: Remove from heat, stir in vanilla and salt, then fold in rice cereal.
- Set: Press mixture into the dish, refrigerate for 2 hours until firm.
- Serve: Cut into bars or squares, and enjoy chilled or at room temperature.
Notes
- For a nut-free version, use sunflower seed butter.
- Add mini marshmallows or chopped nuts for extra texture.
- Store in fridge for up to 1 week.
- Prep Time: 10 minutes
- Cook Time: 5 minutes
- Category: Dessert
- Method: No-Bake
- Cuisine: American
Nutrition
- Serving Size: 1 bar
- Calories: 210
- Sugar: 14g
- Sodium: 80mg
- Fat: 13g
- Saturated Fat: 5g
- Unsaturated Fat: 7g
- Trans Fat: 0g
- Carbohydrates: 21g
- Fiber: 2g
- Protein: 4g
- Cholesterol: 5mg