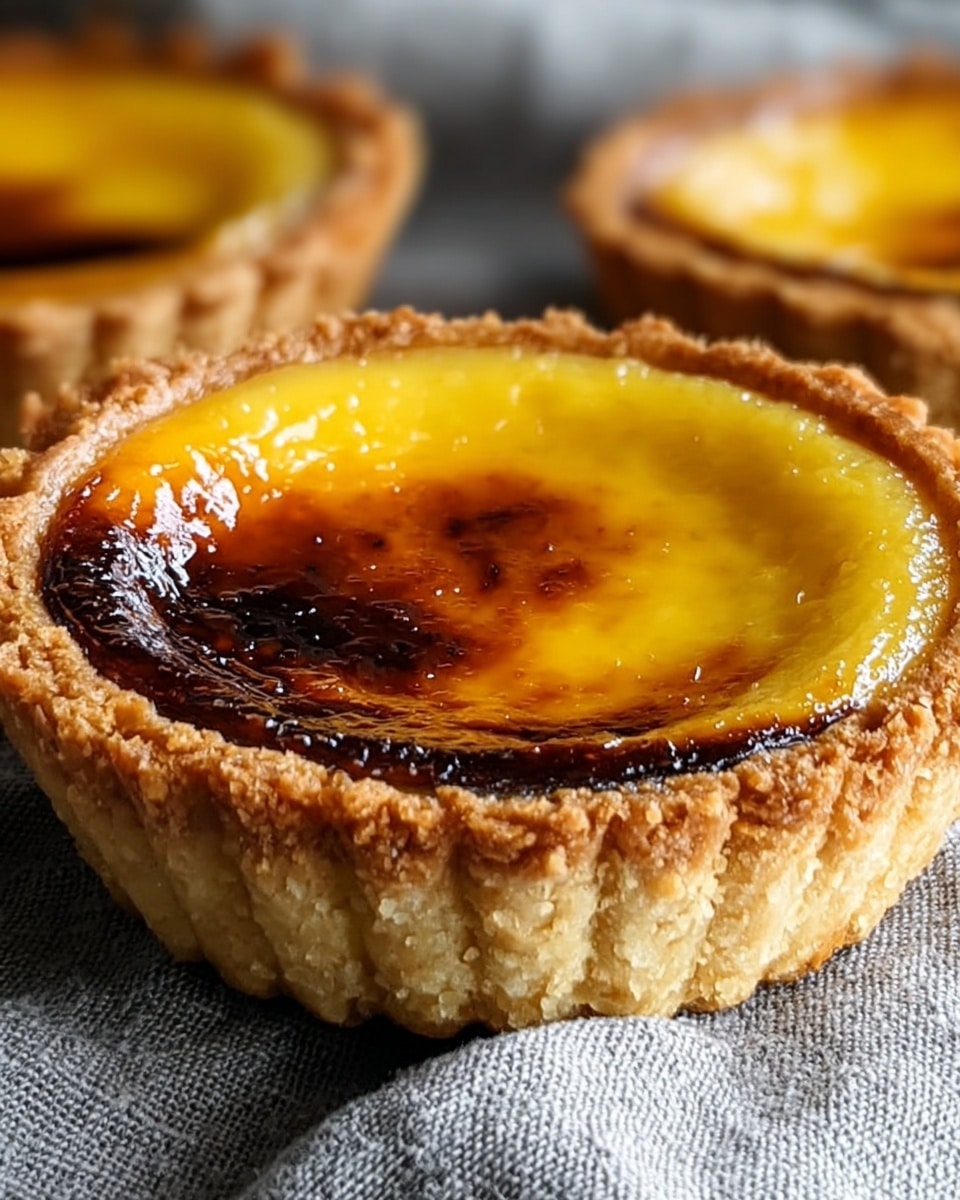
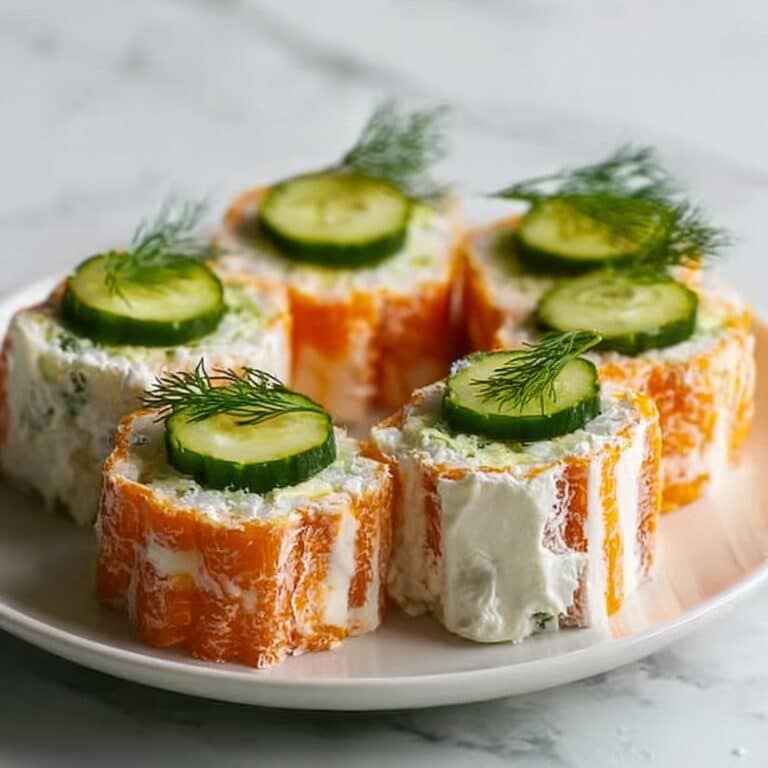
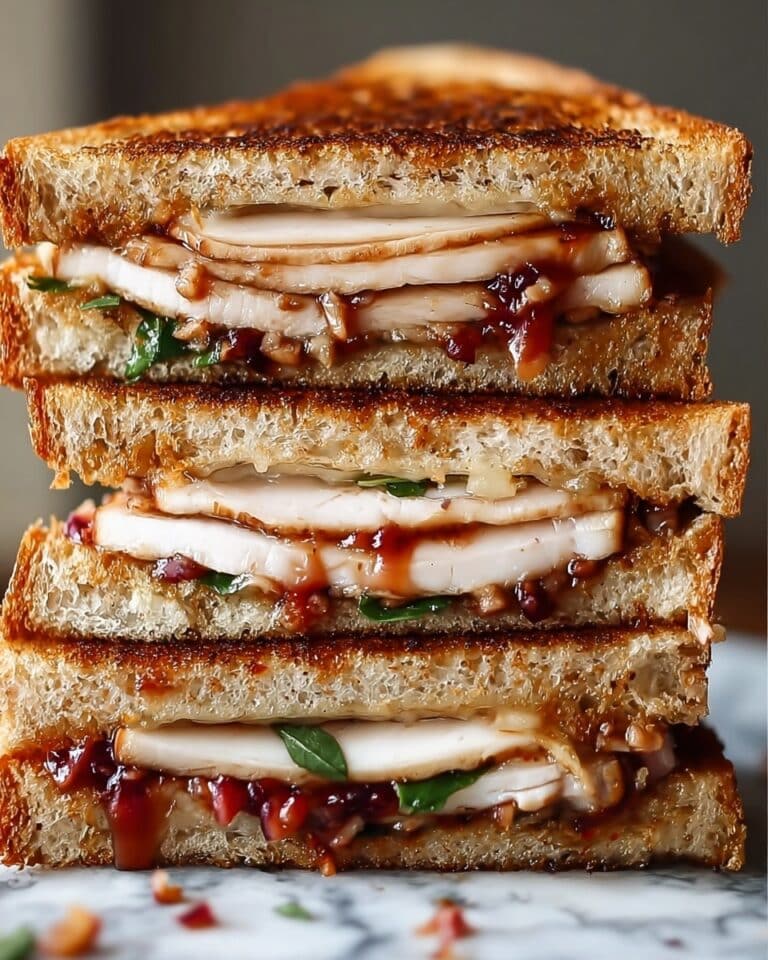
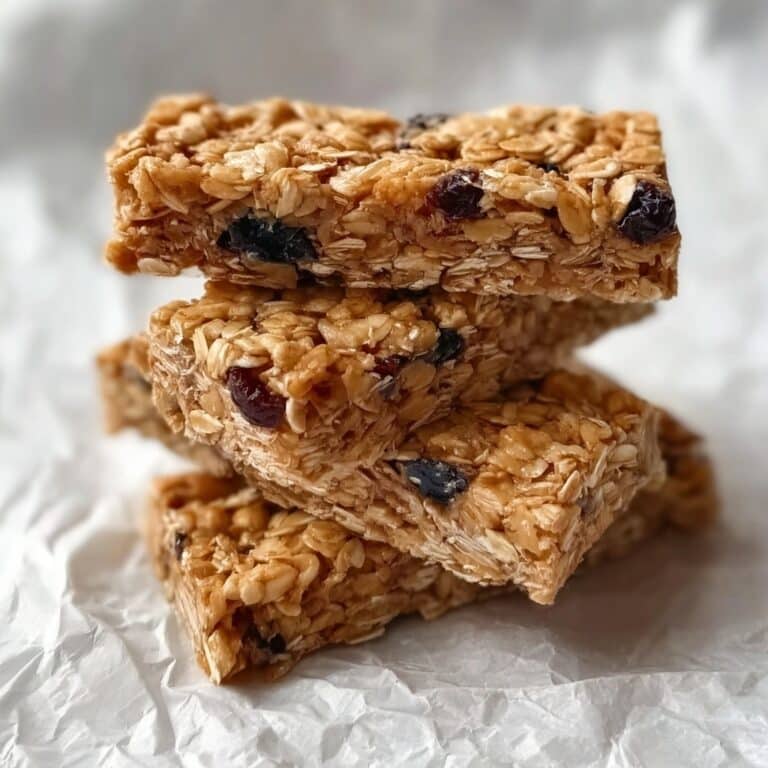
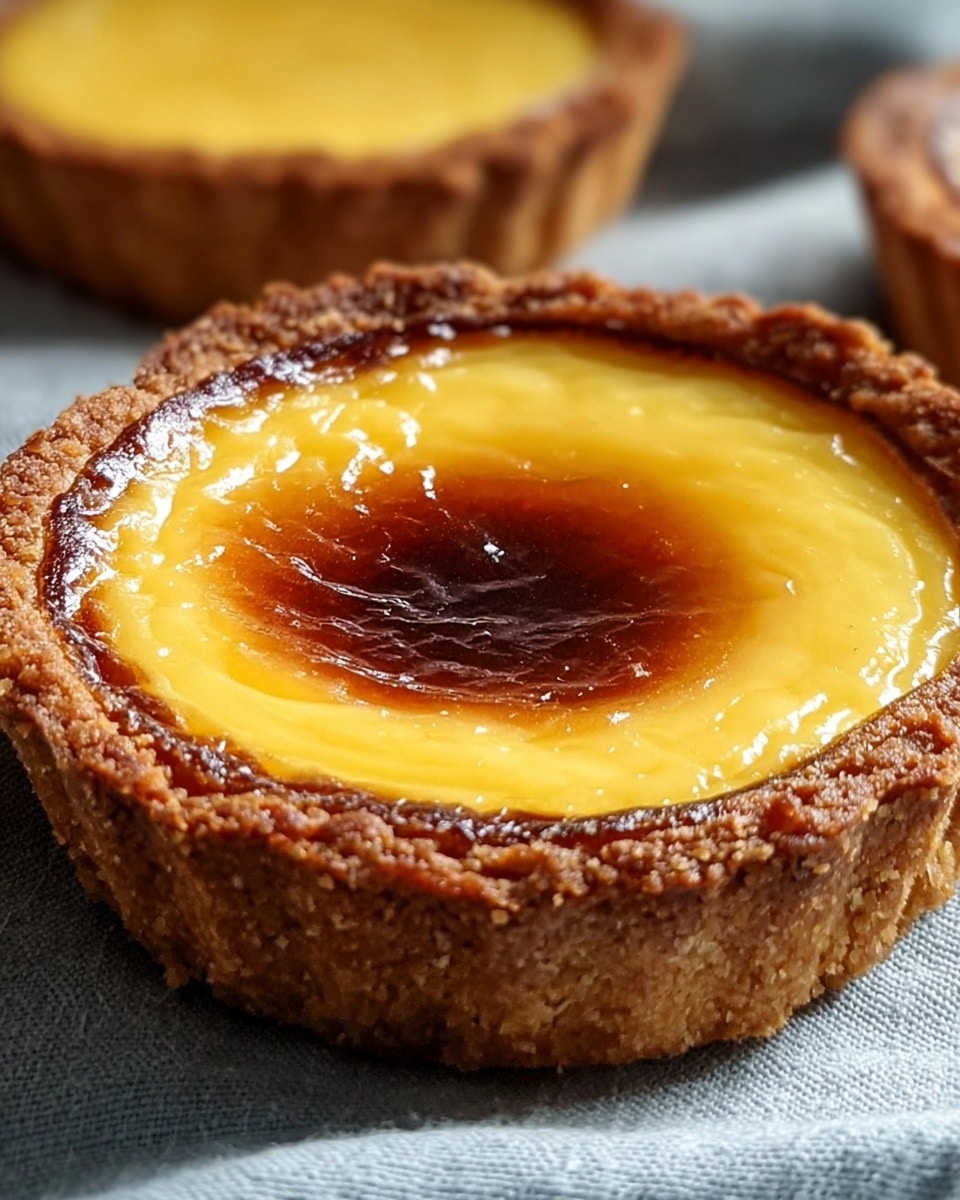
If you’ve ever wanted to indulge in a truly iconic Canadian dessert, look no further than the Best Classic Canadian Butter Tarts Recipe. These little beauties bring together a delicate, flaky tart shell filled with a golden, gooey, sweet filling that perfectly balances buttery richness and caramel undertones. Every bite is a nostalgic journey to cozy kitchens and cherished family moments, making them not just a treat but a warm hug in pastry form. Whether you’re a seasoned baker or a curious first-timer, this recipe is your ticket to mastering one of Canada’s most beloved desserts.
Ingredients You’ll Need
Gathering simple ingredients is the first step to creating these irresistible butter tarts. Each one plays a vital role in crafting the perfect texture and flavor you’ll fall head over heels for.
- 1 1/2 cups all-purpose flour: Provides the tender but sturdy base for your tart shells.
- 1/2 teaspoon salt: Enhances the flavor, keeping your filling balanced and the crust from tasting flat.
- 1/2 cup unsalted butter, cold and cubed: Creates that flaky, buttery tart crust everyone dreams of.
- 1/4 cup ice water (more if needed): Helps bring the dough together without melting the butter.
- 1/2 cup unsalted butter, melted: Adds richness to the luscious filling.
- 1 cup packed brown sugar: Brings that deep, caramel sweetness essential to authentic butter tarts.
- 2 tablespoons corn syrup: Gives the filling a glossy finish and that classic chewy texture.
- 1 tablespoon vanilla extract: Infuses the filling with warmth and aroma.
- 1 large egg: Binds the filling ingredients together for perfect consistency.
- Pinch of salt: Balances the sweetness nicely.
- 1/2 cup chopped walnuts or pecans (optional): Adds a delightful crunch and nutty flavor.
- 1/2 cup raisins (optional): Provides bursts of sweetness and texture, if you like a traditional touch.
How to Make Best Classic Canadian Butter Tarts Recipe
Step 1: Make the Tart Shells
Start by cutting the cold, cubed butter into the flour and salt mixture using a pastry cutter or your fingertips. You’re looking for a crumbly texture with pea-sized bits of butter still visible—that’s what gives your crust the flakiness we crave. Gradually add the ice water, just a tablespoon at a time, until everything starts to stick together and forms a workable dough. Knead it gently on a floured surface just a couple of times to bring it all together, then wrap it up and chill in the fridge for 30 minutes. This resting period is key— it lets the gluten relax and the butter firm up for a tender crust.
Step 2: Preheat the Oven and Prepare the Pan
While your dough chills, preheat your oven to 375°F (190°C). This steady medium-high temperature is perfect for baking to golden perfection without burning your buttery treats. Grease your muffin tin well or line with paper liners to ensure the tarts come out easily once baked.
Step 3: Roll Out the Dough
On a lightly floured surface, roll your dough out to about 1/8 inch thickness. Use a round cookie cutter or the rim of a glass to cut circles large enough to line the cups of your muffin tin. Gently press each circle into the muffin wells, forming neat little tart shells with a bit of a rim to hold in the bountiful filling.
Step 4: Prepare the Filling
In a mixing bowl, whisk together the melted butter, packed brown sugar, corn syrup, vanilla extract, egg, and a pinch of salt until smooth and glossy. If you adore the classic texture contrast, stir in chopped nuts or raisins—dividing them evenly among your tart shells before pouring in the filling ensures each bite has that signature surprise.
Step 5: Fill and Bake the Tarts
Pour the rich filling mixture carefully into each prepared shell, filling them about three-quarters full to prevent overflow while still ensuring a nice caramelized top. Place the muffin tin on the center rack of your preheated oven, and bake for about 15 to 20 minutes, or until the filling is bubbly and the crust is a gorgeous golden brown. Keep a watchful eye in the last minutes to avoid burning. When done, let them cool in the pan for a few minutes before gently transferring your masterpieces to a wire rack to cool completely.
How to Serve Best Classic Canadian Butter Tarts Recipe
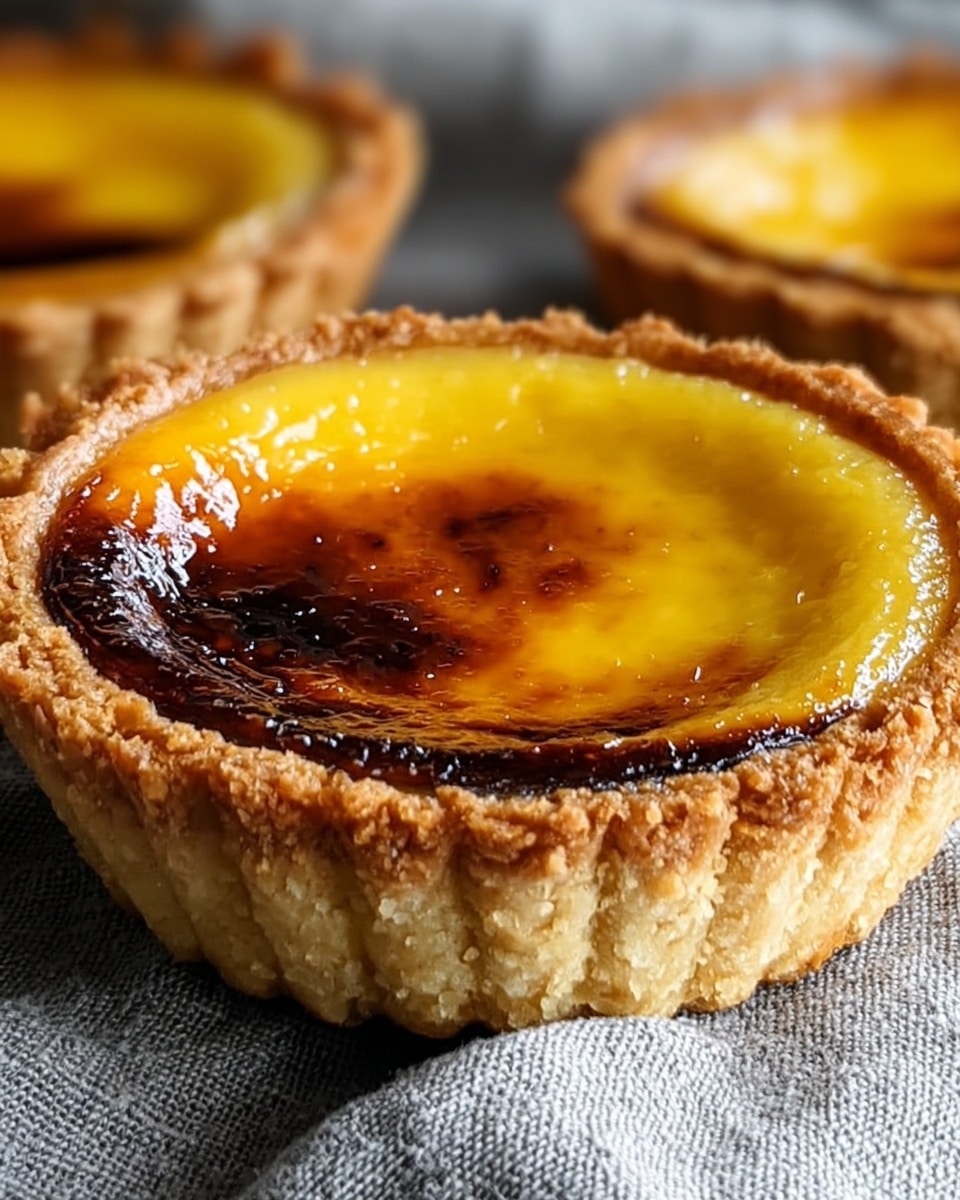
Garnishes
For an extra touch of elegance or flavor, sprinkle a dusting of powdered sugar right before serving or top each tart with a small dollop of whipped cream. Fresh mint leaves can add a vibrant pop of color and a refreshing twist to each bite.
Side Dishes
Butter tarts shine brightest with simple sides. Pair with a hot cup of coffee or a robust black tea to balance the sweetness. A scoop of vanilla ice cream or a few fresh berries on the side can elevate your experience into something truly unforgettable.
Creative Ways to Present
Instead of traditional muffin tins, try making mini butter tart bites in mini muffin pans for irresistible party snacks. You can also experiment with different nuts, or swap raisins for dried cranberries for a tart contrast. Arranging them on a rustic wooden board with a few sprigs of fresh herbs makes for a charming dessert centerpiece.
Make Ahead and Storage
Storing Leftovers
Butter tarts keep wonderfully for a few days at room temperature if covered well, or for up to a week in an airtight container in the fridge. Their gooey centers remain invitingly soft, while the crust holds steady.
Freezing
Want to enjoy butter tarts any time? Freeze cooled tarts in a single layer on a baking sheet, then transfer to a freezer-safe container or bag. They can be frozen for up to 3 months, making it easy to have a sweet fix ready when cravings hit.
Reheating
To bring them back to fresh-baked warmth, gently warm tarts in a 350°F (175°C) oven for 5 to 7 minutes before serving. Avoid microwaving if possible, since the crust might become soggy and lose its delightful crispness.
FAQs
Can I make the tart dough ahead of time?
Absolutely! Preparing the dough a day ahead and keeping it refrigerated helps develop the flavors and makes rolling easier. Just make sure it’s well wrapped to prevent drying out.
What if I don’t have corn syrup?
In a pinch, you can substitute with honey or golden syrup, but keep in mind the texture and flavor might shift slightly; corn syrup provides a classic chewiness and glossy finish unmatched by other sweeteners.
Are raisins and nuts necessary?
Not at all. They are traditional additions loved by many, but you can leave them out if you prefer a smooth, ultra-silky filling or add your own favorite mix-ins for a personal touch.
How do I prevent the filling from leaking?
Make sure not to overfill the tart shells, leaving some space at the top. Chilling the dough well before baking also helps the crust hold together during baking.
Can this recipe be doubled?
Definitely! Just be sure to have enough muffin tins or bake in batches. The ingredients scale nicely, but keep an eye on baking times as they may vary slightly with larger batches.
Final Thoughts
There’s something magical about the Best Classic Canadian Butter Tarts Recipe that invites you to slow down and savor the sweet, buttery comfort it delivers. Whether you bake them for a special occasion or sneak a few bites at the end of a long day, these tarts connect us to tradition and delight in every forkful. Give this recipe a try—you truly can’t go wrong with a classic this good!
Print
Best Classic Canadian Butter Tarts Recipe
- Total Time: 40 minutes
- Yield: 12 servings 1x
Description
This classic Canadian Butter Tarts recipe features flaky homemade tart shells filled with a luscious mixture of brown sugar, butter, and vanilla. Optional walnuts or raisins add a delightful texture and extra sweetness. Perfectly baked in a muffin tin, these tarts are a traditional Canadian dessert loved for their rich, gooey centers and crisp pastry bottoms.
Ingredients
For the Tart Shells
- 1 1/2 cups all-purpose flour
- 1/2 teaspoon salt
- 1/2 cup unsalted butter, cold and cubed
- 1/4 cup ice water (more if needed)
For the Filling
- 1/2 cup unsalted butter, melted
- 1 cup packed brown sugar
- 2 tablespoons corn syrup
- 1 tablespoon vanilla extract
- 1 large egg
- Pinch of salt
- 1/2 cup chopped walnuts or pecans (optional)
- 1/2 cup raisins (optional)
Instructions
- Make the Tart Shells: Cut the cold butter into the flour and salt using a pastry cutter or your fingers until the mixture resembles coarse crumbs.
- Add Ice Water: Slowly add ice water, one tablespoon at a time, mixing until the dough just comes together.
- Knead and Chill: Turn dough onto a lightly floured surface, knead a few times to bring it together, then wrap in plastic wrap and refrigerate for 30 minutes.
- Preheat the Oven: Set the oven to 375°F (190°C). Grease a muffin tin or line it with paper liners for easy removal.
- Roll Out Dough: Roll out the chilled dough and use a round cookie cutter or glass rim to cut circles large enough to fit into the muffin cups. Press the dough gently into each cup to form tart shells.
- Prepare the Filling: In a bowl, combine melted butter, brown sugar, corn syrup, vanilla extract, egg, and a pinch of salt; mix until smooth.
- Add Nuts or Raisins: If using, divide the chopped walnuts/pecans and raisins evenly among the tart shells.
- Fill the Tarts: Pour the prepared filling mixture into each tart shell over the nuts and raisins.
- Bake the Tarts: Bake in the preheated oven for 15-20 minutes or until the filling is bubbly and the shells are golden brown.
- Cool and Serve: Allow the butter tarts to cool in the pan for about 10 minutes before removing. Serve warm or at room temperature.
Notes
- Ensure the butter for the dough is cold to achieve a flaky crust.
- Adjust the filling sweetness by varying the amount of brown sugar or corn syrup to taste.
- You can omit nuts and raisins or substitute according to your preference.
- Use paper liners for the muffin tin to prevent sticking and ease clean-up.
- Butter tarts can be stored in an airtight container for up to 3 days; reheat gently before serving.
