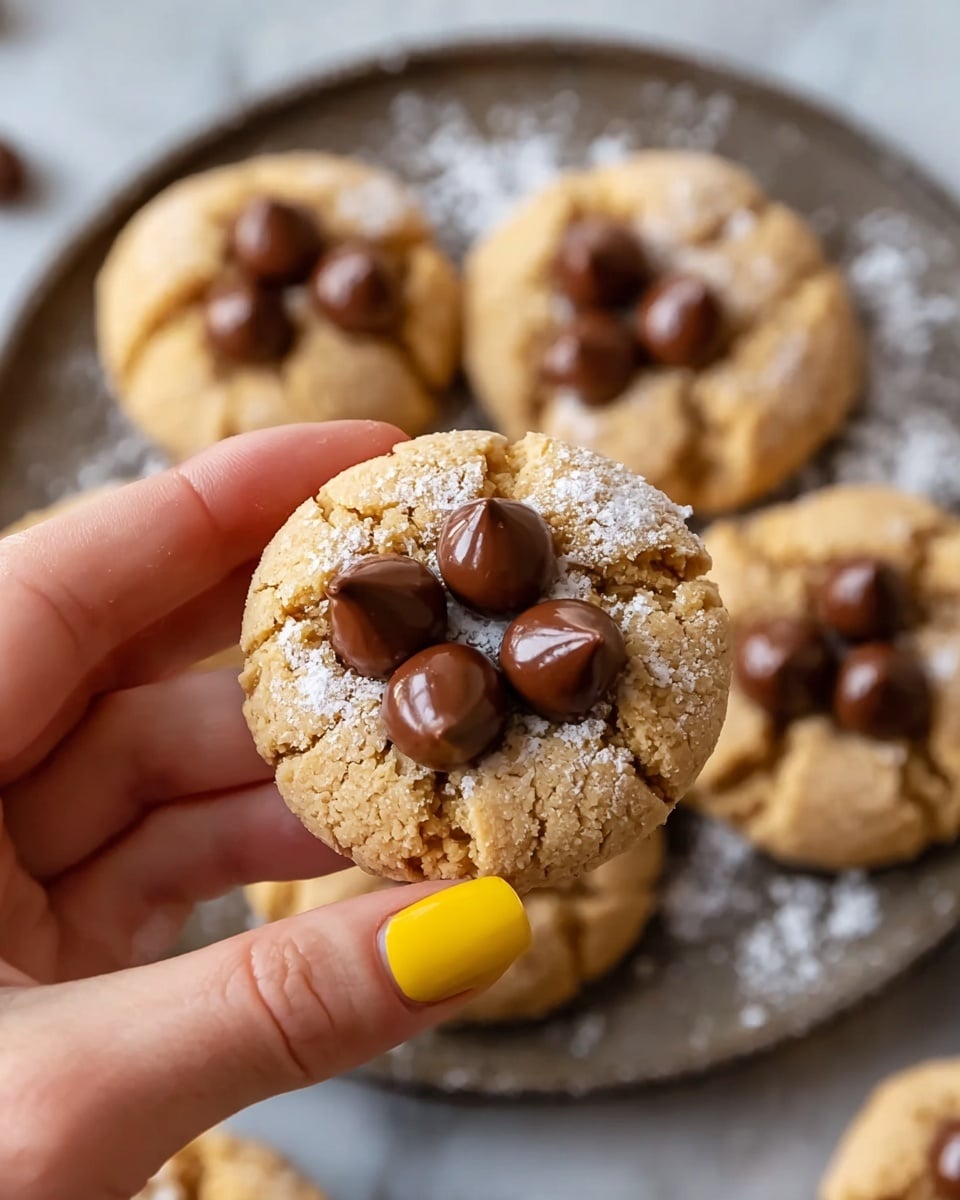
There is something irresistibly charming about a cookie shaped like a bear paw, especially when it comes packed with the rich, creamy goodness of peanut butter and topped off with heavenly chocolate. The Bear Paw Peanut Butter Blossom Cookies Recipe combines the perfect balance of soft, chewy texture with a sweet, nutty flavor that feels like a comforting hug in every bite. If you love playful treats that bring a smile and a satisfying crunch, you’re in for a true delight with this one.
Ingredients You’ll Need
Gathering simple ingredients is the key to unlocking the magic of this Bear Paw Peanut Butter Blossom Cookies Recipe. Each ingredient plays a crucial role in building flavor, texture, and that signature look that makes these cookies stand out on any dessert table.
- 1/2 cup butter, softened: Adds richness and tenderness to the dough, ensuring a melt-in-your-mouth texture.
- 1 cup creamy peanut butter: Brings that unmistakable nutty flavor and moistness.
- 1 cup granulated sugar: Sweetens the cookies and helps achieve a slightly crisp exterior.
- 1/2 cup light brown sugar, packed: Introduces a subtle caramel note and keeps the cookies chewy.
- 2 large eggs: Bind the ingredients together while providing structure.
- 1/2 teaspoon vanilla extract: Enhances overall flavor with warm, aromatic notes.
- 2 cups all-purpose flour: Forms the sturdy base of the cookie dough.
- 2 teaspoons baking soda: Helps the cookies rise and spread evenly.
- 1/2 teaspoon salt: Balances sweetness and deepens the flavor profile.
- 48 chocolate melting disks: The star of the paw print, melting perfectly atop each cookie.
- 144 chocolate chips: Used for the tiny “toes” of the paw, adding extra chocolatey goodness.
How to Make Bear Paw Peanut Butter Blossom Cookies Recipe
Step 1: Preheat and Prepare
Start by preheating your oven to 350°F (175°C) to get it ready for baking. Line your baking sheets with parchment paper to ensure your cookies don’t stick and bake evenly. A little prep like this sets the stage for perfect cookies every time.
Step 2: Create the Peanut Butter Mixture
In a large bowl, beat together the softened butter, creamy peanut butter, granulated sugar, and brown sugar until the mixture is smooth and creamy. This step is key because it incorporates air and blends the flavors beautifully. Then, mix in the eggs and vanilla extract until everything is fully combined and luscious.
Step 3: Combine the Dry Ingredients
Whisk the all-purpose flour, baking soda, and salt in a separate bowl. Gradually add this dry mixture to your peanut butter blend. Mix just until combined—overmixing can make the cookies tough, but you want a dough that’s soft and just holding together.
Step 4: Shape and Bake
Use a rounded tablespoon to scoop out dough balls, placing them about two inches apart on your lined baking sheets. For an extra touch of sparkle and texture, you can roll each ball in granulated sugar before baking. Bake them for 7 to 9 minutes, just until the cookies look puffy and soft around the edges. The timing here keeps them wonderfully chewy inside.
Step 5: Decorate Your Bear Paw Cookies
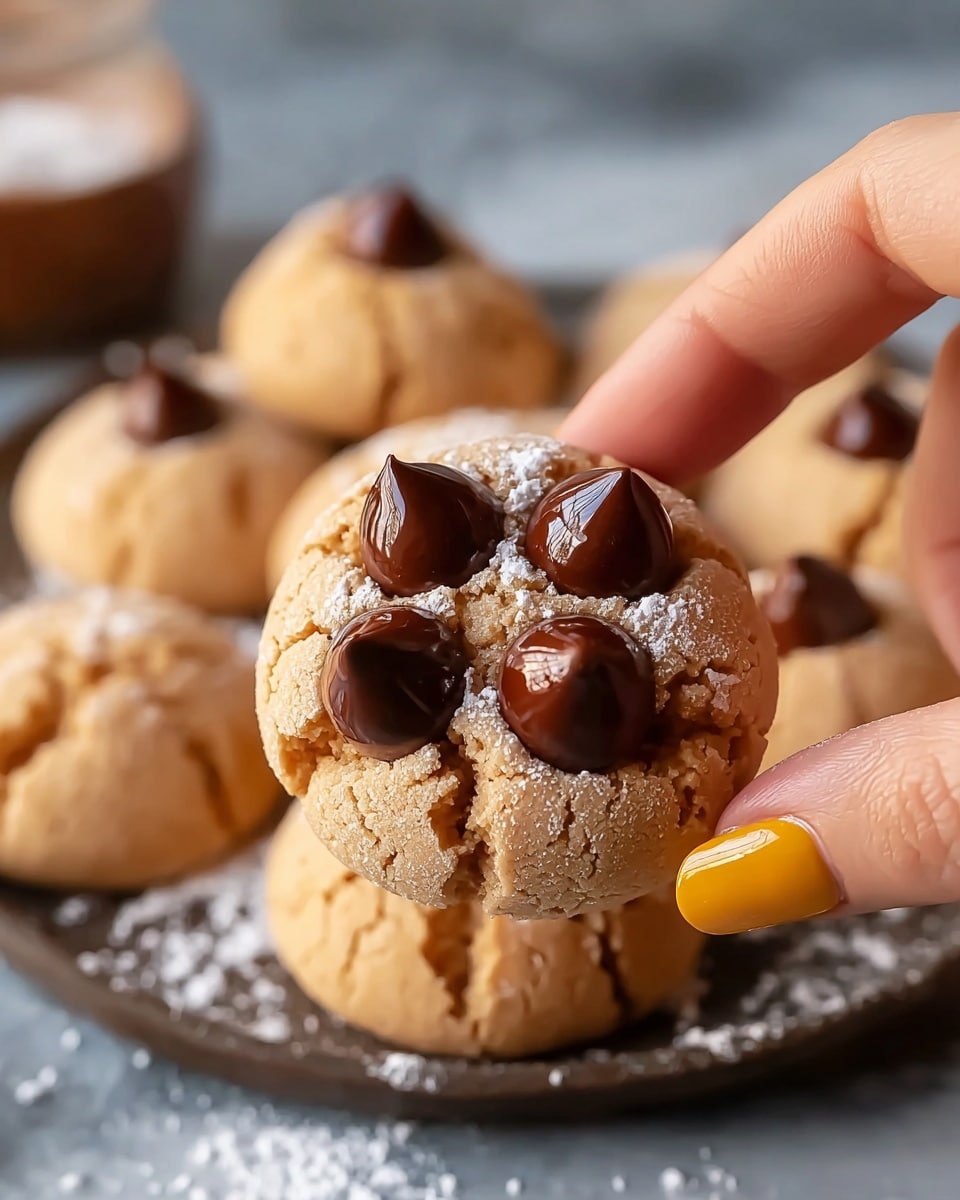
Right after taking the cookies out of the oven, press one chocolate melting disk gently but firmly into the center of each cookie. Then arrange three chocolate chips just above the disk to mimic the “toes” of a bear paw. As the chocolate disks melt and the chips soften, your cookies will look as adorable as they taste. Cool them on wire racks to set perfectly.
How to Serve Bear Paw Peanut Butter Blossom Cookies Recipe
Garnishes
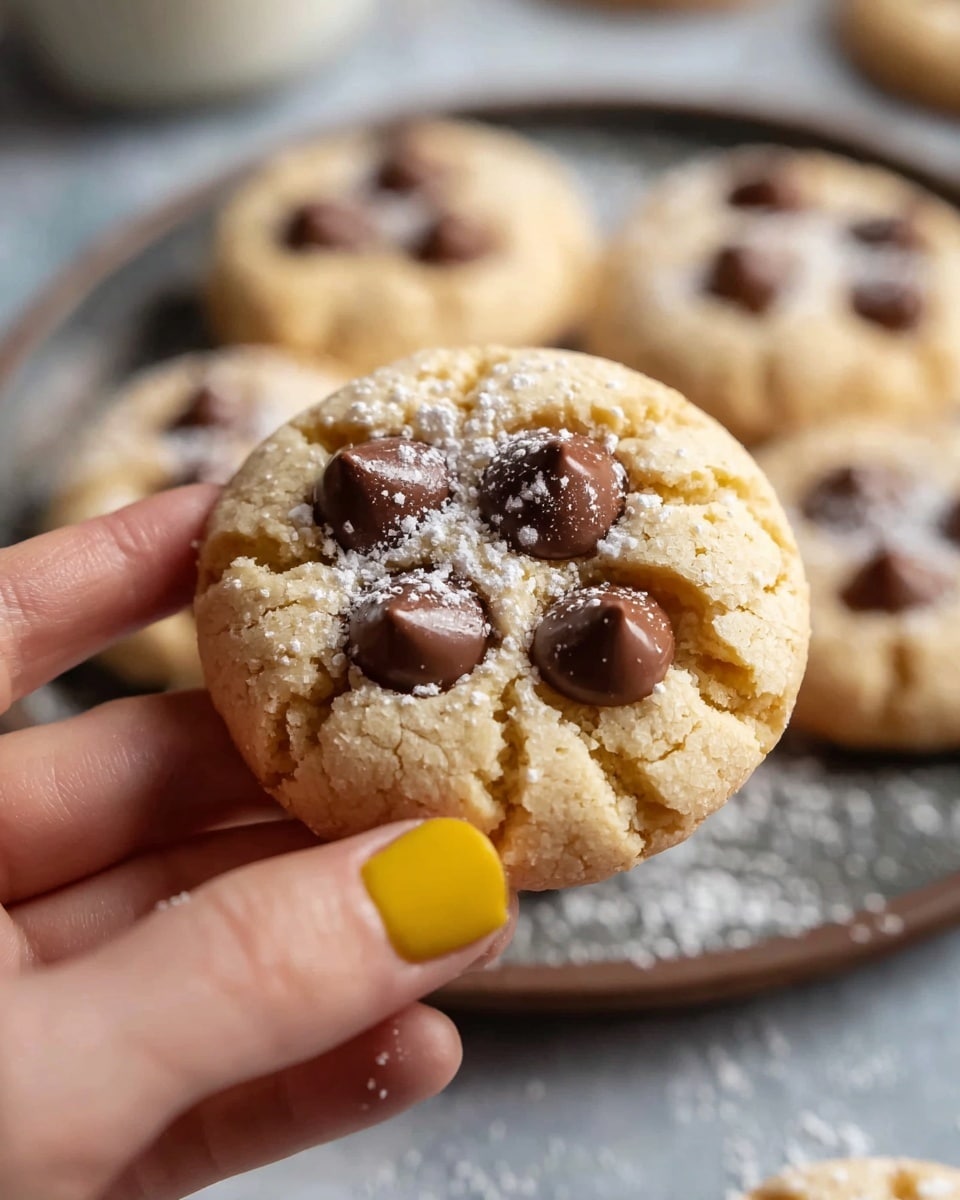
These cookies speak for themselves, but if you want to elevate the presentation, consider dusting some powdered sugar lightly over the cooled cookies. A drizzle of melted white chocolate over the paw prints adds a beautiful contrast and a bit of extra sweetness.
Side Dishes
Pair these Bear Paw Peanut Butter Blossom Cookies Recipe treats with a tall glass of cold milk or a warm cup of coffee or tea. The creamy drink complements the rich peanut butter and chocolate, creating a perfect snack or dessert pairing.
Creative Ways to Present
For a fun and festive touch, serve these cookies on a wooden platter arranged like a bear’s footprint trail. Wrap a few in cellophane tied with rustic twine for party favors or gift-giving. Kids especially love the playful paw shape, making these cookies a hit for birthday parties or family gatherings.
Make Ahead and Storage
Storing Leftovers
After enjoying freshly baked Bear Paw Peanut Butter Blossom Cookies Recipe, store any leftovers in an airtight container at room temperature for up to one week. Keeping them sealed helps maintain their soft texture and prevents the chocolate from blooming.
Freezing
If you want to save these delightful cookies for later, freeze them in an airtight container with parchment paper between layers. They freeze well for up to three months, so you can enjoy a batch of bear paws whenever the craving hits.
Reheating
To bring a frozen or stored cookie back to life, warm it in the microwave for about 10-15 seconds. This gentle heat revives the gooey peanut butter inside and slightly softens the chocolate for that fresh-baked experience.
FAQs
Can I use crunchy peanut butter instead of creamy for the Bear Paw Peanut Butter Blossom Cookies Recipe?
Absolutely! Using crunchy peanut butter will add extra texture and nutty bites to your cookies, though it may slightly change the smoothness of the dough. It’s a delicious variation if you enjoy that bit of crunch in each bite.
What if I don’t have chocolate melting disks for decorating?
If chocolate melting disks aren’t available, you can substitute with other types of chocolate candies or a thick chocolate spread that can be dolloped on top after baking. Just make sure whatever you use can soften nicely without running off.
Can I make these cookies gluten-free?
Yes! Swap the all-purpose flour with a gluten-free baking blend that is one-to-one for flour. This way, you keep the right dough consistency and enjoy your Bear Paw Peanut Butter Blossom Cookies Recipe without gluten.
How long will the cookies stay fresh?
Stored in an airtight container at room temperature, these cookies stay fresh for up to a week. For the best texture and flavor, enjoy them within the first few days after baking.
Can I reduce the sugar in the Bear Paw Peanut Butter Blossom Cookies Recipe?
While you can reduce the sugar slightly, it’s best not to cut too much since sugar contributes to texture and the perfect chewiness. Consider reducing by no more than 1/4 cup in total to maintain balance.
Final Thoughts
There is something truly special about making and sharing the Bear Paw Peanut Butter Blossom Cookies Recipe. It’s a dessert that feels nostalgic and novel all at once, bringing smiles with its cute shape and delighting taste buds with every peanut buttery, chocolatey bite. Give this recipe a try and watch how these charming cookies become an instant favorite in your home.
Print
Bear Paw Peanut Butter Blossom Cookies Recipe
- Total Time: 19 minutes
- Yield: 48 cookies 1x
Description
These Bear Paw Peanut Butter Blossom Cookies are soft, chewy peanut butter delights topped with a chocolate disk and three chocolate chips arranged like a paw print. Perfectly sweet and easy to make, they’re a fun twist on the classic peanut butter blossom cookie, ideal for parties, holidays, or any sweet craving.
Ingredients
Dough Ingredients
- 1/2 cup butter, softened
- 1 cup creamy peanut butter
- 1 cup granulated sugar
- 1/2 cup light brown sugar, packed
- 2 large eggs
- 1/2 teaspoon vanilla extract
- 2 cups all-purpose flour
- 2 teaspoons baking soda
- 1/2 teaspoon salt
Decoration
- 48 chocolate melting disks
- 144 chocolate chips
Instructions
- Preheat Oven: Preheat your oven to 350°F (175°C) and line baking sheets with parchment paper to prevent sticking and ensure even baking.
- Prepare Dough: In a large bowl, beat together the softened butter, creamy peanut butter, granulated sugar, and brown sugar until the mixture is smooth and creamy. Next, mix in the eggs and vanilla extract until everything is well combined.
- Combine Dry Ingredients: In a separate bowl, whisk together the all-purpose flour, baking soda, and salt. Gradually add the dry ingredients to the peanut butter mixture, stirring until just combined to avoid overmixing.
- Shape and Bake: Using a spoon, scoop rounded tablespoons of dough onto the prepared baking sheets, spacing each about 2 inches apart. For extra texture and sweetness, you can roll the dough balls in additional sugar before baking. Bake the cookies for 7 to 9 minutes until they are puffy and soft.
- Decorate: Immediately after removing the cookies from the oven, gently press one chocolate melting disk into the center of each cookie. Then, place three chocolate chips on each cookie to form a paw print design. Transfer the cookies to wire racks to cool completely.
Notes
- For best results, do not overbake the cookies to keep them soft and chewy.
- If you prefer a stronger peanut butter flavor, use natural peanut butter without added sugar.
- Chocolate melting disks work better than regular chocolate chips for the centerpiece as they melt slightly and stick better to the warm cookie.
- Ensure cookies are spaced sufficiently on baking sheets to prevent spreading into each other.
- Cooling cookies on wire racks prevents sogginess and retains crisp edges.
