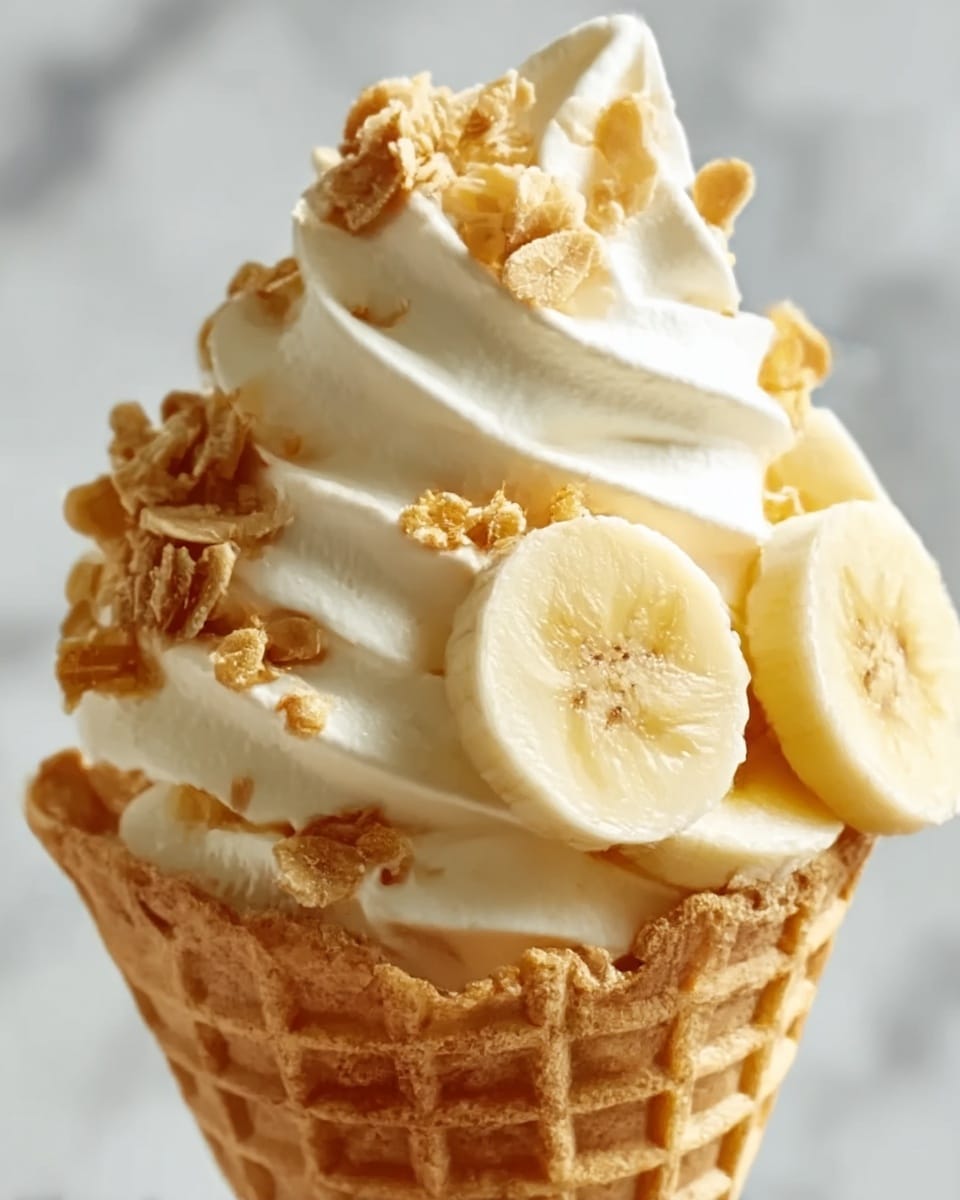
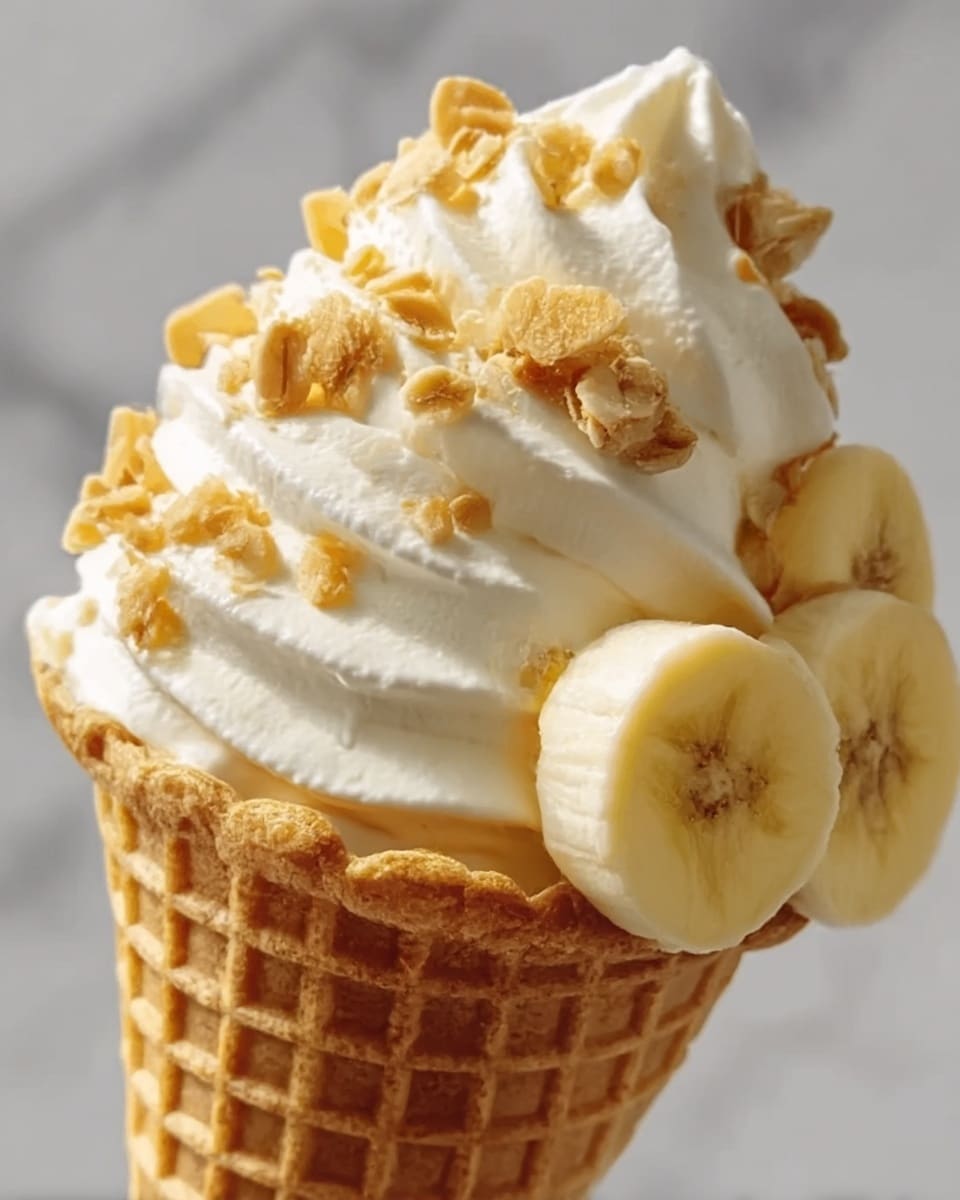
If you have a sweet tooth and love fun twists on classic desserts, then you are going to adore the Banana Pudding Cheesecake Cones Recipe. This delightful treat takes the creamy, dreamy flavors of banana pudding and cheesecake, then wraps it all up in a crispy waffle cone for the perfect handheld indulgence. It’s a playful, crowd-pleasing dessert that’s as easy to make as it is delicious, perfect for summer parties, casual get-togethers, or simply satisfying your craving for something uniquely delightful.
Ingredients You’ll Need
Gathering your ingredients for the Banana Pudding Cheesecake Cones Recipe is a breeze because each element plays a crucial role in crafting its luscious texture and iconic flavor. These simple yet essential ingredients come together to create a dessert that is creamy, fruity, crunchy, and utterly irresistible.
- 8 waffle cones: These provide a crunchy, sweet container that’s the perfect vessel for the creamy fillings.
- 1 (8 oz) package cream cheese, softened: Adds rich, tangy creaminess that balances the sweetness beautifully.
- 1 cup powdered sugar: Sweetens and smooths the cream cheese for a luscious cheesecake base.
- 1 (3.4 oz) box instant banana pudding mix: Brings that signature banana flavor and silky texture.
- 2 cups cold milk: Used to prepare the pudding, giving it the perfect consistency.
- 1 1/2 cups whipped topping: Lightens and adds fluff to the cheesecake mixture for a dreamy mouthfeel.
- 4 bananas, sliced: Fresh banana slices add natural sweetness and a fruity burst in every bite.
- Crushed vanilla wafers for topping: Provide a nostalgic crunch that complements the creamy layers perfectly.
How to Make Banana Pudding Cheesecake Cones Recipe
Step 1: Prepare the Banana Pudding
Start by whisking together the instant banana pudding mix and cold milk in a mixing bowl. Stir vigorously for about 2-3 minutes until the mixture thickens to a silky, custard-like consistency. Once ready, pop it into the fridge to chill and set firmly while you move on to the cheesecake filling. This step ensures your banana pudding has that perfectly creamy and smooth texture that is the heart of this recipe.
Step 2: Make the Cheesecake Filling
In a separate bowl, beat the softened cream cheese and powdered sugar together until you get a silky smooth base free of lumps. Then, gently fold in the whipped topping, which lightens the mixture, turning it fluffy and airy. This cheesecake filling provides the luscious richness and tang that pairs beautifully with the banana pudding and fresh bananas.
Step 3: Assemble the Cones
Using a piping bag or a zip-top bag with a corner snipped, pipe a generous layer of the cheesecake filling into the bottom of each waffle cone. Follow this with a spoonful of chilled banana pudding, and repeat layering until the cone is almost full. Make sure to leave enough space at the top for garnishing with fresh banana slices and the crunchy vanilla wafers. This layering is what makes every bite exciting and flavorful.
Step 4: Garnish and Chill
Finish by topping each cone with a few slices of fresh banana and a sprinkle of crushed vanilla wafers to add delightful texture contrasts. If you want to elevate the presentation and flavor further, consider drizzling a little caramel sauce on top. Then, refrigerate the cones for a short while to chill, allowing the flavors to meld and the dessert to be perfectly cool and refreshing when served.
How to Serve Banana Pudding Cheesecake Cones Recipe
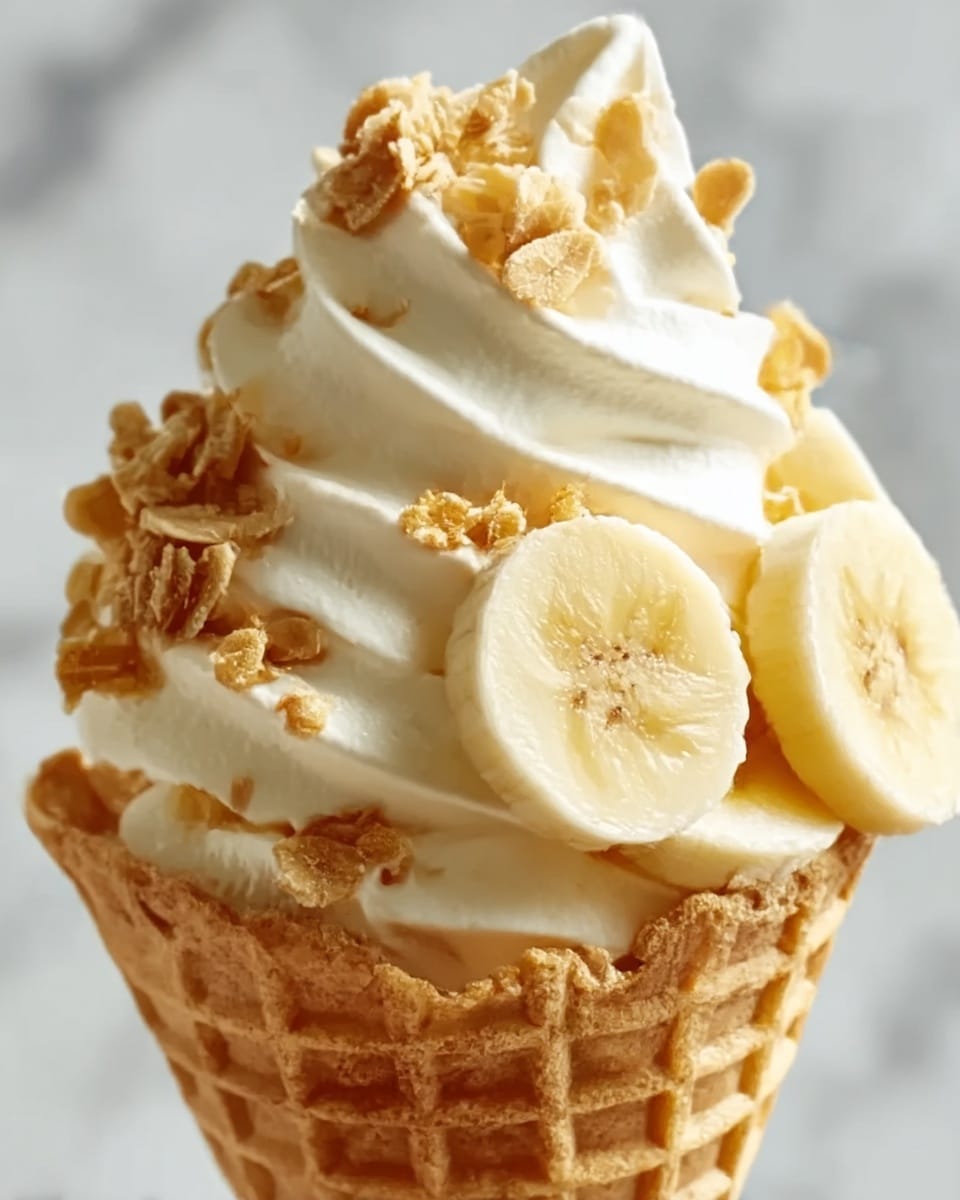
Garnishes
Simple garnishes like freshly sliced bananas and crushed vanilla wafers make the cones visually inviting and add textural contrast that enhances every bite. A drizzle of caramel or even a sprinkle of cinnamon can add an unexpected twist that feels special and decadent.
Side Dishes
Pair these cones with light, fruity side dishes like a fresh berry salad or a crisp minty lemonade. The crisp freshness will balance the creamy, sweet richness of the cones beautifully, creating a delightful dessert experience.
Creative Ways to Present
Try serving your Banana Pudding Cheesecake Cones Recipe standing upright in a custom cone holder to keep them neat and showcase the beautiful layers. Another fun idea is to place each cone in a small cup lined with banana leaves for a tropical vibe, perfect for summer gatherings or picnics.
Make Ahead and Storage
Storing Leftovers
If you have any leftover dessert (which may be rare!), store the assembled cones in an airtight container in the fridge. Consume them within 2 days, as the waffle cones may lose their crispness over time, but the creamy filling will remain delicious.
Freezing
Freezing banana pudding cheesecake cones is not recommended since the fresh bananas can discolor and the cones tend to get soggy. For best results, enjoy this recipe fresh to fully appreciate the delightful textures and flavors.
Reheating
This dessert is best enjoyed chilled and does not require reheating. Keep it cold to preserve the creamy textures and fresh fruit taste that make the Banana Pudding Cheesecake Cones Recipe so magical.
FAQs
Can I use homemade banana pudding instead of instant mix?
Absolutely! Homemade banana pudding can add a lovely depth of flavor, just be sure it’s thick enough to hold its shape inside the cones. Adjust the layering accordingly to maintain the perfect texture.
What can I substitute for whipped topping?
You can use freshly whipped heavy cream for a natural, less processed option. Whip it to soft peaks before folding it into the cream cheese mixture for a light and fluffy cheesecake filling.
How far in advance can I prepare these cones?
For the best texture, assemble the cones a few hours before serving and keep them chilled. Assembling too far in advance may cause the cones to soften, so ideally prepare on the day you plan to serve them.
Can I make this recipe vegan?
With a few tweaks, yes! Use vegan cream cheese and dairy-free whipped topping, along with a plant-based milk for the pudding. Make sure your pudding mix is vegan-friendly or opt for a homemade version using plant milks and thickeners.
What type of vanilla wafers work best for topping?
Plain vanilla wafers that are crisp and not overly sweet provide the perfect crunch and texture contrast. Crushing them finely ensures they add just the right amount of topping without overpowering the other flavors.
Final Thoughts
If you’re looking to wow your friends or treat yourself with a dessert that’s fun, fresh, and downright delicious, the Banana Pudding Cheesecake Cones Recipe is your answer. It’s a playful spin on two beloved classics that’s sure to become a crowd favorite in your recipe collection. Give it a try—you’ll love every creamy, crunchy, dreamy bite.
Print
Banana Pudding Cheesecake Cones Recipe
- Total Time: 15 minutes
- Yield: 8 servings 1x
- Diet: Vegetarian
Description
This Banana Pudding Cheesecake Cones recipe offers a delightful twist on traditional banana pudding by combining creamy cheesecake filling with layers of instant banana pudding, fresh banana slices, and crunchy vanilla wafer toppings, all served in crispy waffle cones. It’s a fun, no-bake dessert perfect for parties or casual gatherings that’s easy to assemble and sure to impress.
Ingredients
Base
- 8 waffle cones
Cheesecake Filling
- 1 (8 oz) package cream cheese, softened
- 1 cup powdered sugar
- 1 1/2 cups whipped topping
Banana Pudding
- 1 (3.4 oz) box instant banana pudding mix
- 2 cups cold milk
Toppings
- 4 bananas, sliced
- Crushed vanilla wafers for topping
- Optional: caramel sauce for drizzling
Instructions
- Prepare the Banana Pudding: In a mixing bowl, whisk together the instant banana pudding mix and cold milk until the mixture thickens, about 2 to 3 minutes. Cover and refrigerate to chill while you prepare the cheesecake filling.
- Make the Cheesecake Filling: In a separate bowl, beat the softened cream cheese and powdered sugar together until smooth and creamy. Gently fold in the whipped topping until fully incorporated and fluffy.
- Assemble the Cones: Using a piping bag or a zip-top bag with a corner cut off, pipe a layer of the cheesecake mixture into the bottom of each waffle cone. Then add a spoonful of the banana pudding on top. Continue layering cheesecake filling and banana pudding alternately until the cone is nearly full, leaving space at the top for banana slices and toppings.
- Garnish and Serve: Top each cone with a few slices of fresh banana and a sprinkle of crushed vanilla wafers for added crunch. Optionally, drizzle caramel sauce on top for extra sweetness and an elegant touch.
- Chill & Enjoy: Place the assembled cones in the refrigerator for a brief chill, allowing the flavors to meld and the filling to firm up slightly before serving. Enjoy this cool, creamy, and crunchy dessert!
Notes
- Use cold milk to help the banana pudding set properly.
- Chilling the pudding before assembling ensures a firmer consistency for layering.
- Whipped topping can be substituted with homemade whipped cream for a fresher taste.
- For added texture, you can add small chunks of banana between layers.
- Serve immediately after chilling to prevent the waffle cones from becoming soggy.
- Store any leftovers covered in the refrigerator for up to 2 days.
