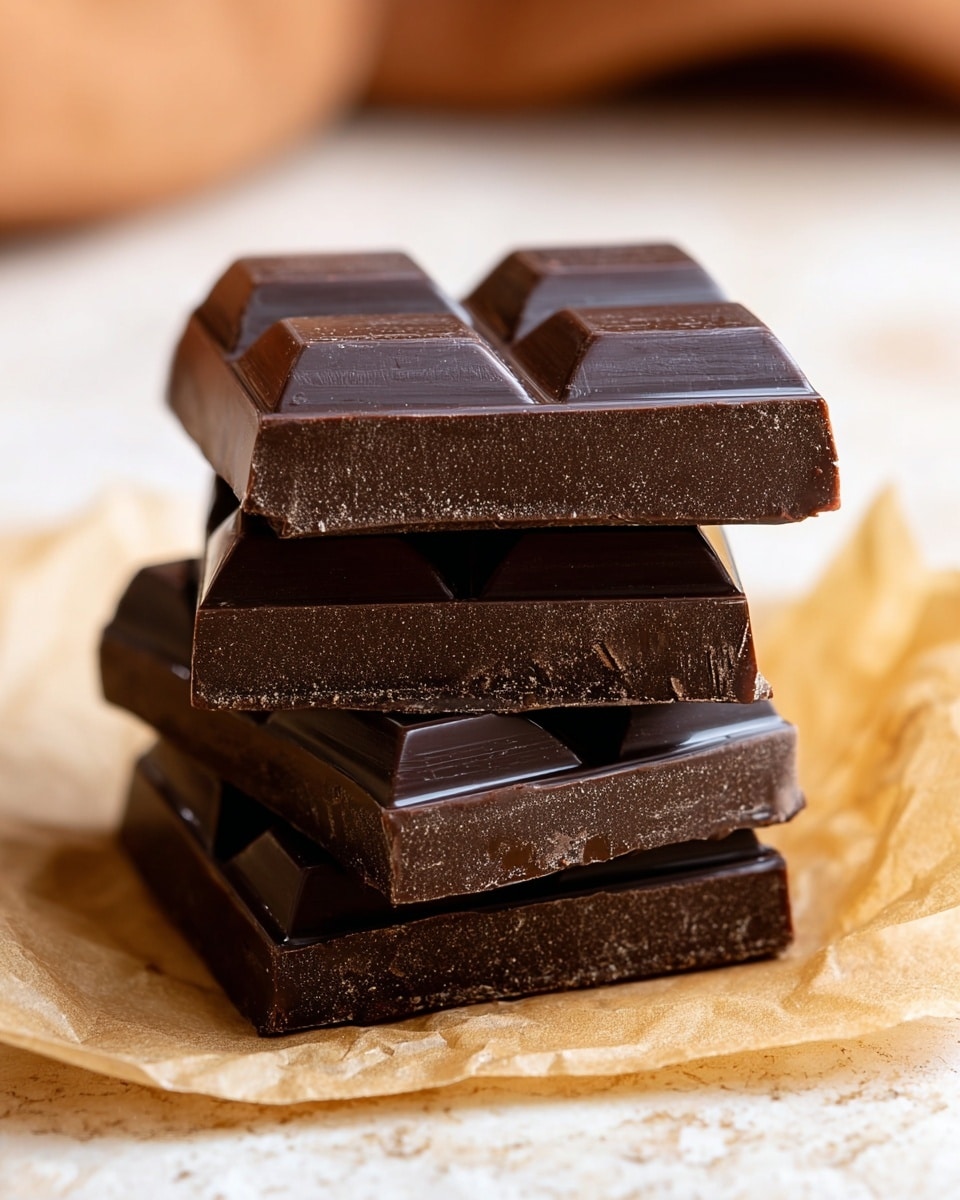
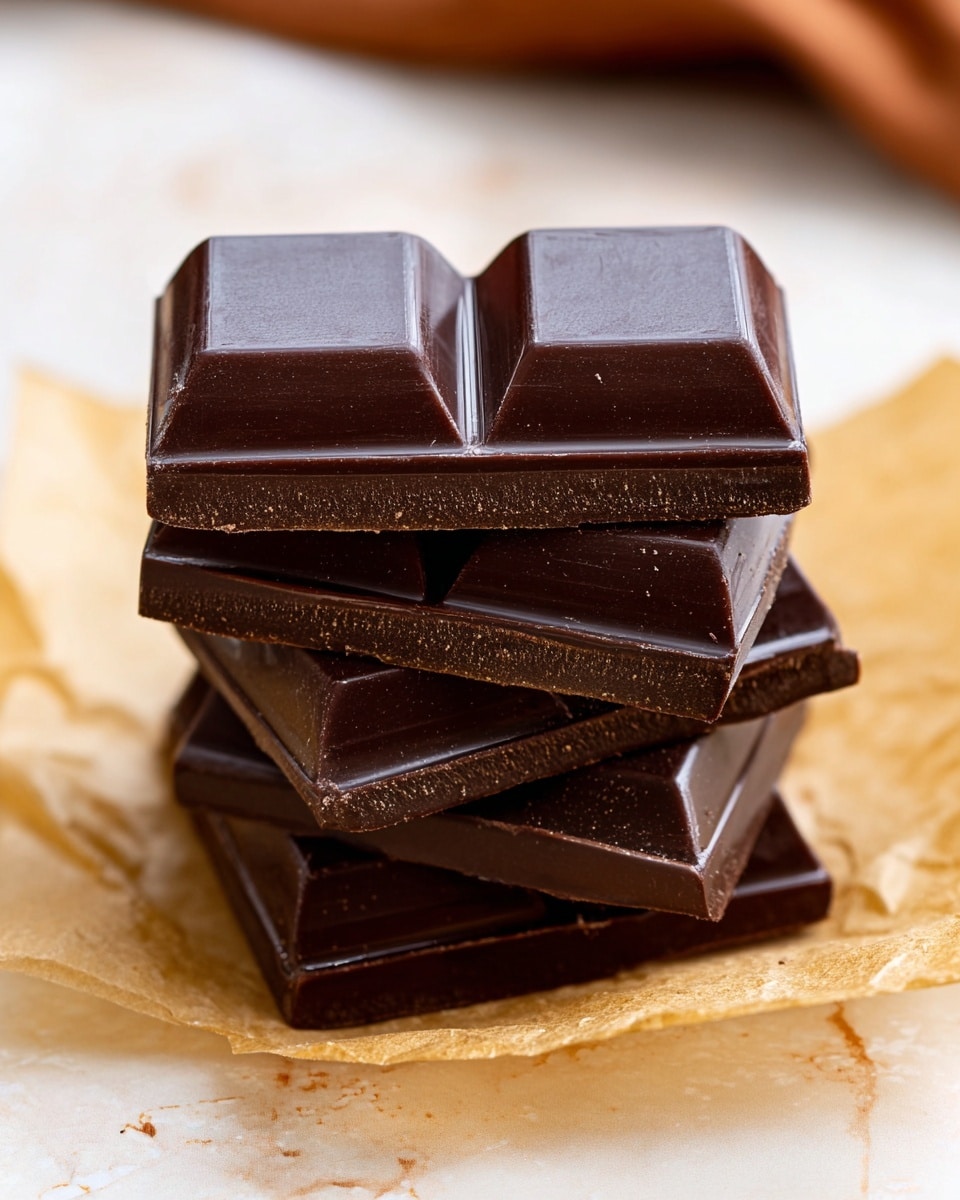
If you’ve ever dreamed of crafting your very own chocolate treat that’s both simple and heavenly, then this Irresistible Homemade Chocolate Bars Recipe is your new best friend in the kitchen. It’s a delightful way to bring rich, velvety chocolate right into your home with just a handful of ingredients, creating bars that melt in your mouth and satisfy every chocolate craving. Whether you’re a seasoned baker or just starting out, these homemade bars are guaranteed to impress with their perfect balance of smoothness, crunch, and a hint of salt that elevates every bite.
Ingredients You’ll Need
Getting started with this Irresistible Homemade Chocolate Bars Recipe means gathering a few straightforward ingredients that each play a key role in flavor and texture. From the rich cocoa intensity of dark chocolate to the tropical smoothness of coconut oil, every item contributes its own magic.
- Dark chocolate chips (70% cocoa): Choose quality chocolate for a deep, intense chocolate taste that’s not too sweet.
- Coconut oil: Adds a subtle richness and helps achieve a glossy, smooth finish to your bars.
- Pure vanilla extract: Enhances flavor complexity with a warm, sweet aroma that blends beautifully with chocolate.
- Sea salt: Just a pinch to balance sweetness and bring out the chocolate’s richness.
- Optional nuts or dried fruits (e.g., almonds, cranberries): Provide delightful texture and bursts of flavor, giving your bars an extra special touch.
How to Make Irresistible Homemade Chocolate Bars Recipe
Step 1: Prepare Your Workspace
Before diving in, clear your counter and get all your ingredients ready and within arm’s reach. This makes the process smooth and enjoyable without interruptions.
Step 2: Melt the Chocolate Mixture
Combine the dark chocolate chips and coconut oil in a microwave-safe bowl. Microwave in 30-second intervals, stirring between each, until the mixture is velvety smooth. This gentle approach prevents burning and keeps your chocolate glossy.
Step 3: Add Flavor Enhancers
Once melted, stir in the pure vanilla extract and sea salt. The vanilla adds a lovely depth, while the salt’s subtle punch effortlessly balances the sweetness and amplifies the chocolate’s richness.
Step 4: Pour and Smooth
Carefully pour your luscious chocolate blend into silicone molds or onto a lined baking tray. Gently tap the molds to release any trapped air bubbles so that your bars set with a flawless texture.
Step 5: Add Optional Toppings
If you’re feeling adventurous, sprinkle nuts or dried fruits on top before the chocolate starts to set. These add a satisfying crunch and a chewy sweetness that pairs perfectly with the smooth chocolate.
Step 6: Chill Until Firm
Place your bars in the refrigerator for 1 to 2 hours. This chilling time is essential to achieve that satisfying snap and melt-in-your-mouth feel every chocolate lover dreams of.
How to Serve Irresistible Homemade Chocolate Bars Recipe
Garnishes
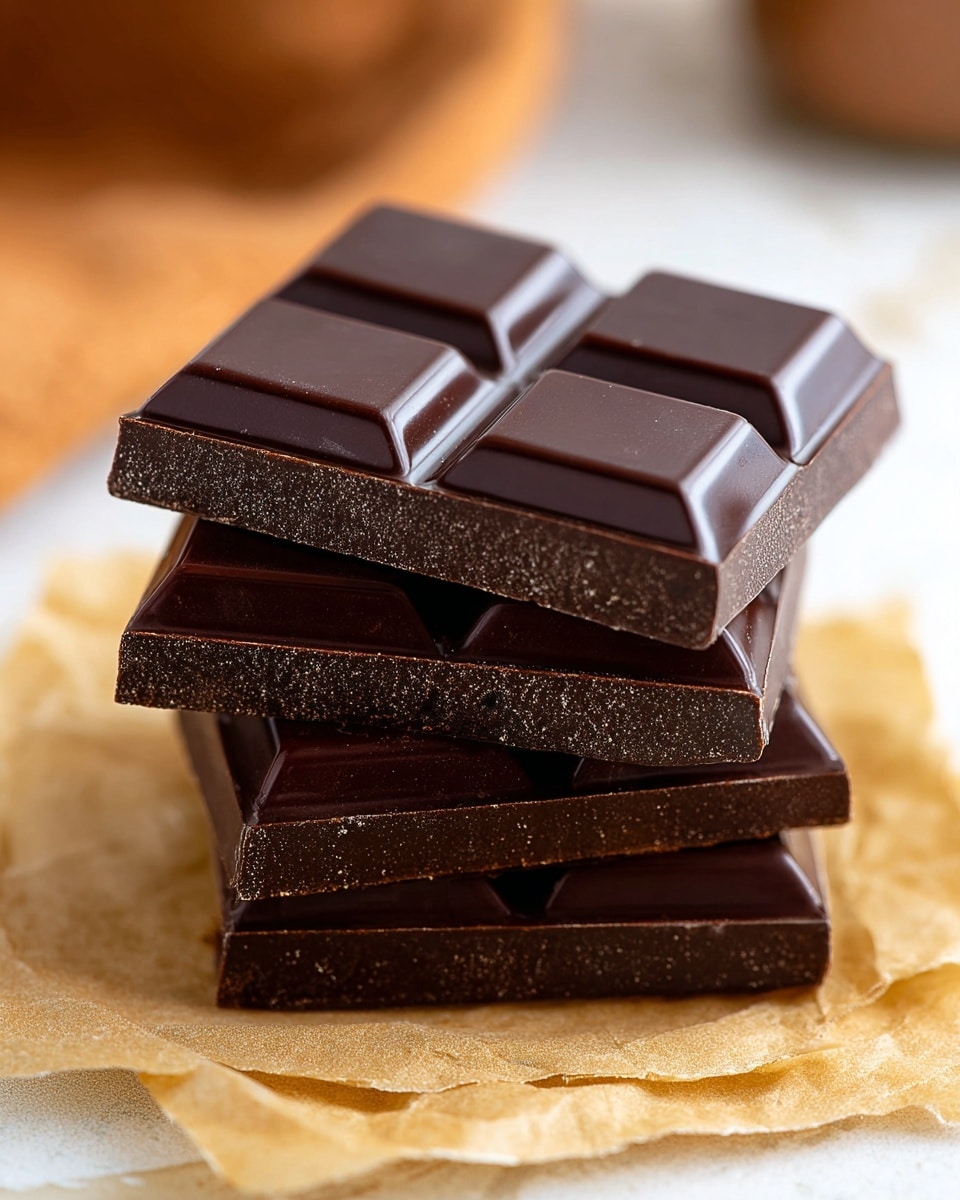
For an elevated presentation, try dusting your chocolate bars with a fine sprinkle of cocoa powder, edible gold dust, or a light drizzle of melted white chocolate. These simple touches add charm and visual appeal to your creation.
Side Dishes
Pair your homemade chocolate bars with fresh berries, a dollop of whipped cream, or a small scoop of vanilla ice cream. These accompaniments create a lovely contrast that highlights the rich chocolate.
Creative Ways to Present
Wrap individual bars in parchment paper tied with twine for a rustic gift look, or stack them on a beautiful dessert platter for a party. You can also insert popsicle sticks before chilling to make chocolate pops – fun and easy to enjoy!
Make Ahead and Storage
Storing Leftovers
Your homemade chocolate bars will keep beautifully in an airtight container at room temperature or in the fridge for up to two weeks. Make sure they’re kept away from heat and moisture to maintain that perfect texture.
Freezing
If you want to enjoy them longer, these bars freeze wonderfully. Just wrap each bar individually in plastic wrap and place them in a freezer bag. Thaw at room temperature for 10-15 minutes before indulging.
Reheating
Reheating isn’t usually necessary since these bars taste best cool, but if you prefer a softer bite, warm them gently in a low-temperature oven or microwave for a few seconds. Just be careful not to overheat and lose that gorgeous texture.
FAQs
Can I use milk chocolate instead of dark chocolate?
Absolutely! While dark chocolate offers a richer, less sweet flavor, milk chocolate can work beautifully if you prefer a creamier, sweeter bar. Just be mindful that the sweetness level will change.
What if I don’t have coconut oil? Can I substitute it?
You can substitute coconut oil with another neutral oil like vegetable or canola, but coconut oil helps the bars set with a firm snap and gives a subtle flavor, so results might vary slightly.
How do I make my chocolate bars crunchier?
Adding toasted nuts or seeds into the melted chocolate or sprinkling them on top before chilling is a great way to introduce delightful crunch to your bars.
Can I make these chocolate bars vegan?
Yes! This recipe is naturally vegan-friendly if you use dark chocolate without milk solids and confirm your vanilla extract and other ingredients are vegan-certified.
What is the best way to avoid chocolate bloom when storing?
To prevent white streaks or spots on your chocolate bars, store them in a cool, dry place, ideally at a consistent temperature. Avoid rapid temperature changes and moisture exposure.
Final Thoughts
Making this Irresistible Homemade Chocolate Bars Recipe is not only fun but also incredibly rewarding. Every bite feels like a small celebration that you made from scratch, infusing love and care into each bar. So go on, give this recipe a try, and treat yourself and your loved ones to a delicious homemade indulgence that will surely bring smiles and sweet moments.
Print
Irresistible Homemade Chocolate Bars Recipe
- Total Time: 12 minutes + 1-2 hours chilling
- Yield: 8 servings 1x
- Diet: Gluten Free
Description
These irresistible homemade chocolate bars are easy to make using just a few simple ingredients. Crafted with rich dark chocolate, coconut oil, and a hint of vanilla, they can be customized with nuts or dried fruits for added texture and flavor. Perfect for a delicious and satisfying treat that you can whip up in minutes and enjoy anytime.
Ingredients
Main Ingredients
- 1 cup dark chocolate chips (70% cocoa)
- 2 tbsp coconut oil
- 1 tsp pure vanilla extract
- 1/2 tsp sea salt
Optional Add-ins
- 1/4 cup nuts or dried fruits (e.g., almonds, cranberries)
Instructions
- Prepare Workspace: Clear your counter and gather all ingredients to ensure a smooth and organized process.
- Melt Chocolate: Place the dark chocolate chips and coconut oil in a microwave-safe bowl and microwave in 30-second intervals. Stir between each interval until the mixture is fully melted and smooth.
- Add Flavorings: Stir in the pure vanilla extract and sea salt into the melted chocolate mixture to enhance the flavor.
- Pour Mixture: Pour the chocolate mixture into silicone molds or a lined baking tray. Tap gently to release any air bubbles trapped in the mixture.
- Add Toppings: Sprinkle your choice of nuts or dried fruits on top before the chocolate sets, if desired.
- Chill to Set: Place the molds or tray in the refrigerator and chill for 1-2 hours until the chocolate bars are fully set and firm.
Notes
- Use silicone molds for easy removal of the chocolate bars once set.
- Ensure the mixture is stirred well between microwave intervals to avoid burning the chocolate.
- Customize your bars with your favorite nuts or dried fruits for added texture.
- Store the finished chocolate bars in an airtight container in the refrigerator for up to two weeks for best freshness.
- Prep Time: 5 minutes
- Cook Time: 7 minutes
- Category: Dessert
- Method: No-Cook
- Cuisine: International
