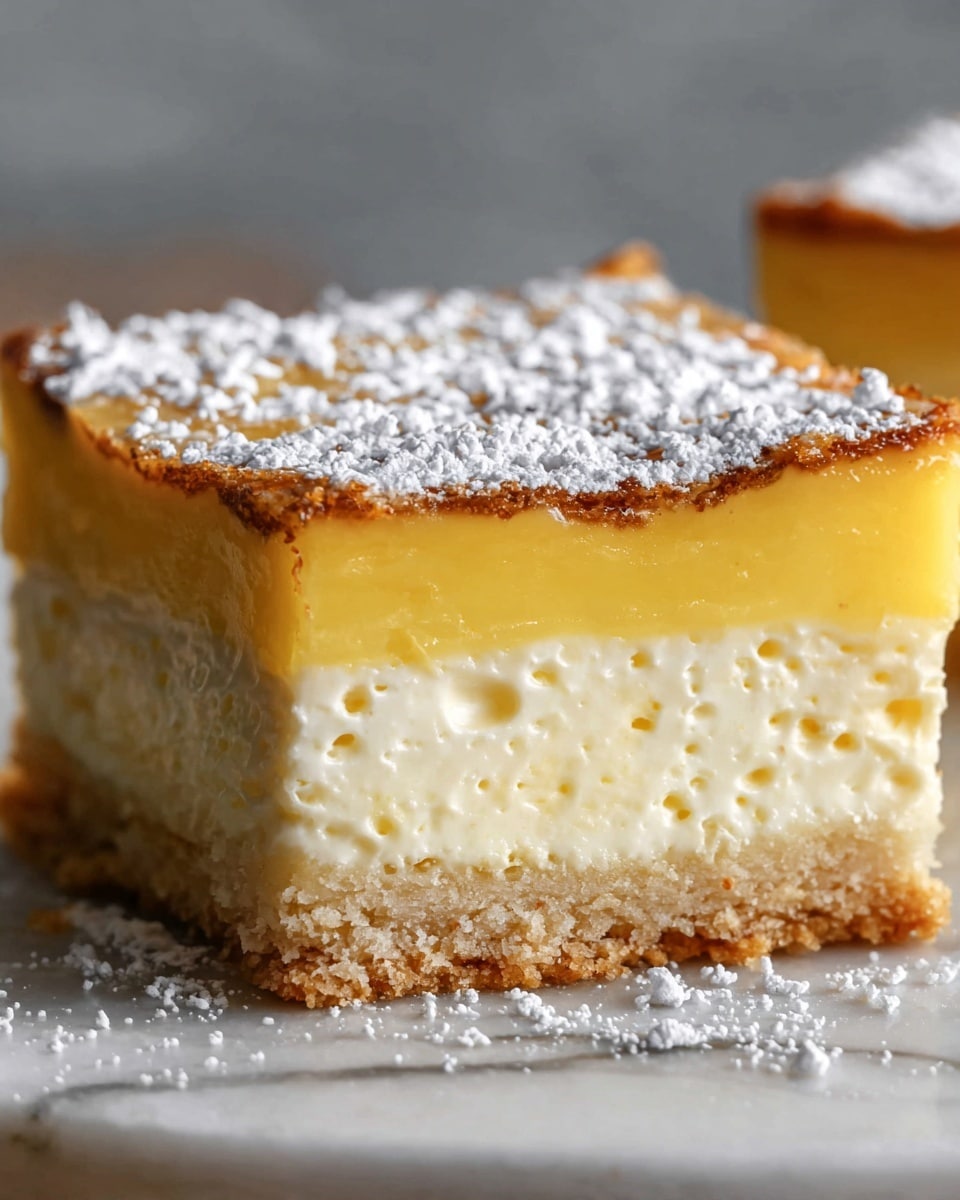
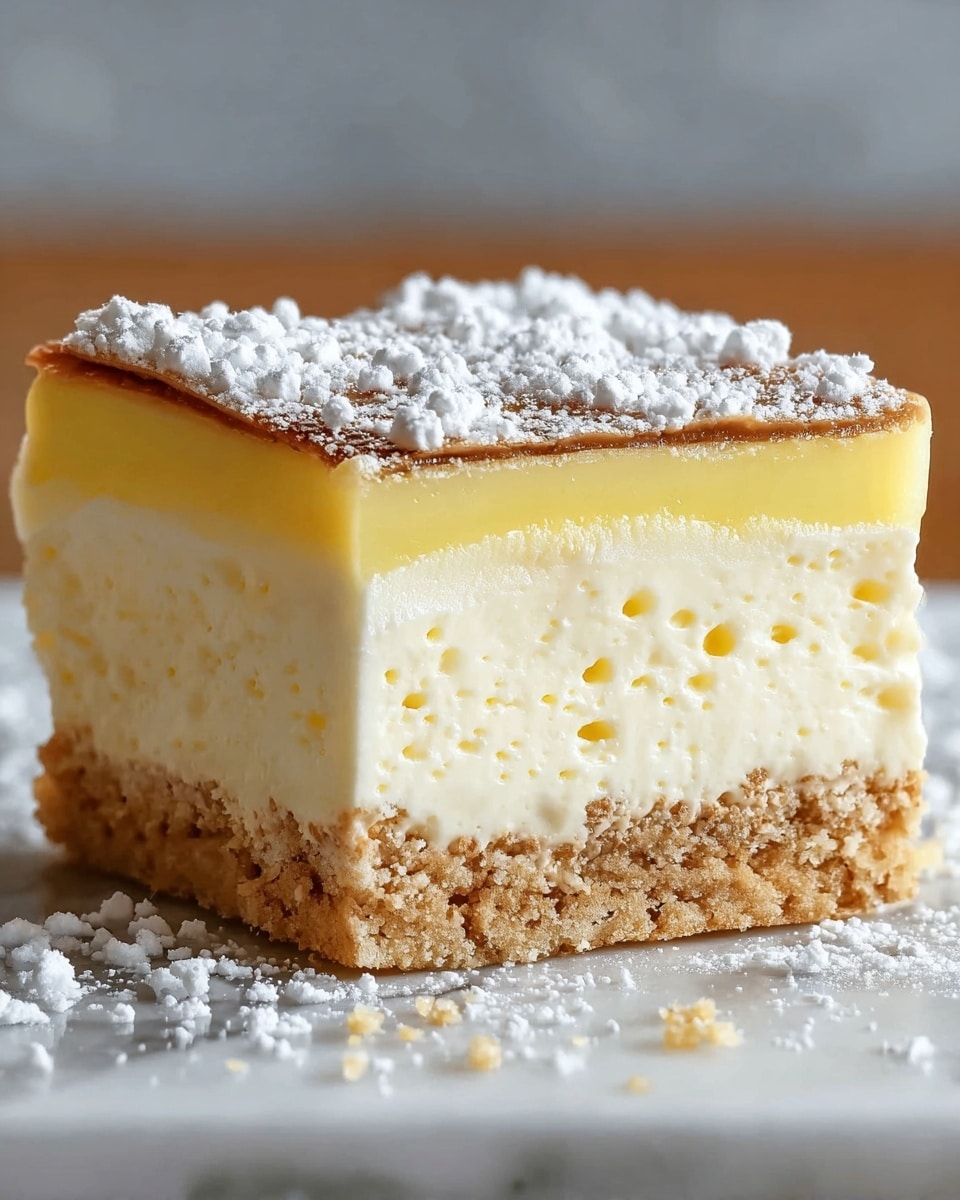
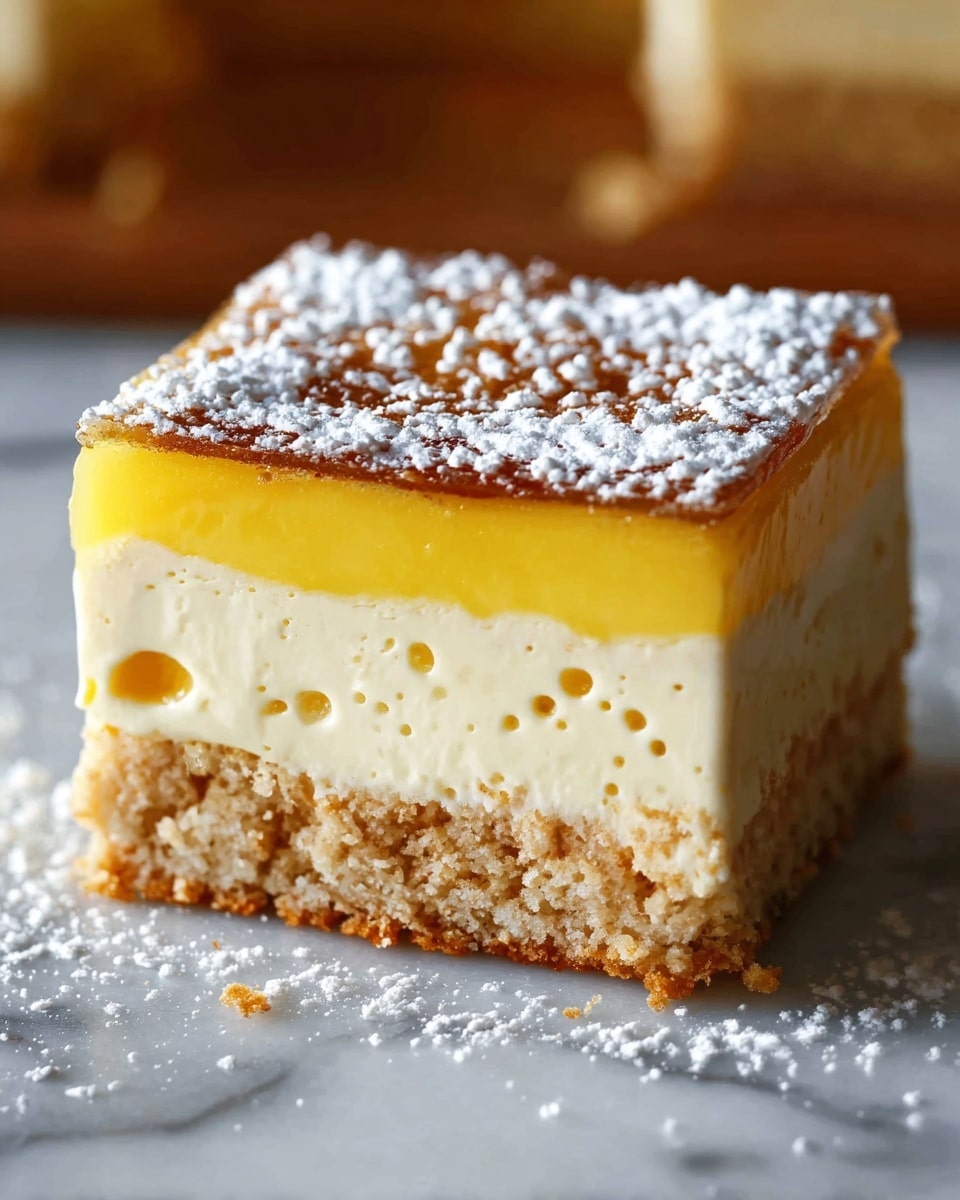
The No-Bake Custard Slice Recipe is an absolute game-changer for anyone craving a luscious dessert without turning on the oven. Imagine layers of crisp biscuits sandwiching rich, silky custard, topped with a smooth, sweet icing that melts in your mouth. This treat combines simple pantry staples into a sophisticated slice that looks like it took hours but actually takes minimal effort. Whether you’re a seasoned baker or a newbie, this no-bake dessert will quickly become one of your favorites to make and share.
Ingredients You’ll Need
Gathering straightforward, easy-to-find ingredients is what makes this recipe so approachable. Each component plays a key role in creating the perfect balance of texture, flavor, and that irresistible custard creaminess.
- Graham crackers or digestive biscuits: These form the crunchy, sturdy base layers that soak up just enough custard without turning soggy.
- Milk: Provides the creamy richness essential for the custard’s smooth texture.
- Sugar: Sweetens the custard and the icing to delicious perfection.
- Cornstarch: Thickens the custard to that perfect pudding-like consistency.
- Vanilla extract: Adds warmth and depth of flavor to both custard and icing.
- Egg yolks: Give the custard its golden color and creamy body.
- Butter: Enriches the custard for a melt-in-your-mouth finish.
- Powdered sugar: The base for the smooth, sweet icing topping.
- Milk (for icing): Helps achieve a spreadable icing consistency.
How to Make No-Bake Custard Slice Recipe
Step 1: Prepare Your Pan and Base Layer
Start by lining an 8×8 or 9×9 square pan with parchment paper to ensure easy removal later. Arrange a single layer of your chosen biscuits to completely cover the bottom of the pan. This foundation will soak up the custard flavor and provide a satisfying crunch.
Step 2: Make the Custard Base
In a saucepan, whisk together the milk, sugar, and cornstarch until you achieve a smooth mixture — no lumps here! Heat over medium, stirring constantly to prevent burning. Once the mixture is hot, slowly whisk in the egg yolks. This step is crucial as it helps thicken the custard while ensuring a glossy, velvety texture without scrambling the eggs.
Step 3: Thicken the Custard
Keep stirring over medium heat for about 5 to 7 minutes until the custard thickens beautifully. You’ll know it’s ready when it coats the back of a spoon and holds its shape. Remove it from the heat, then whisk in the butter and vanilla extract, which add richness and enhance the fragrant notes of your custard.
Step 4: Assemble the Layers
Pour half of the custard over the biscuit base and gently spread it out. Then add another complete layer of biscuits on top, pressing down lightly. Pour the remaining custard over this second biscuit layer, creating that delicious creamy middle. Finish by placing a final biscuit layer on top, completing the classic layered look that everyone will admire.
Step 5: Prepare and Apply the Icing
Mix the powdered sugar, milk, and vanilla extract for the icing until smooth and spreadable. This icing adds that elegant finishing touch and an extra hit of sweetness. Spread it evenly over the top biscuit layer for a glossy, tempting finish that makes this No-Bake Custard Slice Recipe irresistible.
Step 6: Chill and Set
Pop your slice in the fridge for at least 4 hours so the custard can fully set and the biscuits soften just enough to meld the textures together. If you can wait overnight, you’ll be rewarded with an even creamier and more cohesive slice.
How to Serve No-Bake Custard Slice Recipe
Garnishes
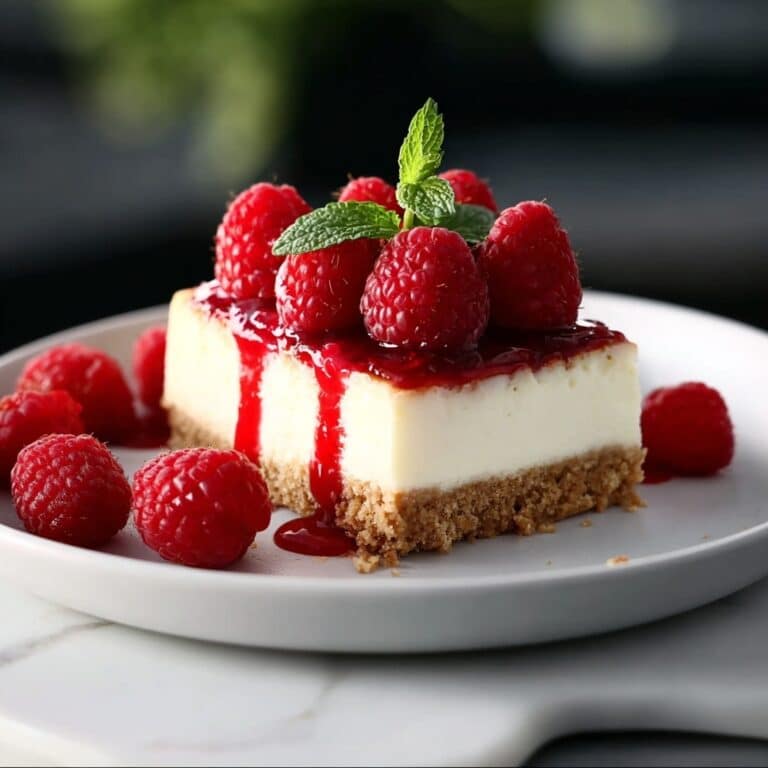
Consider sprinkling a little crushed biscuit or a dusting of cocoa powder on top of the icing for added texture and a hint of sophistication. Fresh berries or a few mint leaves can also brighten the slice visually and provide a refreshing contrast to the creamy custard layers.
Side Dishes
This slice pairs wonderfully with a cup of strong coffee or tea, balancing the sweetness perfectly. For a more indulgent spread, serve alongside fresh whipped cream or a scoop of vanilla ice cream to elevate your dessert experience.
Creative Ways to Present
Instead of the classic square, try making individual servings by layering the ingredients in small glass jars or clear dessert cups. This creates a beautiful visual effect with alternating biscuit and custard layers and makes portion control a breeze. You could even drizzle caramel or chocolate sauce on top for a playful twist.
Make Ahead and Storage
Storing Leftovers
Keep your leftover No-Bake Custard Slice Recipe covered tightly in the refrigerator to maintain freshness and prevent it from absorbing other fridge odors. It’s best enjoyed within 3 to 4 days, when the biscuit layers still hold some texture and the custard stays creamy.
Freezing
Because of the custard’s delicate texture, freezing this slice is not recommended as it can alter consistency and make the biscuits overly soggy once thawed. If you do choose to freeze, wrap tightly in plastic wrap and store in an airtight container for no more than one month, thawing slowly in the fridge.
Reheating
This dessert is best served cold, so reheating isn’t necessary. Allow it to come to room temperature for about 10 minutes if it feels too firm after chilling for a long time. This way, you maintain the silky custard texture and crisp biscuit layers perfectly.
FAQs
Can I use other types of biscuits?
Absolutely! While graham crackers or digestive biscuits work best due to their neutral sweetness and texture, vanilla wafers or even shortbread cookies can add an interesting flavor and crunch. Just ensure they’re sturdy enough to hold the custard layers.
Is it possible to make this recipe vegan?
Traditional custard relies on eggs and dairy, making a vegan version more challenging. However, you can experiment with plant-based milk, cornstarch, and vegan butter but the egg yolks will need a substitute like silken tofu or banana, which changes the texture. For the best results, stick to the classic recipe or try a specialized vegan custard slice recipe.
How long does the custard take to thicken?
Typically, the custard will thicken within 5 to 7 minutes of constant stirring over medium heat. Patience is key—don’t rush the process or the custard won’t set properly.
Can I make this dessert in advance for parties?
Yes! The No-Bake Custard Slice Recipe is perfect for making ahead of time. In fact, chilling it overnight enhances the flavors and texture, making it a stress-free yet impressive dessert for gatherings.
What’s the best way to cut the slice without it falling apart?
Use a sharp, serrated knife and wipe it clean between cuts. Keeping the slice chilled makes cutting easier and ensures those beautiful layers stay intact when serving.
Final Thoughts
If you haven’t tried this No-Bake Custard Slice Recipe yet, you’re really missing out on a wonderfully simple way to create a dessert that looks and tastes like a showstopper. It’s comforting, creamy, and downright addictive, perfect for sharing with friends or treating yourself. Give it a go and watch it become one of your most-requested treats!
Print
No-Bake Custard Slice Recipe
- Total Time: 4 hours 30 minutes
- Yield: 9 servings 1x
- Diet: Vegetarian
Description
This no-bake custard slice is a delightful layered dessert featuring smooth homemade custard between layers of crisp graham crackers or digestive biscuits, topped with a sweet vanilla icing. Perfect for those who want an impressive treat without turning on the oven, it requires minimal cooking yet results in a rich and creamy texture that sets beautifully after chilling.
Ingredients
Base Layers
- 2 packs plain graham crackers or digestive biscuits (or vanilla wafers)
Custard
- 4 cups milk
- 1/2 cup sugar
- 1/3 cup cornstarch
- 3 egg yolks
- 2 tsp vanilla extract
- 2 tbsp butter
Icing
- 1 cup powdered sugar
- 1–2 tbsp milk
- 1/2 tsp vanilla extract
Instructions
- Prepare the Pan: Line an 8×8 or 9×9 square pan with parchment paper to prevent sticking and make removal easier.
- Layer the Biscuits: Arrange a uniform layer of biscuits to cover the bottom of the pan completely.
- Make the Custard Base: In a saucepan, whisk together milk, sugar, and cornstarch until smooth to dissolve the starch and sugar well.
- Heat and Add Egg Yolks: Place the saucepan over medium heat, stirring constantly; once hot, slowly whisk in the egg yolks to temper them and avoid curdling.
- Cook Until Thickened: Continue stirring the mixture for about 5 to 7 minutes until the custard thickens to a creamy consistency.
- Finish the Custard: Remove from heat, then stir in the butter and vanilla extract until fully combined and smooth.
- Assemble First Custard Layer: Pour half of the warm custard over the biscuit layer, spreading evenly.
- Second Biscuit Layer: Add another layer of biscuits evenly on top of the custard layer.
- Add Remaining Custard: Pour the remaining custard over the second biscuit layer, distributing uniformly.
- Final Biscuit Layer: Finish with a last layer of biscuits placed neatly on top.
- Prepare the Icing: Mix powdered sugar, milk, and vanilla extract in a small bowl until smooth and pourable.
- Top the Slice: Spread the icing evenly over the top biscuit layer to create a sweet, glossy finish.
- Chill and Set: Refrigerate the custard slice for at least 4 hours; however, chilling overnight will yield the best set and flavor.
Notes
- For a firmer custard, ensure the mixture reaches a full boil while stirring continuously before removing from heat.
- You can substitute vanilla wafers for the biscuits to add a different flavor profile.
- Use full-fat milk for a richer custard; low-fat versions may result in a thinner consistency.
- To prevent lumps in the custard, gradually add the egg yolks while stirring briskly.
- Chilling time is crucial; do not skip or shorten it to allow the custard to set properly between the biscuit layers.
- Store leftovers in the refrigerator and consume within 3 days for best quality.
- Prep Time: 15 minutes
- Cook Time: 15 minutes
- Category: Dessert
- Method: Stovetop
- Cuisine: Western
