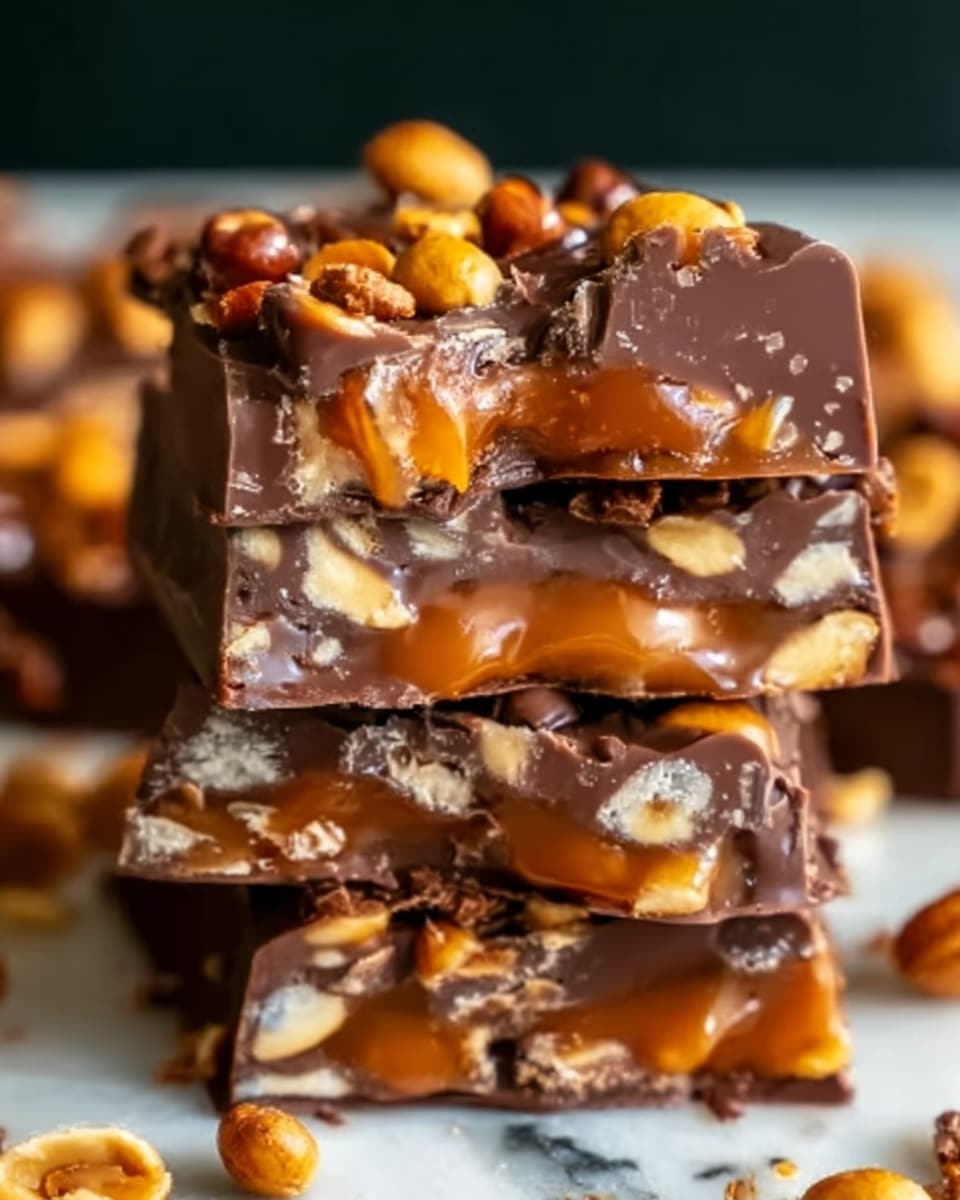
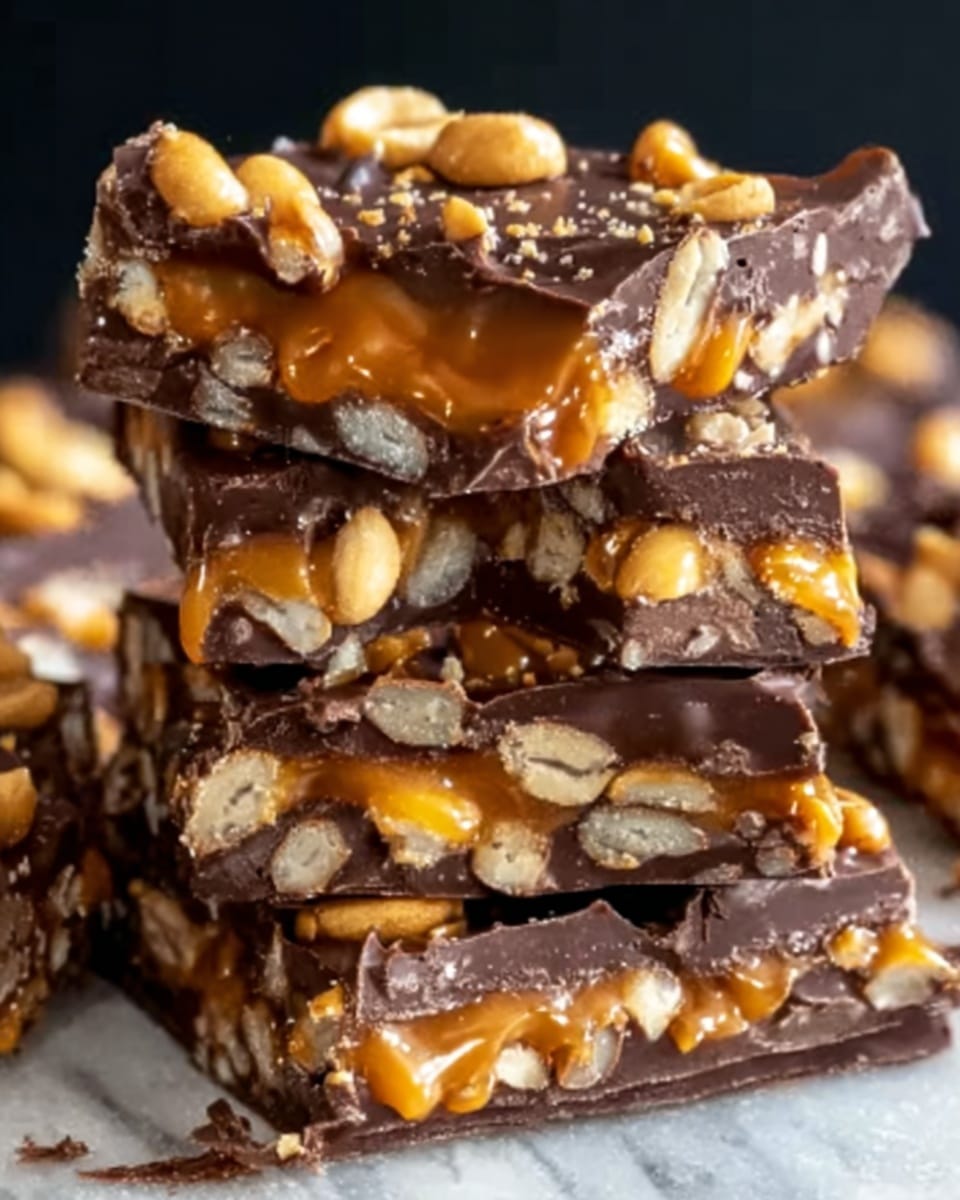
If you’re on the hunt for a dessert that’s decadently sweet, perfectly crunchy, and incredibly easy to whip up, then this No Bake Crispy Snickers Bars Recipe is going to be your new best friend in the kitchen. Combining the irresistible flavors of peanut butter, chocolate, and those iconic Snickers bits into a crunchy crisp treat, these bars are the perfect mix of sticky, smooth, and crispy that will satisfy your sweet tooth without turning on the oven. Trust me, once you try this recipe, it’s going to be a staple for your gatherings, snack cravings, or whenever you want a quick homemade treat that tastes like a dream.
Ingredients You’ll Need
This recipe keeps things wonderfully simple, using familiar ingredients that each play a crucial role in creating the perfect bar. From the crunchy rice cereal that gives the bars their delightful texture, to the creamy peanut butter that adds richness and depth, every element works together to form layers of flavor and fun.
- Crispy rice cereal: This provides the essential crunch and lightness that makes the bars irresistible.
- Creamy peanut butter: Adds creamy richness and a subtle savory note to balance the sweetness.
- Unsalted butter: Helps bind ingredients together and ensures a smooth, luscious texture.
- Semi-sweet chocolate chips: Creates a silky, chocolatey layer that hardens beautifully on top.
- Honey or corn syrup: Acts as a natural sweetener and sticky binder, holding everything together perfectly.
- Snickers bars, chopped: The star of the show, giving bursts of nougat, caramel, and peanuts with every bite.
How to Make No Bake Crispy Snickers Bars Recipe
Step 1: Prepare Your Pan
Begin by lining a 9×9-inch pan with parchment paper. This small step makes all the difference for easy removal and clean-up later, ensuring your bars come out in flawless squares without any sticking mishaps.
Step 2: Melt the Peanut Butter and Butter
In a microwave-safe bowl, melt the peanut butter and unsalted butter together in 30-second bursts, stirring between intervals until you achieve a smooth, creamy blend. This combination forms the rich glue that will hold your bars together.
Step 3: Add the Sweet Binder
Stir in your choice of honey or corn syrup. Mixing this in thoroughly ensures that every crunchy rice cereal bit will be sweetly coated and helps create that perfect chewy texture we love in no-bake treats.
Step 4: Combine with Cereal and Snickers
Next up, fold in the crispy rice cereal along with the chopped Snickers pieces. Make sure everything is evenly coated in the peanut butter mixture, so each bite delivers that fantastic combination of crunch and gooey candy goodness.
Step 5: Press Into the Pan
Once combined, press the mixture firmly into your prepared pan. Don’t be shy here — packing it down tightly helps the bars hold together when you slice and serve.
Step 6: Melt and Spread Chocolate
In a clean microwave-safe bowl, melt the chocolate chips in 30-second increments, stirring until you have a smooth, glossy chocolate sauce. Pour this over your packed mixture and spread it evenly to create a luscious chocolate top layer.
Step 7: Chill Until Set
Pop the whole pan into the refrigerator for at least 2 hours. Cooling allows the chocolate to harden and the bars to firm up, so when you slice them up, they’re perfect squares with that lovely crisp snap.
Step 8: Cut and Serve
Once set, lift the bars out using the parchment paper edges and cut into 16 squares or however big you like. These bars are best served chilled for maximum crunch and indulgence.
How to Serve No Bake Crispy Snickers Bars Recipe
Garnishes
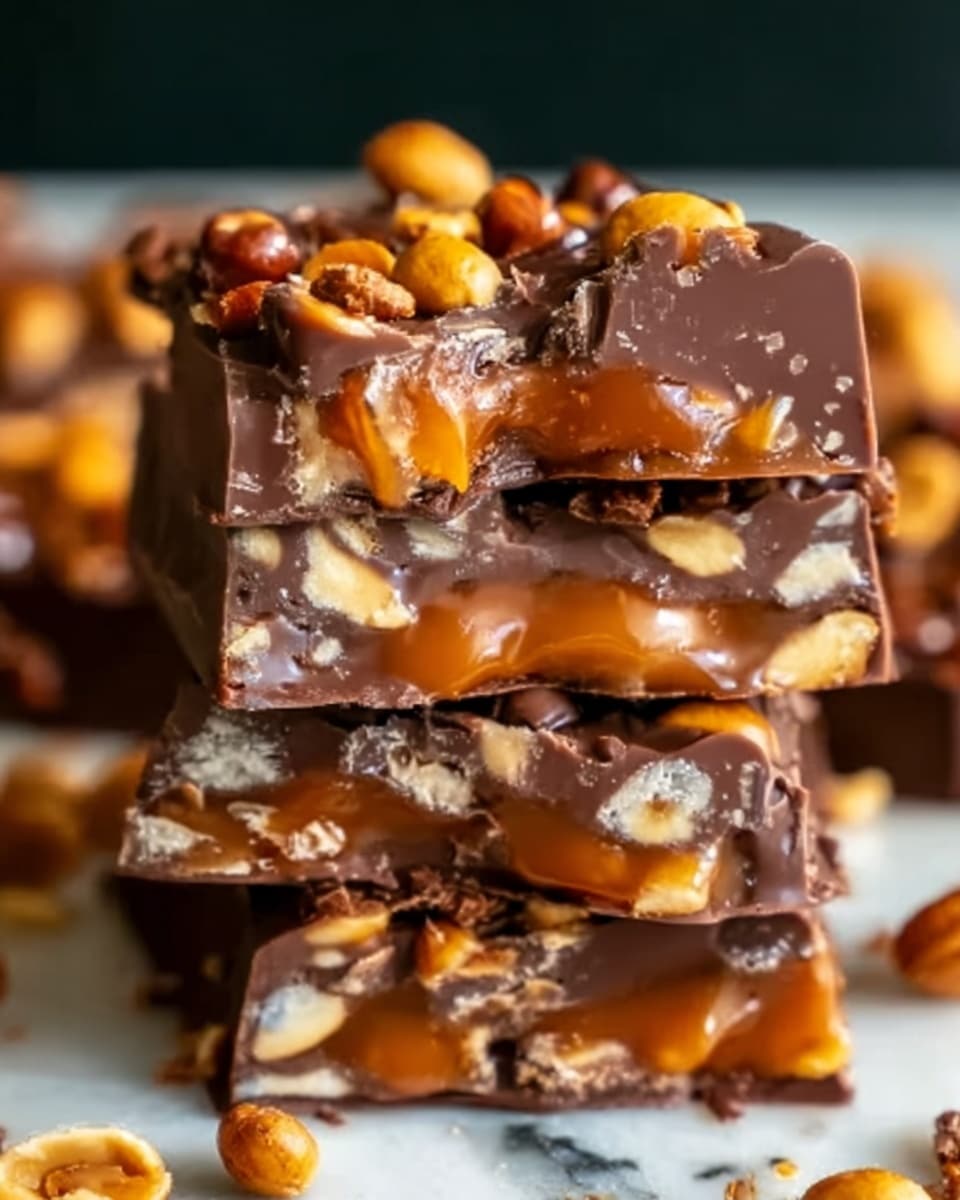
Sprinkle a pinch of flaky sea salt on top of the chocolate layer just before chilling for a gourmet touch that enhances the peanut butter and chocolate flavors beautifully. A drizzle of caramel sauce at serving time adds extra sweetness and visual flair.
Side Dishes
These bars are perfect as a standalone snack or dessert, but you can also serve them alongside a scoop of vanilla ice cream or a dollop of whipped cream for an extra-special treat. Fresh fruit like strawberries or bananas can balance the richness with a fresh burst of flavor.
Creative Ways to Present
For a party, cut the bars into bite-sized squares and serve them on a decorative platter with mini forks. You can also layer the bars in a clear glass jar for a take-along dessert gift that looks as good as it tastes.
Make Ahead and Storage
Storing Leftovers
Store your leftover No Bake Crispy Snickers Bars in an airtight container in the refrigerator. They’ll keep fresh and maintain their crunch for up to a week, making them a reliable go-to snack whenever cravings strike.
Freezing
If you want to store these longer, wrap individual bars tightly in plastic wrap and place them in a freezer-safe container or zip-top bag. They freeze beautifully and can be kept for up to three months without losing texture or flavor.
Reheating
Since these bars are best served chilled, simply let frozen bars thaw in the refrigerator overnight before enjoying. Avoid microwaving, as that can make the texture too soft and lose the satisfying crispiness.
FAQs
Can I use crunchy peanut butter instead of creamy?
Absolutely! Using crunchy peanut butter will add an extra layer of texture to these bars, making them even more delightful for peanut lovers.
Is there a substitute for honey or corn syrup?
You can use maple syrup or agave nectar as alternatives, but keep in mind these may slightly alter the flavor and the final texture of the bars.
Can I make these bars vegan?
Yes! Use vegan butter, replace honey with maple syrup, and select vegan chocolate chips, and you’ll have a delicious vegan-friendly version of the No Bake Crispy Snickers Bars Recipe.
How long do these bars last at room temperature?
Because of the perishable ingredients like peanut butter and butter, it’s best to keep these bars refrigerated and only leave them out at room temperature for up to 2 hours before serving.
Can I add nuts or other candy to the bars?
Definitely! Chopped peanuts, almonds, or even mini M&Ms can be mixed in for extra crunch and flavor variation. Just be sure to keep the balance so the bars hold together well.
Final Thoughts
If you love a no-fuss, no-oven-required sweet treat that packs a punch in flavor and texture, you absolutely have to try the No Bake Crispy Snickers Bars Recipe. It’s a wonderful way to enjoy classic candy bar flavors in a homemade, crunchy bite that’s sure to impress your family and friends. So, grab your ingredients and enjoy creating this deliciously simple dessert that brings joy with every chew.
Print
No Bake Crispy Snickers Bars Recipe
- Total Time: 2 hours 15 minutes
- Yield: 16 servings 1x
Description
These No Bake Crispy Snickers Bars combine crunchy rice cereal with rich peanut butter, smooth chocolate, and chopped Snickers bars for a deliciously easy treat. Perfect for quick desserts or snack time, these bars require no baking and set in the fridge for a decadent, chewy, and crispy delight.
Ingredients
Base
- 3 cups crispy rice cereal
- 1 cup creamy peanut butter
- 1/2 cup unsalted butter
- 1/4 cup honey or corn syrup
- 3 Snickers bars, chopped into small pieces
Topping
- 1 cup semi-sweet chocolate chips
Instructions
- Prepare the Pan: Line a 9×9-inch baking pan with parchment paper to ensure easy removal of the bars once set.
- Melt Butter and Peanut Butter: In a microwave-safe bowl, combine the peanut butter and butter. Heat in 30-second intervals, stirring after each, until the mixture is fully melted and smooth.
- Add Sweetener: Stir in the honey or corn syrup until completely combined, which will help bind the ingredients and add sweetness.
- Mix Dry Ingredients: Add the crispy rice cereal and chopped Snickers bars to the peanut butter mixture. Stir thoroughly to ensure every piece is well coated.
- Press Mixture Into Pan: Transfer the mixture to the prepared pan and press it down firmly and evenly to create a compact base layer.
- Melt Chocolate Topping: In a separate microwave-safe bowl, melt the semi-sweet chocolate chips using the same 30-second interval method, stirring until smooth and glossy.
- Spread Chocolate: Pour the melted chocolate over the pressed cereal mixture and spread it evenly with a spatula to cover the entire surface.
- Chill to Set: Refrigerate the pan for at least 2 hours or until the bars are fully set and firm to the touch.
- Slice and Serve: Once set, lift the bars out of the pan using the parchment paper, cut into 16 equal pieces, and enjoy your no-bake treats!
Notes
- Ensure the peanut butter and butter mixture is smooth before adding cereal to avoid clumps.
- You can substitute crunchy peanut butter if you prefer added texture.
- For a vegan alternative, use dairy-free butter and chocolate chips.
- Store bars in an airtight container in the refrigerator to keep them fresh and firm.
- Feel free to add chopped nuts or a sprinkle of sea salt on top for extra flavor.
