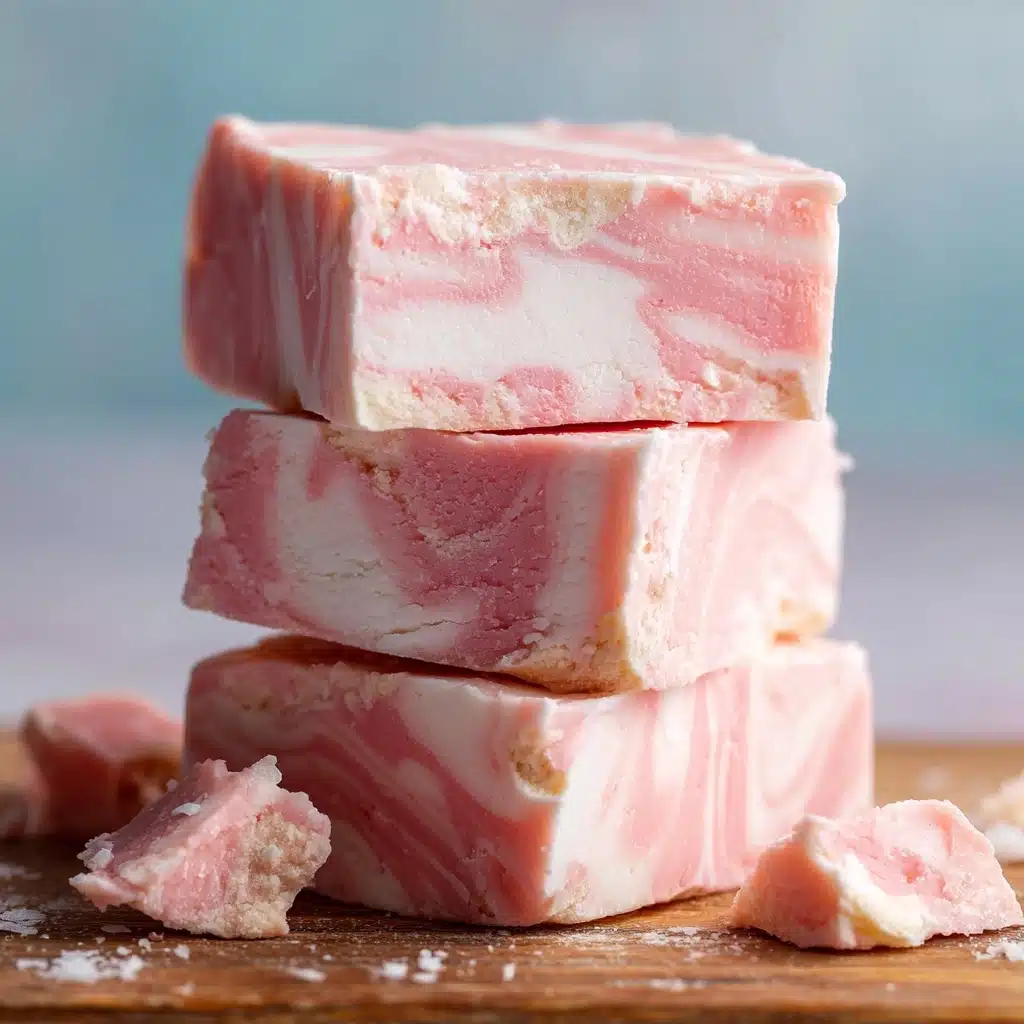
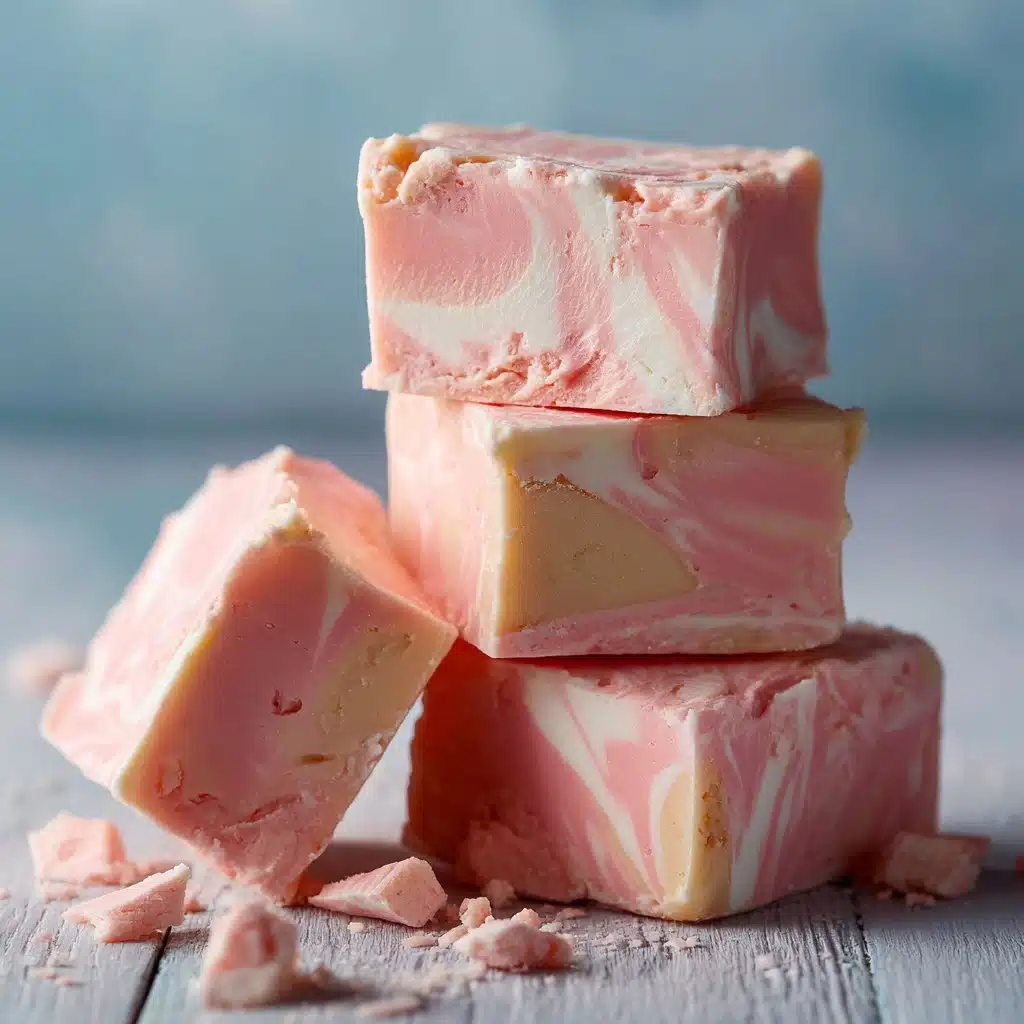
If you’re searching for a showstopping treat that’s as whimsical as it is simple, Cotton Candy Fudge is about to steal your heart. Imagine pillowy swirls of pink and blue, laced with that magical fairground flavor and a melt-in-your-mouth texture that will instantly transport you to childhood carnivals. Whether it’s for a birthday, a baby shower, or a cheerful surprise for your loved ones, this irresistible no-bake fudge promises bursts of nostalgia in every bite, and it truly couldn’t be easier to make!
Ingredients You’ll Need
-
White Chocolate Fudge:
- 2 ½ cups white chocolate chips
- 1 (14-ounce) can sweetened condensed milk
Additional Ingredients:
- 1 teaspoon cotton candy flavoring
- Pink and blue gel food coloring
- Sprinkles or edible glitter for topping (optional)
How to Make Cotton Candy Fudge
Step 1: Prepare Your Pan
Start by lining an 8×8-inch square baking pan with parchment paper, making sure to leave a little extra hanging over the edges. This parchment overhang acts like handy fudge-lifting handles later on, so you can remove the finished fudge with zero fuss or mess.
Step 2: Melt the Chocolate and Milk
In a medium saucepan over low heat, combine your white chocolate chips and sweetened condensed milk. It’s important to stir constantly and gently—white chocolate can be a bit delicate! Keep going until the chips are just melted and the whole mixture is silky smooth. This step is the key to achieving that signature creamy fudge texture.
Step 3: Add the Cotton Candy Flavoring
Remove the pan from the heat and immediately stir in the cotton candy flavoring. This magical extract infuses the mixture with that unmistakable sweet, airy flavor that instantly says “cotton candy.” Stir until everything is evenly blended for a perfectly balanced taste.
Step 4: Color and Swirl
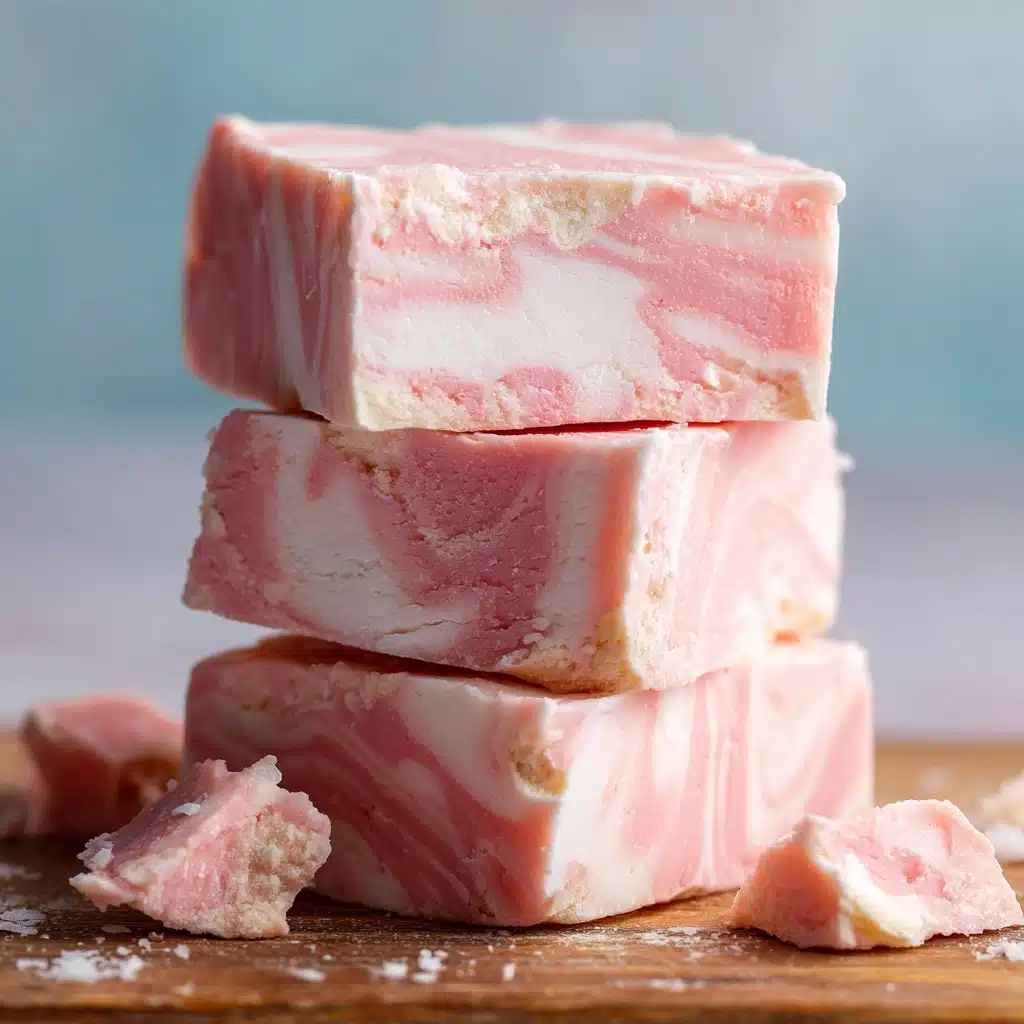
Divide your warm fudge mixture evenly into two separate bowls. Into one bowl, add a drop or two of pink gel food coloring, and into the other, do the same with blue. Stir each until you have two vibrant, cheerful pastel colors. Now, drop random spoonfuls of both colors into your prepared pan, alternating as you go. Gently swirl a butter knife through the mixture to create beautiful marbled patterns—but don’t overdo it, or you’ll lose those pretty streaks!
Step 5: Add the Finishing Touches
If you’re feeling extra festive, scatter sprinkles or a dusting of edible glitter across the top. This step is optional, but it adds that irresistibly playful, celebratory look that makes Cotton Candy Fudge such a hit at parties.
Step 6: Chill and Cut
Pop the pan into your refrigerator and chill for at least 2 hours, or until the fudge feels firm to the touch. Once fully set, use the parchment overhang to lift the fudge out of the pan. All that’s left to do is cut it into small, irresistible squares—each one a perfect bite of nostalgia and sweetness!
How to Serve Cotton Candy Fudge
Garnishes
For an extra festive touch, try topping your Cotton Candy Fudge with tiny sugar pearls, pastel sprinkles, or shimmering edible glitter. These finishes catch the light and make each piece a jewel on your dessert table. You can even match the sprinkles to your event’s theme or color scheme for a picture-perfect presentation.
Side Dishes
This fudge pairs beautifully with simple accompaniments that balance its richness. Offer cold milk, hot cocoa, or a frosty lemonade alongside, or create a playful dessert platter with fresh fruit, shortbread cookies, or candy popcorn for the ultimate sweet spread.
Creative Ways to Present
Serving Cotton Candy Fudge at a party? Wrap individual squares in parchment paper and tie with pastel ribbon for dazzling party favors. Stack them in clear jars with a bow for a thoughtful homemade gift, or set out on pastel trays at kids’ birthdays or showers. Don’t be afraid to channel your inner carnival vendor and serve atop cupcake liners for easy, grab-and-go bites!
Make Ahead and Storage
Storing Leftovers
To keep your Cotton Candy Fudge tasting fresh, store any leftovers in an airtight container in the refrigerator. The cool temperature preserves its creamy texture and keeps those beautiful swirls vibrant. Let the squares sit at room temperature for about 10 minutes before serving for the softest texture.
Freezing
If you want to make the fudge in advance or save extra for later, freeze it! Wrap individual pieces or layers (using parchment between) and seal them tightly in a freezer-safe container. Your fudge will keep its magic in the freezer for up to two months. Defrost in the fridge overnight when ready to dazzle your guests again.
Reheating
While fudge is best enjoyed cold or at cool room temperature, if you accidentally store it too cold and want to soften it a touch, just leave the pieces at room temp for 10-15 minutes. Microwave reheating isn’t recommended, as it can melt the squares and alter that dreamy, creamy texture.
FAQs
Can I use natural food coloring instead of gel?
Gel food coloring is the go-to for Cotton Candy Fudge because it delivers vibrant colors without adding excess moisture. While you could use natural options, stick to concentrated pastes or powders to avoid thinning the mixture—otherwise, your fudge may not set as firmly or look as striking.
What if I can’t find cotton candy flavoring?
Cotton candy flavoring is often available at baking supply stores or online. If you can’t find it, you could try a blend of vanilla and a hint of raspberry or strawberry extract for a similar, though not identical, nostalgic sweetness.
Can I double this recipe?
Absolutely! Just be sure to use a larger pan (such as a 9×13-inch baking dish) and monitor the chilling time—it may need a bit longer to set. Doubling is perfect for big parties or when you need a standout crowd-pleaser.
How do I get clean, neat squares when cutting?
For sharp, bakery-style edges, use a long, sharp knife and wipe it clean between each cut. If your fudge feels sticky, run the knife under hot water and dry it first—this helps slice through effortlessly while keeping those elegant swirls picture-perfect.
Is this fudge suitable for kids with food allergies?
This recipe contains dairy and may contain traces of soy from the white chocolate chips. For allergy-friendly options, seek out vegan white chocolate and a dairy-free condensed milk, but always check ingredients to make sure it’s safe for your guests.
Final Thoughts
If you’re looking for a fun, colorful, and joy-sparking treat, Cotton Candy Fudge is sure to deliver. Whether for a special occasion or just because, every batch brings a little slice of childhood magic into your kitchen. Go ahead—gather your ingredients, swirl up some sweetness, and watch everyone’s faces light up with delight!
Print
Cotton Candy Fudge Recipe
- Total Time: 2 hours 15 minutes
- Yield: 25 small squares 1x
- Diet: Vegetarian
Description
Indulge in the whimsical flavors of cotton candy with this easy-to-make cotton candy fudge. This colorful and sweet treat is perfect for parties or as a fun dessert for any occasion.
Ingredients
White Chocolate Fudge:
- 2 ½ cups white chocolate chips
- 1 (14-ounce) can sweetened condensed milk
Additional Ingredients:
- 1 teaspoon cotton candy flavoring
- Pink and blue gel food coloring
- Sprinkles or edible glitter for topping (optional)
Instructions
- Prepare the Base: Line an 8×8-inch square baking pan with parchment paper. Melt white chocolate chips and sweetened condensed milk in a saucepan, then stir in cotton candy flavoring.
- Add Color: Divide the mixture into two bowls and tint each with pink and blue gel food coloring. Drop spoonfuls of each color into the pan and swirl together.
- Set and Serve: Chill the fudge for at least 2 hours, then cut into squares and enjoy!
Notes
- Use gel food coloring to avoid altering the fudge consistency.
- Store fudge in the refrigerator for up to 1 week.
- Allow fudge to sit at room temperature briefly before serving for optimal texture.
Nutrition
- Serving Size: 1 square
- Calories: 130
- Sugar: 17g
- Sodium: 30mg
- Fat: 5g
- Saturated Fat: 3g
- Unsaturated Fat: 1g
- Trans Fat: 0g
- Carbohydrates: 20g
- Fiber: 0g
- Protein: 1g
- Cholesterol: 5mg
