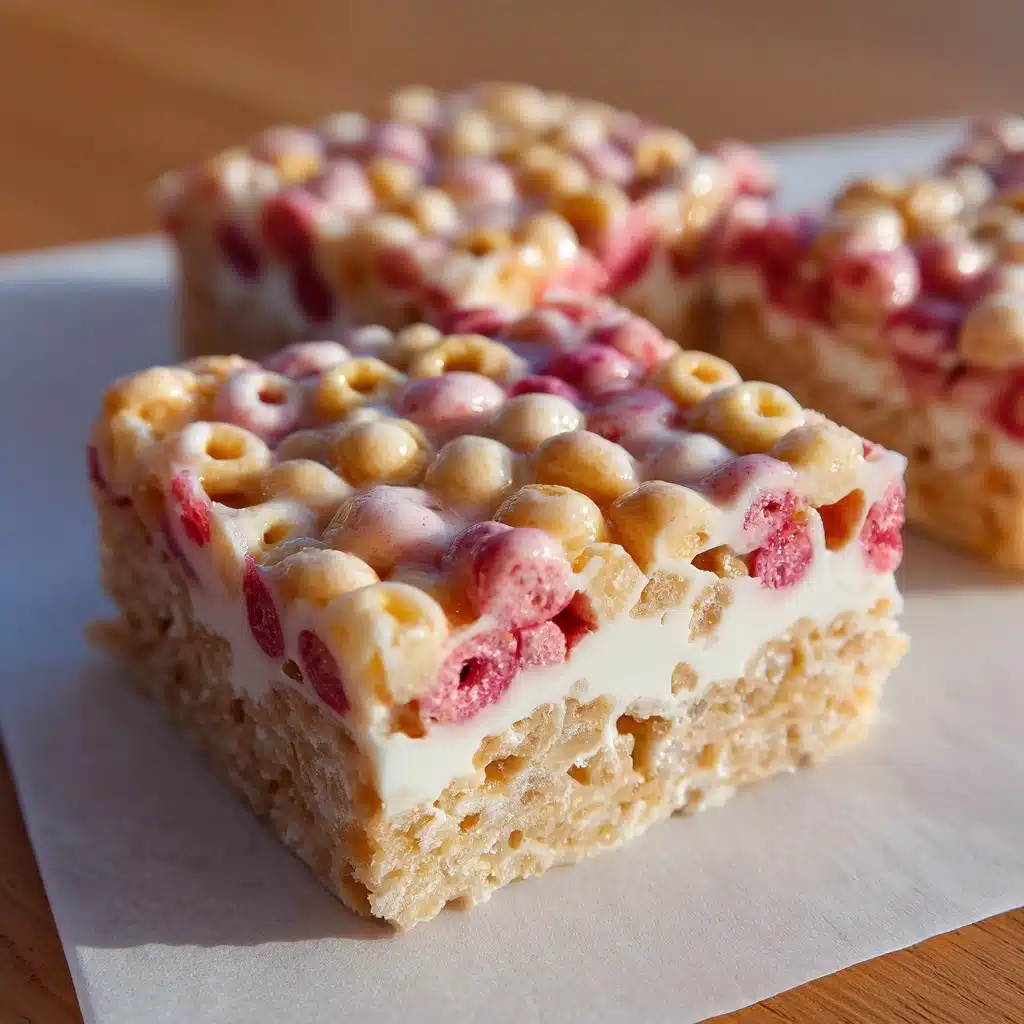
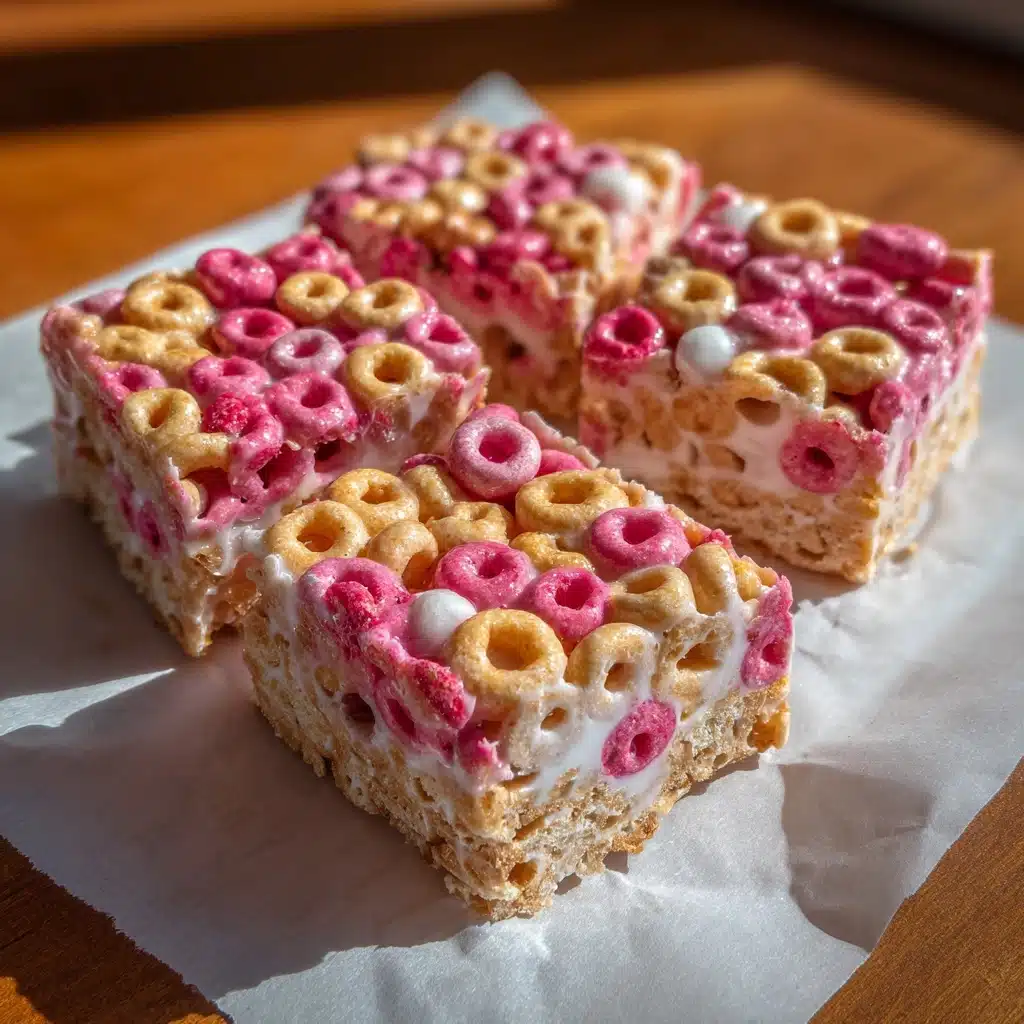
If you’re looking for a crowd-pleasing, energizing snack that’s as easy to make as it is delicious, Homemade Cereal Bars are the answer! These chewy bars come together in minutes and don’t require any baking, making them perfect for busy mornings, after-school treats, or a quick bite on the go. You can fully customize them with your favorite cereals and add-ins, guaranteeing something that everyone in your family will love. Plus, nothing beats the satisfaction of knowing exactly what’s in your snack. Trust me, one bite of these homemade cereal bars and you’ll never want the store-bought kind again!
Ingredients You’ll Need
-
Main Ingredients:
- 4 cups cereal of choice (such as Cheerios, Rice Krispies, or cornflakes)
- 1/2 cup honey or brown rice syrup
- 1/2 cup creamy peanut butter (or almond butter)
- 1/4 cup light brown sugar
- 1 teaspoon vanilla extract
Optional Mix-Ins:
- 1/2 cup mini chocolate chips
- dried fruit
- chopped nuts
How to Make Homemade Cereal Bars
Step 1: Prep Your Pan
First things first, line an 8×8-inch baking dish with parchment paper, letting the ends hang over for easy lifting later. This simple step makes unmolding and slicing your bars so much easier.
Step 2: Make the Gooey Base
In a medium saucepan over medium heat, combine the honey (or brown rice syrup), peanut butter, and light brown sugar. Stir constantly as the mixture melts and blends together—you want it soft and smooth with no lumps, and just starting to bubble. This is the magic glue that holds your bars together!
Step 3: Add the Vanilla
Take the saucepan off the heat right as it begins to bubble. Stir in the vanilla extract while everything is hot; it will fizz and smell incredible, infusing the whole base with a mellow sweetness.
Step 4: Mix With Cereal
Pour the hot mixture over your chosen cereal in a large mixing bowl. Use a sturdy spatula and a gentle hand to coat every piece thoroughly. If you’re including chocolate chips as a mix-in, let the mixture cool a bit before stirring them in—otherwise, you’ll end up with swirled chocolate (which is also delicious!).
Step 5: Press and Chill
Scoop the cereal mixture into your prepared pan. Press it down firmly and evenly—use the back of a spoon, spatula, or even a piece of parchment to get everything packed tight. Refrigerate for at least 1 hour, or until the bars are set and solid enough to slice cleanly.
Step 6: Slice and Enjoy
Lift the chilled bars out using the parchment paper overhang. Place on a cutting board, slice into 12 even bars, and get ready to delight in your new favorite Homemade Cereal Bars!
How to Serve Homemade Cereal Bars
Garnishes
The fun isn’t over yet! Try drizzling a little melted chocolate on top, sprinkle with flaky sea salt, or add an extra handful of mini chocolate chips or dried cranberries for that bakery-worthy finish.
Side Dishes
Homemade Cereal Bars pair perfectly with a chilly glass of milk, a dollop of Greek yogurt, or some fresh fruit for a balanced snack. They also make a great lunchbox treat alongside apple slices or baby carrots.
Creative Ways to Present
Wrap individual bars in parchment and tie them with a bit of twine for adorable grab-and-go snacks, or stack them high on a rustic serving board for brunch. Layer in jars for party favors, or cut into bite-sized squares for dessert platters at your next gathering!
Make Ahead and Storage
Storing Leftovers
Keep any remaining Homemade Cereal Bars in an airtight container at room temperature for up to 5 days. If your kitchen runs warm or you want extra freshness, pop them in the fridge where they’ll last even longer without losing quality.
Freezing
For extra convenience, these bars freeze beautifully! Wrap them individually or in layers with parchment in a freezer-safe container. They’ll stay tasty for up to two months—just thaw them at room temperature for a quick, ready-made snack.
Reheating
If you prefer your Homemade Cereal Bars on the softer and slightly gooier side, a quick 10–15 second zap in the microwave does the trick. This gently warms the bars without making them fall apart, bringing out that fresh-from-the-pot flavor all over again.
FAQs
Can I make these Homemade Cereal Bars nut-free?
Absolutely! Just swap out the peanut or almond butter for sunflower seed butter. This swap keeps the bars safe for anyone with nut allergies without sacrificing taste or texture.
What kinds of cereal work best?
Stick with puffed or flaked cereals like Rice Krispies, Cheerios, or cornflakes for the best texture. Granola or hearty flakes add extra crunch, so you can have fun experimenting to match your flavor cravings!
Can I make Homemade Cereal Bars vegan?
Yes! Use brown rice syrup or maple syrup in place of honey, and opt for a plant-based nut or seed butter. Be sure your chosen chocolate chips and cereal are vegan-friendly as well.
Why are my bars falling apart?
If your Homemade Cereal Bars are a bit crumbly, try pressing them more firmly into the pan and make sure you’re using enough sticky syrup mixture. Don’t skimp on chill time, as that helps them solidify for perfect slicing.
Do Homemade Cereal Bars travel well?
They travel beautifully! Wrap each bar in parchment or plastic wrap and stash them in lunchboxes, picnic baskets, or gym bags for a convenient, energy-boosting treat anywhere you go.
Final Thoughts
With just a handful of pantry staples and a few minutes of effort, you’ll have a batch of Homemade Cereal Bars that taste so much better than anything you find in a box. They’re endlessly adaptable, family-friendly, and perfect for slipping into your weekly snack routine. Give them a try—you’ll be amazed at how quickly they disappear!
Print
Homemade Cereal Bars Recipe
- Total Time: 1 hour 15 minutes (including chilling)
- Yield: 12 bars 1x
- Diet: Customizable to nut-free, gluten-free, or vegan
Description
Learn how to make delicious homemade cereal bars that are perfect for a quick snack or a sweet treat. These no-bake bars are easy to customize and packed with wholesome ingredients.
Ingredients
Main Ingredients:
- 4 cups cereal of choice (such as Cheerios, Rice Krispies, or cornflakes)
- 1/2 cup honey or brown rice syrup
- 1/2 cup creamy peanut butter (or almond butter)
- 1/4 cup light brown sugar
- 1 teaspoon vanilla extract
Optional Mix-Ins:
- 1/2 cup mini chocolate chips
- dried fruit
- chopped nuts
Instructions
- Prepare the Base: Line an 8×8-inch baking dish with parchment paper.
- Create the Mixture: Combine honey, peanut butter, and brown sugar in a saucepan over medium heat until smooth and bubbly.
- Add Flavors: Stir in vanilla extract and pour over cereal in a bowl, mixing gently.
- Set the Bars: Press the mixture into the pan, chill for at least 1 hour, then cut into bars.
Notes
- You can substitute peanut butter with sunflower seed butter for a nut-free option.
- For softer bars, reduce honey to 1/3 cup.
- Store in an airtight container at room temperature for up to 5 days or refrigerate for longer freshness.
- Prep Time: 10 minutes
- Cook Time: 5 minutes
- Category: Snack, Dessert
- Method: No-Bake
- Cuisine: American
Nutrition
- Serving Size: 1 bar
- Calories: 180
- Sugar: 10 g
- Sodium: 120 mg
- Fat: 8 g
- Saturated Fat: 2 g
- Unsaturated Fat: 6 g
- Trans Fat: 0 g
- Carbohydrates: 25 g
- Fiber: 1 g
- Protein: 4 g
- Cholesterol: 0 mg