If you’re searching for a delightful holiday treat that screams festive fun and melts in your mouth with every bite, the Little Debbie Christmas Cake Balls Recipe is your new best friend. These adorable, bite-sized gems take the classic Little Debbie Christmas Tree Cakes and transform them into elegant, easy-to-share party snacks. Rich cream cheese binds the tender cake crumbs together, and a smooth white chocolate coating adds just the right touch of sweetness and shine. Whether you’re prepping for a holiday gathering or a cozy night in, this recipe brings charm, flavor, and simplicity all in one festive package.
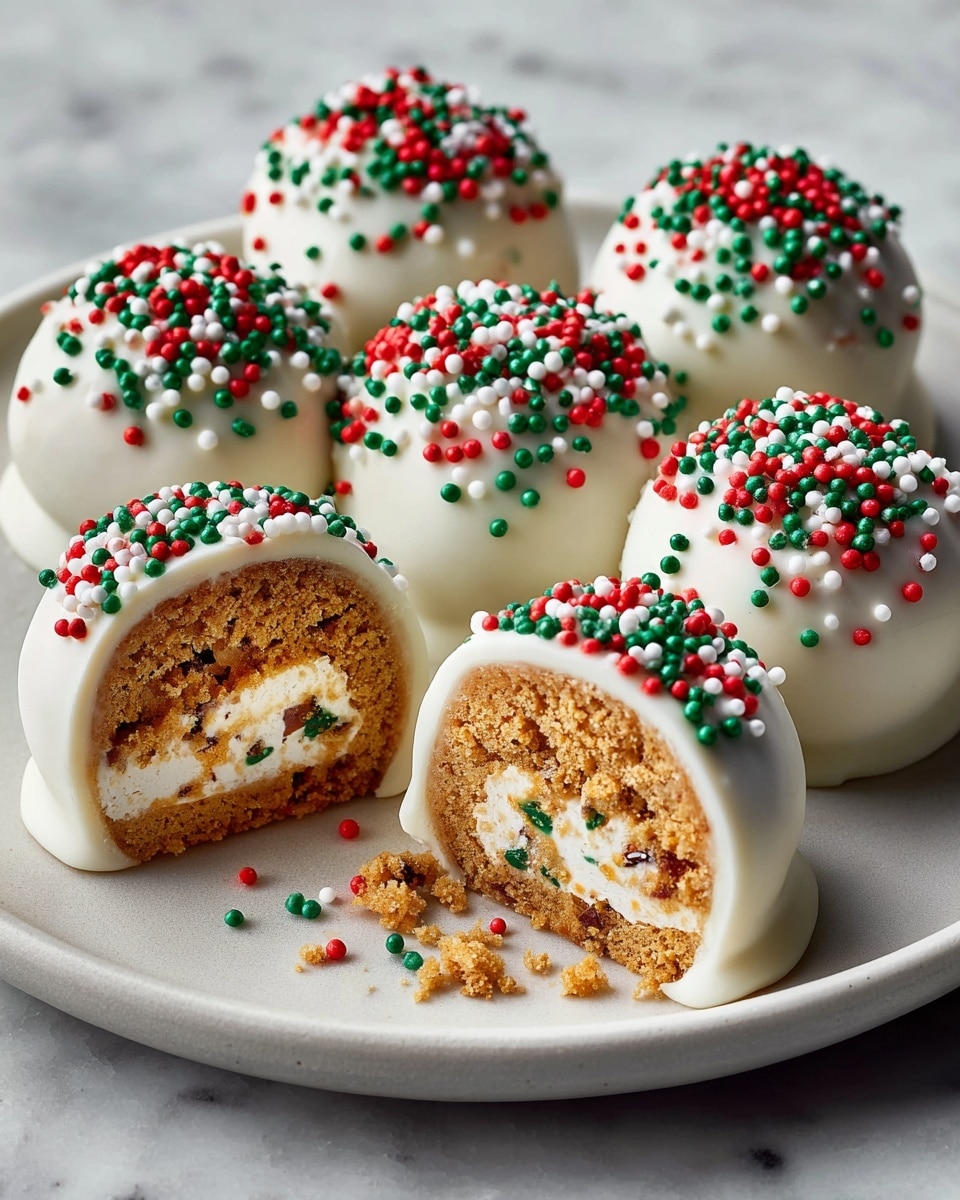
Ingredients You’ll Need
Getting started with the Little Debbie Christmas Cake Balls Recipe means gathering a few essential ingredients that each play a starring role. From the iconic holiday cakes to the creamy, luscious binding agents and the glossy white chocolate finish, these components are straightforward but crucial for creating that perfect texture and festive look.
- Little Debbie Christmas Tree Cakes (1 box, 10 cakes): The star ingredient providing that beautifully spiced and colorful cake base.
- Cream cheese (1/2 cup, softened): Adds moisture and richness while helping the crumbs stick together perfectly.
- Vanilla extract (1/2 teaspoon): Enhances the flavor with a warm, sweet note that complements the cake beautifully.
- White chocolate chips (1 cup): Creates a smooth, creamy coating that adds sweetness and a delightful snap when bitten.
- Vegetable oil (1 tablespoon): Makes melting the white chocolate easier and gives the coating a glossy finish.
- Red and green sprinkles (optional): For that extra festive sparkle and holiday color on top.
How to Make Little Debbie Christmas Cake Balls Recipe
Step 1: Crumble the Cake
Start by taking those iconic Little Debbie Christmas Tree Cakes and crumbling them thoroughly into a large bowl. You can use your hands or a fork to break them down into fine crumbs. The finer, the better—it makes the mixture easier to bind and creates a smoother texture when you shape the balls.
Step 2: Mix Everything Together
Once the crumbs are ready, add the softened cream cheese and vanilla extract to the bowl. Mix everything thoroughly until the mixture holds together well when pressed. This is where the magic happens: the cream cheese adds moisture and richness, while the vanilla gives it a subtle warmth. It might feel sticky at first, but that’s perfect for shaping later!
Step 3: Shape the Cake Balls
Now for the fun part! Scoop tablespoon-sized portions of your cake mixture and roll them gently into smooth balls between your palms. Place each formed ball on a baking sheet lined with parchment paper—this makes cleanup a breeze and keeps the cake balls from sticking.
Step 4: Melt the White Chocolate
In a microwave-safe bowl, combine the white chocolate chips and vegetable oil. Heat the mixture in 20-30 second bursts, stirring in between, until it’s completely smooth and glossy. The oil helps the chocolate melt evenly and gives that beautiful shine to your coating.
Step 5: Coat the Cake Balls
Dip each cake ball into the melted white chocolate using a fork, rolling it around to coat evenly. Let any excess drip off before placing the coated balls back onto your parchment-lined baking sheet. This creates that irresistible crisp shell around the tender cake center.
Step 6: Decorate and Chill
If you’re feeling festive, sprinkle red and green sprinkles on top right after dipping while the chocolate is still wet. Then, refrigerate the cake balls for at least 30 minutes so the coating sets perfectly and you’ll get that satisfying snap when you bite in.
How to Serve Little Debbie Christmas Cake Balls Recipe
Garnishes
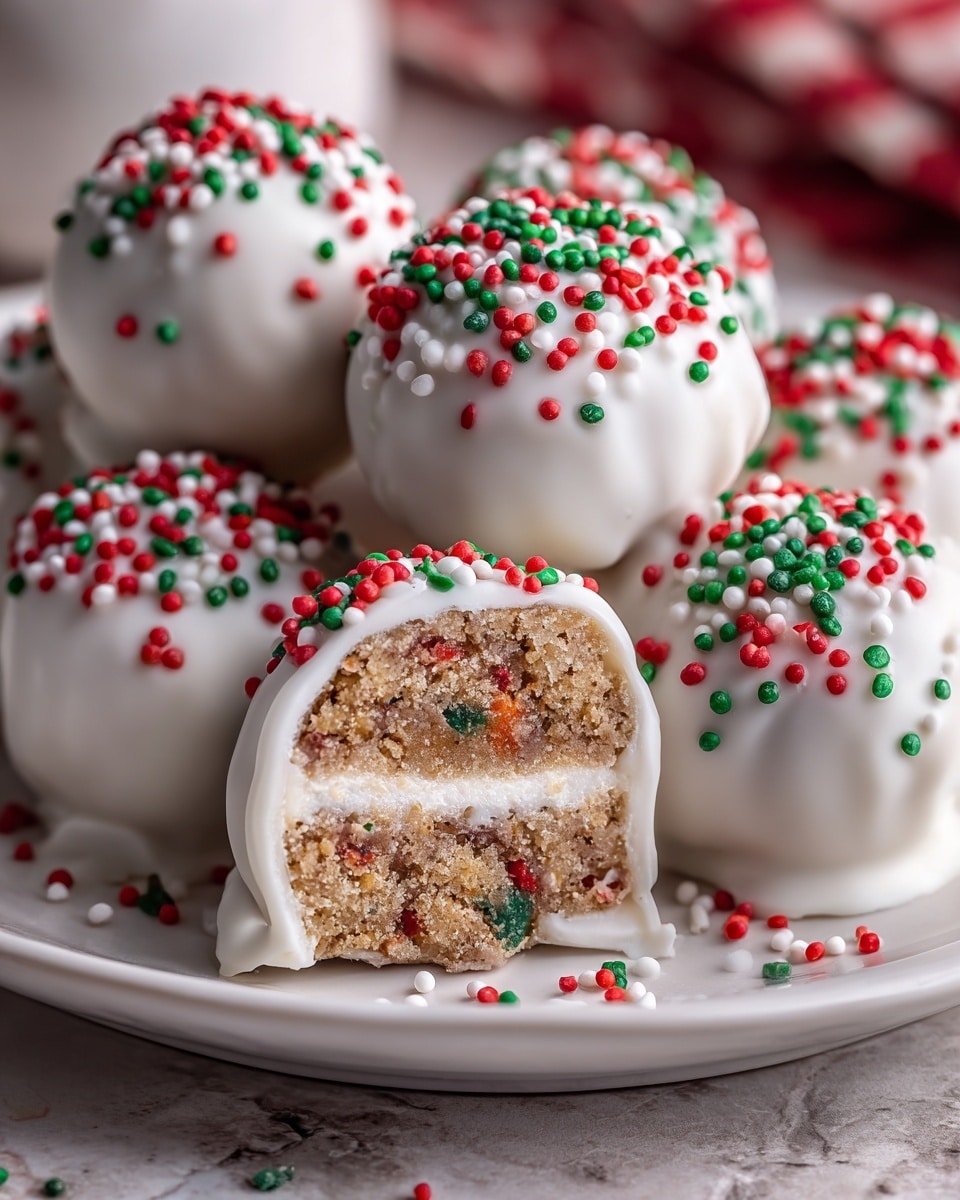
Adding festive garnishes can really elevate the presentation of your Little Debbie Christmas Cake Balls Recipe. Beyond red and green sprinkles, consider crushed peppermint, edible glitter, or a drizzle of contrasting dark chocolate for extra flair. These touches make the cake balls eye-catching centerpieces at any holiday spread.
Side Dishes
These cake balls are sweet and indulgent, so pairing them with light sides like fresh fruit platters or crisp cookies can balance the richness nicely. A cup of hot cocoa or a spiced holiday tea also complements the flavors beautifully and rounds out the festive experience.
Creative Ways to Present
Arrange your cake balls on festive platters or tiered stands for a charming holiday display. You can also pop them onto skewers or use decorative picks to make them easy finger food at parties. Wrapping a few in clear cellophane tied with ribbon makes for a thoughtful, homemade gift that anyone would adore.
Make Ahead and Storage
Storing Leftovers
If you have leftovers, keep your cake balls in an airtight container in the refrigerator. They stay fresh and moist for up to 5 days, which means you can make them ahead of time and enjoy them throughout the week without losing their delightful texture.
Freezing
To freeze, place the cake balls on a parchment-lined tray and freeze until solid, then transfer them to a freezer-safe container. When stored properly, these festive treats maintain their flavor and texture for up to 3 months, perfect for holiday planning in advance.
Reheating
When ready to enjoy, thaw the cake balls in the refrigerator overnight. They’re best served chilled or at room temperature, so no need to reheat—just let them come to room temp and savor the creamy, chocolatey goodness.
FAQs
Can I use other types of cake instead of Little Debbie Christmas Tree Cakes?
While you certainly can experiment with other cakes, the Little Debbie Christmas Tree Cakes bring a unique blend of flavors and festive colors that really shine in this recipe. Using them keeps that signature holiday charm.
What if I don’t have cream cheese? Can I substitute it?
Cream cheese is key to the creamy texture and binding quality here, so it’s best not to skip or substitute it unless you have a similar consistency alternative like mascarpone. Other options might alter the texture and taste significantly.
Why add vegetable oil to the white chocolate?
Vegetable oil helps make the melted white chocolate smoother and shinier, which makes coating the cake balls easier and gives them a beautiful finish. It also keeps the chocolate from hardening too thickly.
How do I prevent the cake balls from falling apart?
Mix the cream cheese and vanilla thoroughly with the crumbled cake until the mixture sticks well when pressed. If it feels crumbly, just add a little more softened cream cheese a teaspoon at a time until it binds properly.
Can I use different colored sprinkles or toppings?
Absolutely! While red and green sprinkles add classic holiday color, feel free to use any sprinkles or edible decorations you love—silver, gold, even crushed nuts or coconut flakes work great for added texture and festivity.
Final Thoughts
The Little Debbie Christmas Cake Balls Recipe is a perfect way to bring joy, flavor, and festivity together in one simple snack. Whether you’re sharing with friends, gifting to neighbors, or treating yourself, these cake balls deliver that warm holiday cheer in every bite. Trust me, once you make them, you’ll want to keep this recipe in your seasonal rotation forever!
Print
Little Debbie Christmas Cake Balls Recipe
- Total Time: 45 minutes
- Yield: 12 servings 1x
Description
These Little Debbie Christmas Cake Balls are a festive and delicious holiday treat, combining crumbled Christmas Tree Cakes with creamy vanilla cream cheese, coated in smooth white chocolate and decorated with optional red and green sprinkles. Perfect for easy-to-make, bite-sized holiday indulgence that can be enjoyed chilled or at room temperature.
Ingredients
Cake Balls
- 1 box Little Debbie Christmas Tree Cakes (10 cakes)
- 1/2 cup cream cheese, softened
- 1/2 teaspoon vanilla extract
Coating
- 1 cup white chocolate chips
- 1 tablespoon vegetable oil
Decoration (optional)
- Red and green sprinkles
Instructions
- Crumble the Cake: Begin by crumbling the Little Debbie Christmas Tree Cakes into a large bowl. Use your hands or a fork to break them into fine crumbs for easier mixing.
- Mix: Add the softened cream cheese and vanilla extract to the cake crumbs. Mix thoroughly until the mixture becomes smooth and holds together well when pressed, indicating it’s ready to shape.
- Shape: Scoop tablespoon-sized portions of the mixture and roll them into balls using your hands. Place the shaped balls on a baking sheet lined with parchment paper to prevent sticking.
- Melt Chocolate: In a microwave-safe bowl, combine white chocolate chips and vegetable oil. Microwave in 20-30 second intervals, stirring between each, until the chocolate is fully melted and smooth for easy coating.
- Coat: Dip each cake ball into the melted white chocolate using a fork, rolling to coat evenly. Let any excess chocolate drip off before placing them back on the parchment-lined baking sheet.
- Decorate: If desired, sprinkle red and green sprinkles over the coated cake balls immediately to add a festive touch while the chocolate is still soft.
- Chill: Refrigerate the cake balls for at least 30 minutes or until the chocolate coating is fully set and firm to the touch.
- Serve: Enjoy the cake balls chilled or at room temperature as a delightful holiday treat.
Notes
- Ensure the cream cheese is fully softened for easier mixing and smoother texture.
- You can substitute white chocolate chips with candy melts for easier melting and coating.
- If you do not have vanilla extract, almond extract can be an interesting alternative flavor.
- Store leftover cake balls in an airtight container in the refrigerator for up to 5 days.
- For a dairy-free version, use a dairy-free cream cheese and white chocolate substitute.
- Prep Time: 15 minutes
- Cook Time: 10 minutes
- Category: Dessert
- Method: No-Cook
- Cuisine: American

